How to Paint Kitchen Cabinets Without Brush Marks
Painting kitchen cabinets is one of the highest-impact upgrades you can make on a home, but it only looks great if the prep work is done right. If you're searching for how to paint kitchen cabinets, you've likely realized that a fresh coat of paint can save you thousands versus a full remodel. The catch is that cabinets live in a tough world.
Grease, steam, and constant opening and closing will punish a rushed paint job quickly.
Manufacturer specifications indicate that even dry-feeling water-based cabinet paints need a full 7 to 30 days to fully cure. That's why this project is less about painting and more about patience, clean surfaces, and choosing the right materials. In our research, people who skip the drying time are the ones who end up with chipped edges and sticky drawers.
So before you pick up a brush, let's walk through what actually matters.
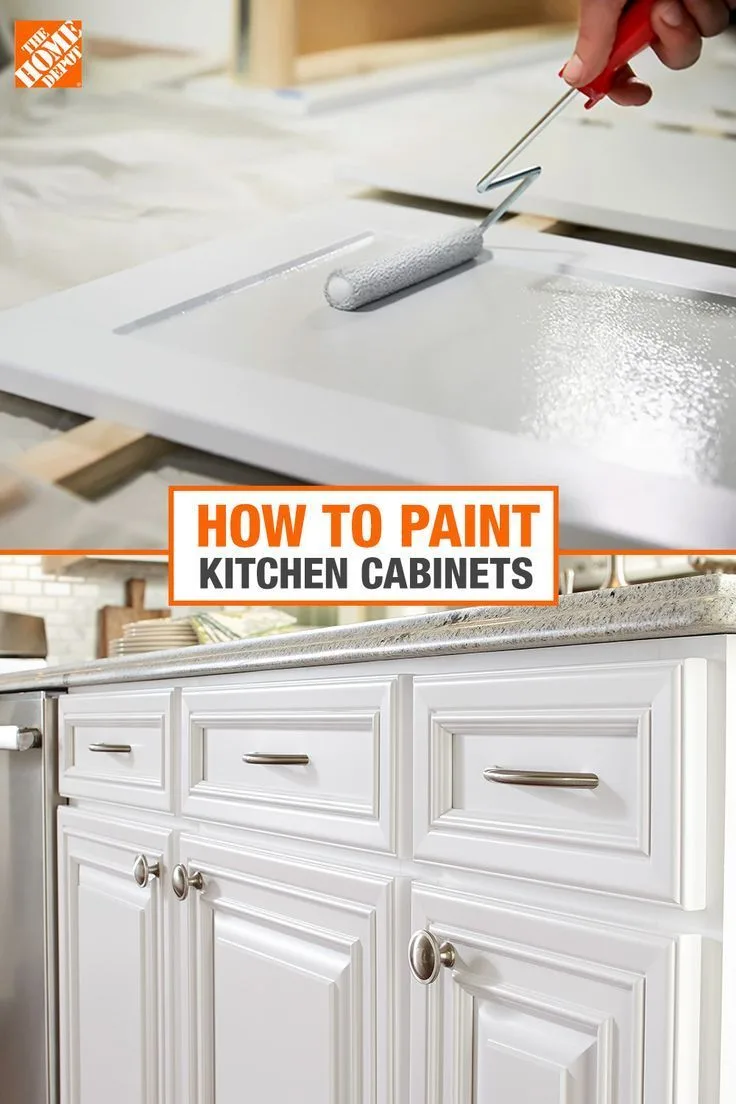
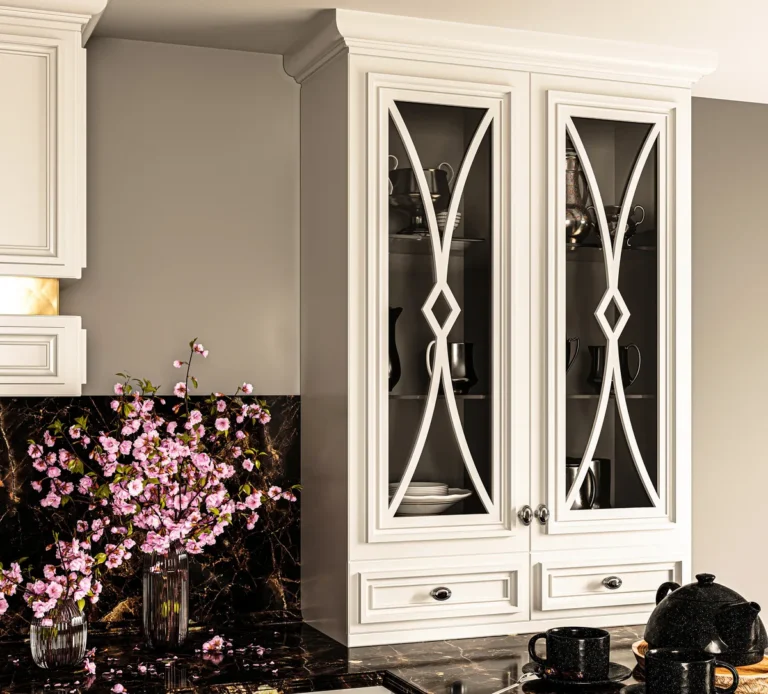
Image source: Web (Bing) / artofit.org (Web image (fair-use with source credit))
Quick Answer
Clean, sand, prime, and paint. That's the whole job in four words. The secret is in the prep.
Grease must come off completely. Sanding creates a tooth for the primer. Two primer coats and two paint coats usually do it.
Let everything dry and cure fully.
Before You Start: Know What You're Getting Into
This is not a weekend-and-done project if you want a durable finish. It's more like a five-day commitment spread across a week and a half. Here's the honest picture.
A full DIY cabinet paint job costs between $300 and $800 in materials. New cabinets, even budget-friendly ones, can run $5,000 to $15,000 installed. The savings are real.
But the labor is heavy, and the work is repetitive. If you're not comfortable with sanding and cleaning for hours at a time, this will test your patience.
You also need to know what your cabinets are made of. Real wood, MDF, and factory-painted wood all take paint well. Laminate and thermofoil are trickier and need specialty primers.
Veneer can work if it's in good shape. Paint over a failing surface, and it will peel off in sheets. If you're planning a whole kitchen overhaul, it might be worth thinking about the overall cabinet layout before you commit to a color.
Here's a quick reference of what you'll need:
| Category | Items |
|---|---|
| Cleaning | TSP substitute, denatured alcohol, sponge, lint-free rags |
| Sanding | 120, 180, and 220 grit sandpaper, sanding block, tack cloth |
| Prep | Wood filler, painter's caulk, painter's tape, drop cloths |
| Priming | High-bonding primer, shellac-based primer for stains |
| Painting | Cabinet-grade paint, quality synthetic brush, foam roller |
| Safety | Respirator, goggles, gloves, good ventilation |
How to Set Up Your Cabinet Painting Workspace
You don't need a professional spray booth, but you do need a space where you can be messy and slow. A garage or a spare room with open windows works well. If you're painting indoors, cover the floor with drop cloths and tape off anything that shouldn't get paint on it.
The most underrated part of a workspace is lighting. A single overheard bulb will hide sanding scratches and drips until it's too late. Use a portable work light and angle it across the cabinet face.
You want to see every imperfection before primer goes on, not after.

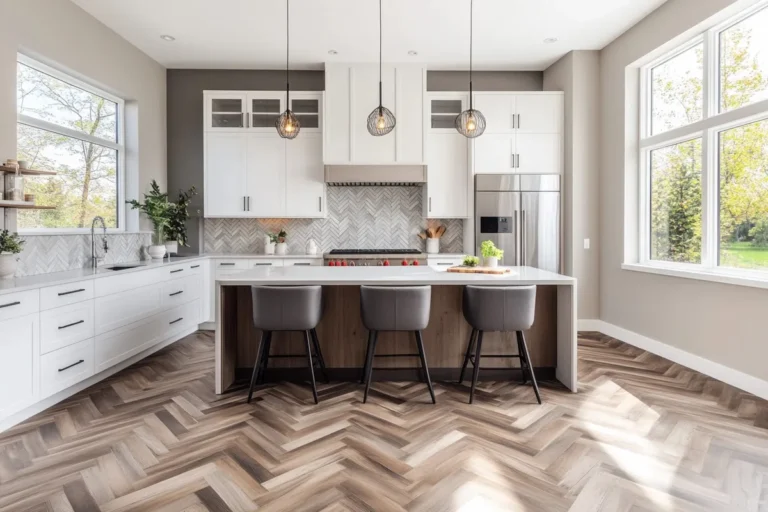
Image source: Web (Bing) / reddit.com (Web image (fair-use with source credit))
Organizing your hardware is just as important. Number each door and drawer with a piece of painter's tape on the back. Note which upper or lower cabinet it came from.
This saves you from the puzzle of mismatched doors when it's time to reattach everything. A cheap label maker works, but a pencil and masking tape are fine.
You also need to think about airflow. Primers and paints release VOCs, especially oil-based options. Open windows, use a fan pointing outward, and wear a respirator if you're spraying.
It's worth checking OSHA's guidance on respiratory protection before you start, since sprayers put fine particles into the air.
The Complete Step-by-Step Cabinet Painting Process
This is where the real work happens. Follow the order exactly, and don't skip steps. Each one builds the foundation for the next.
Step 1: Label and Remove Everything
Take off the doors, drawers, hinges, and handles. Set screws and hardware in labeled containers so they don't vanish into a drawer. Write the cabinet location on the back of each door with tape.
This is tedious, but it pays off when reassembling a kitchen with 25 nearly identical shaker doors.
Step 2: Degrease Until It Squeaks (The Step Everyone Rushes)
Your cabinets are covered in a film you can't see. Cooking oil, hand oils, and kitchen grime all collect on door fronts and frames. Paint won't stick to grease.
It will fisheye and peel in patches.
Mix a TSP substitute with warm water. Scrub every surface, rinse with a clean damp cloth, and let it dry. Follow up with denatured alcohol on a lint-free rag to pull off any last residue.
If the cloth comes up yellow or brown, you weren't done cleaning yet.

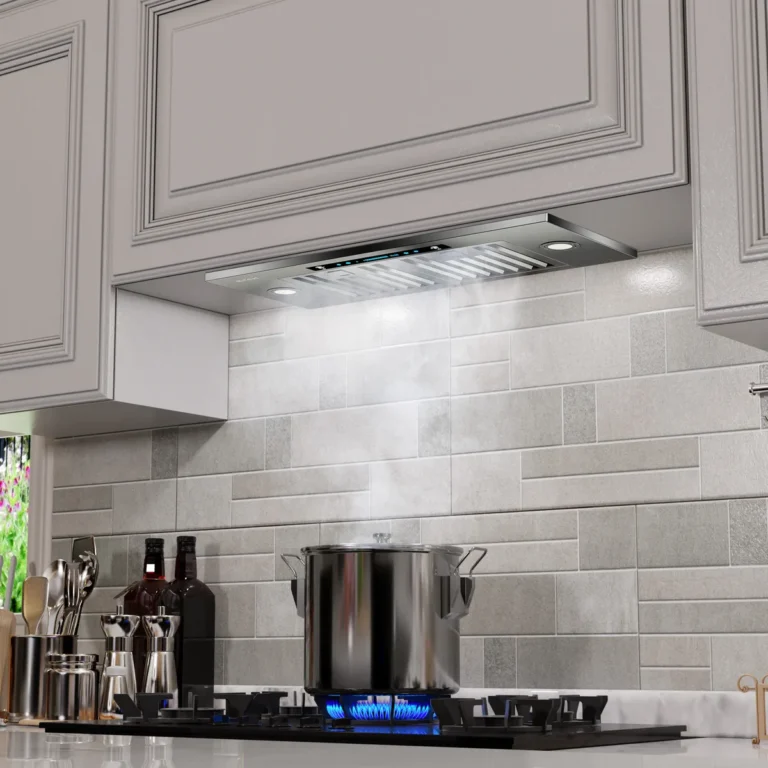
Image source: Bing (Web (fair-use with source credit))
This step also covers the oddly greasy areas above the stove and near the dishwasher. Those spots trap more grime than the rest of the kitchen combined. Skip them, and your paint will fail exactly where you need it most.
Step 3: Sanding to the Right "Tooth"
Sanding isn't about stripping the old finish. It's about scuffing the surface so primer can grip. Use 120 grit for the first pass on most surfaces, then move to 180 grit.
For smooth factory-painted cabinets, 220 grit is enough to break the gloss.
Light pressure is key. You're not trying to bore through the wood. Just sand until the surface feels dull and matte.
Run your hand over the cabinet. It should feel like fine sandpaper, not glass. If it's still shiny, sand it again.
Step 4: Fill, Patch, and Caulk
Inspect every door and frame for dents, holes, and cracks. Use a wood filler that matches the project. Press it into the imperfection and let it dry completely, then sand the patch flush.
For open-grain woods like oak, you might apply a grain filler if you want a smooth, modern look. That's an extra step and takes patience. For now, focus on filling the obvious dents.
Caulk goes along the seams between frame pieces and any gaps where trim meets the wall. Let it dry, then sand lightly.
Step 5: Prime with Purpose
Primer is the foundation of the whole job. Regular wall primer is not enough. Pick a high-bonding primer made for cabinets and trim.
Water-based primers work for most painted and wood surfaces. Shellac-based primers like Zinsser B-I-N are better for stubborn stains, heavy tannin bleed, or knotty wood.
Roll on a thin, even coat. Use a brush in the corners and tight spots. Let it dry per the manufacturer's instructions.
Once it's ready, sand the primer lightly with 220 grit. This knocks off any raised grain and gives the paint something to lock onto. Wipe away the dust with a tack cloth before painting.
Step 6: The "Between" Sand and Cleaning Ritual
After sanding anything, you must clean the surface again. Dust is invisible until your brush runs over it and leaves a gritty bump. Go over everything with a tack cloth, then wipe with denatured alcohol.
Give it a few minutes to flash off. Touch the surface with clean, dry hands. If it doesn't feel smooth and clean, repeat.
Step 7: Paint Coat 1, Slowly and Thin
Paint in thin coats. Heavy coats cause drips, sags, and runs that you'll have to fix later. Use a high-quality synthetic brush for edges and a foam roller for flat faces.
Keep a wet edge as you work so you don't get lap marks between strokes.
Let the first coat dry completely. Then sand lightly with 220 grit, wipe down, and apply the second coat. Most cabinets need two or three paint coats.
Better to do three thin coats than two thick ones.
Step 8: Know When to Stop Painting
The paint is dry to the touch in a few hours, but it's still soft underneath. Recoat windows vary by brand. Some water-based paints let you recoat after four hours; others require overnight.
Check the can label. Rushing here will produce visible drag marks and peel.
Once the final coat is on, leave everything alone for at least 24 hours. Resist the urge to test a drawer. The finish needs time to harden before it can handle any force.
Step 9: Reassemble Without Damage
Reattach hinges and hardware only after the paint has cured enough to handle light handling. This usually means waiting at least two days. Use the labels you made earlier to put each door back in its exact spot.
If a door sticks, check for excess paint on the edges and scrape it off carefully.
Painting Laminate and Thermofoil Cabinets: The Exception Rules
Laminate and thermofoil are not wood. They're slick, non-porous surfaces that reject ordinary paint. If you try to sand them like wood and use a standard primer, the paint will peel in a matter of weeks.
The good news is that special bonding primers exist. Look for a primer explicitly designed for glossy surfaces and laminate. Clean the cabinets thoroughly, scuff them with a fine sanding sponge or liquid deglosser, and apply the bonding primer.
Even then, durability is lower than on real wood. Edges, especially on thermofoil, are prone to peeling because the plastic film can lift over time.
If your laminate or thermofoil cabinets are already showing chips or delamination at the seams, painting won't save them. The substrate is failing underneath. In that case, you're better off looking at a refacing kit or replacing the doors altogether.
A budget kitchen refresh can also be tackled with replacements rather than repainting, especially if the cabinet boxes are fine and the drawer fronts are the weak point. If you're in the middle of a thrifty upgrade, comparing repaint versus replacement before you commit can save you months of regret.