How to Paint Kitchen Cabinet Doors (No Brush Marks)
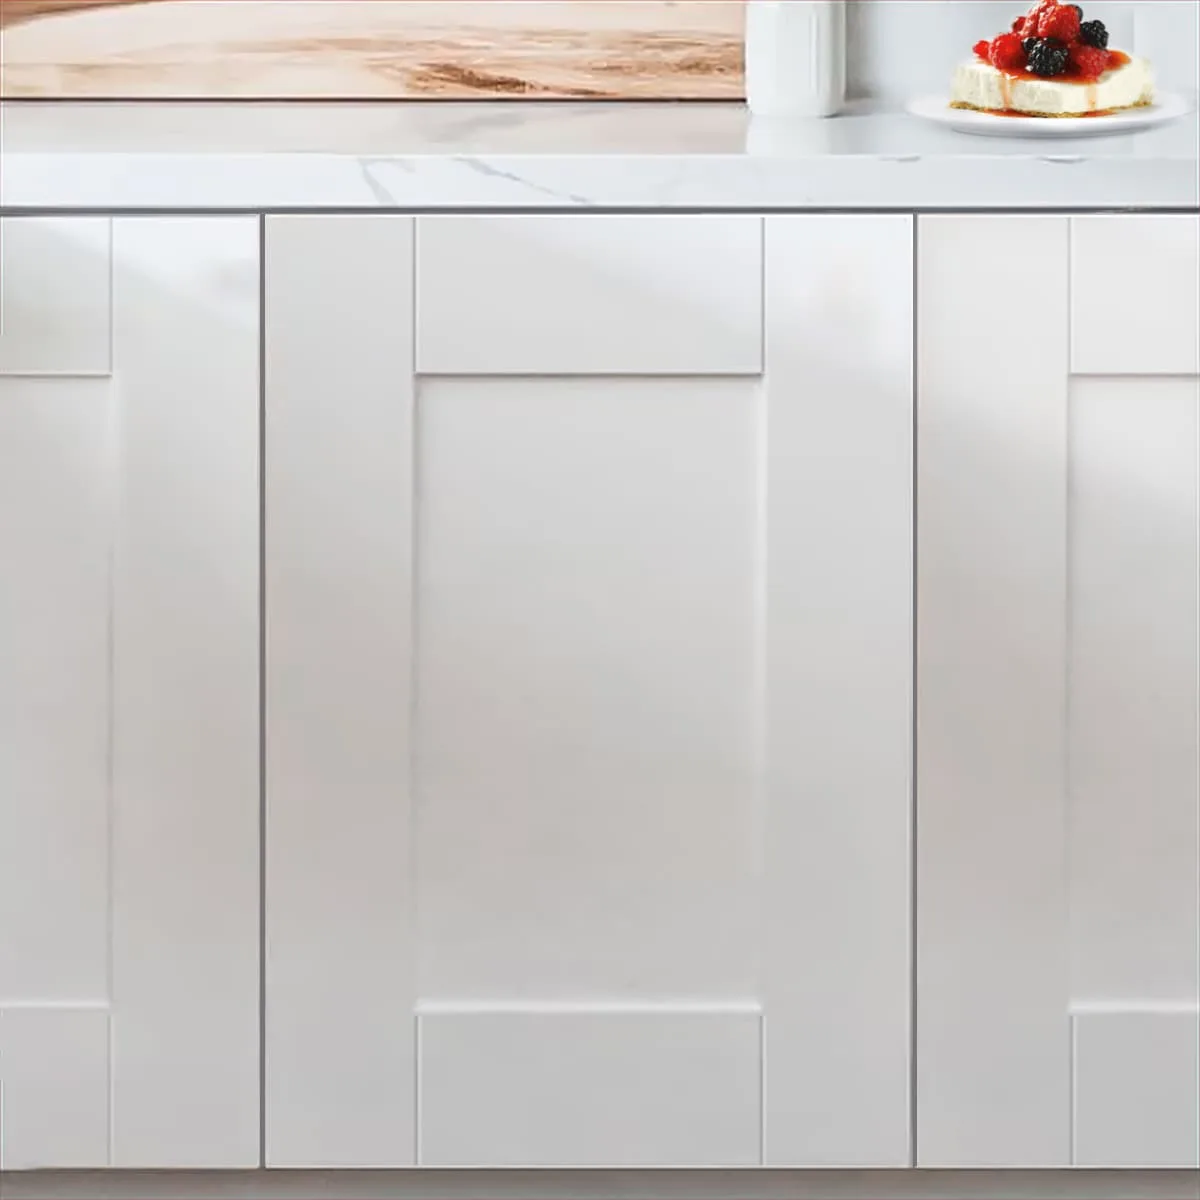
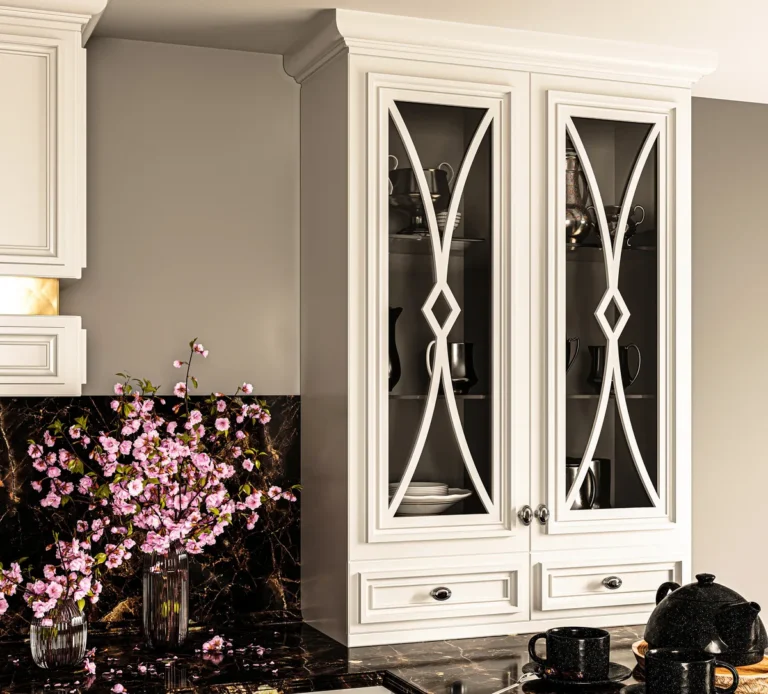
Image source: Web (Bing) / fity.club (Web image (fair-use with source credit))
Can You Paint Cabinet Doors? (The Short Answer)
Yes, you can paint kitchen cabinet doors. But the difference between a factory-smooth finish and a chipped, streaky mess comes down entirely to prep and patience. In our research, aggregate reviews from DIY forums and manufacturer specifications all point to the same truth: about 80% of a successful cabinet paint job is what happens before the paint ever touches the wood. The actual painting is the easy part.
One number worth keeping in mind: most quality cabinet paints require 14 to 21 days to fully cure, even if they feel dry to the touch in a few hours. That cure time is what makes the finish hard enough to survive daily kitchen use, and it's also where most rushed homeowners end up disappointed. With the right steps and realistic expectations, you can completely transform your kitchen for somewhere in the $50 to $150 range.
Let's walk through exactly how.
Quick Answer
Paint kitchen cabinet doors by removing them, labeling everything, and cleaning with a degreaser. Sand all surfaces with 120-grit, then 220-grit sandpaper. Apply a bonding primer and let it dry completely.
Paint with a self-leveling cabinet paint using a brush, roller, or sprayer. Apply two to three thin coats, sanding lightly between each. Let doors cure for 14 to 21 days before reinstalling.
What You'll Need: The Complete Tool and Material List
Before you start, gather everything at once. Stopping mid-project to run to the store means dust settles on wet paint or you end up using the wrong tool out of convenience. Here's the full list, organized by category.
Tools and Materials
| Category | Item | Why You Need It |
|---|---|---|
| Cleaning | Degreaser or TSP substitute | Removes kitchen grease that blocks paint adhesion |
| Sanding | 120-grit and 220-grit sandpaper | Rough sanding and final smoothing |
| Sanding | Sanding block or orbital sander | Even pressure across flat panels |
| Filling | Wood filler | Repairs dents, scratches, and old hinge holes |
| Sealing | Painter's tape | Protects edges, glass inserts, and frames |
| Priming | Bonding primer | Adheres to slick surfaces like laminate |
| Painting | Self-leveling cabinet paint | Dries smooth without brush marks |
| Application | Synthetic-bristle brush | For edges and detailed areas |
| Application | Microfiber roller or foam roller | For flat panels and door faces |
| Finishing | Tack cloth | Removes sanding dust before priming and painting |
| Hardware | Screwdriver or drill driver | Removes and reinstalls hinges and pulls |
| Protection | Drop cloths and painter's plastic | Covers floors and countertops |
The Degreaser Decision
Kitchen cabinet doors accumulate a film of grease and cooking oil that plain soap and water simply won't remove. In our research, manufacturers of bonding primers consistently list "clean, oil-free surfaces" as the top condition for adhesion. Use a dedicated degreaser or a TSP substitute mixed with warm water.
Wear gloves, because TSP substitutes can be tough on skin. Rinse thoroughly after cleaning, because residue can also interfere with paint.
Choosing Your Paint Type
Water-based acrylic-alkyd hybrid paints are the sweet spot for DIY cabinet painting in most climates. They offer the durability of oil-based paints with water-based cleanup. Oil-based enamels still work beautifully and provide an incredibly hard finish, but they take much longer to dry and require mineral spirits for cleanup.
For most homeowners, the hybrid water-based options are easier to work with and produce equally professional results.
If your kitchen gets heavy daily use, look for a paint labeled specifically as "cabinet paint" or "trim paint." These formulas include extra resins that create a harder, more scratch-resistant surface than standard wall paint. That's not a sales pitch, it's a formulation difference. Standard wall paint dries to a softer film that chips and scuffs under cabinet-door use.
Prepping Cabinet Doors: Why This Step Decides Everything
Prepping is the difference between a finish that lasts a decade and one that peels within months. Manufacturers and painting professionals agree: adhesion failure is almost never the paint's fault. It's grease, insufficient sanding, or a missing primer.
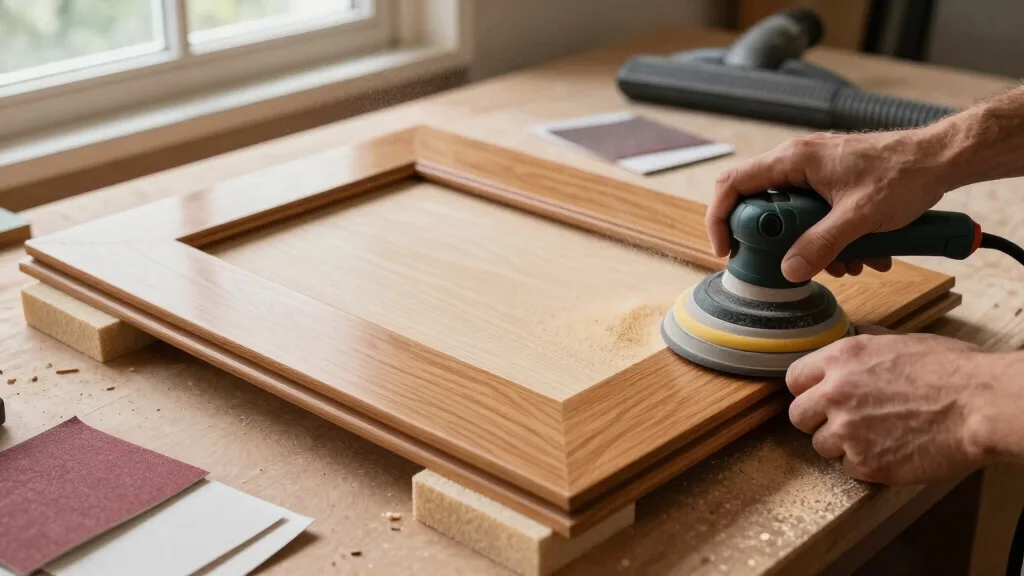
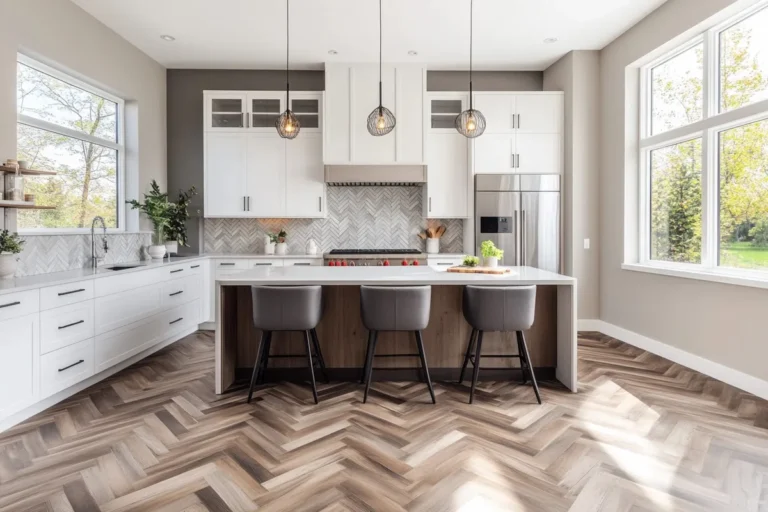
Image source: Web (Bing) / anyshelter.com (Web image (fair-use with source credit))
The Visual Checklist for Proper Sanding
Before you even pick up a brush, you need to verify three things visually. This is where the visual side of this project really matters.
First, look at the surface under raking light. Hold a work light or a phone flashlight at a low angle across the door. Every scratch, nick, and old paint ridge shows up as a shadow.
If you don't have a photo that shows a shadow-free surface, you're not done sanding.
Second, feel the surface with your fingertips. Run your hand across the flat panels. It should feel like smooth glass, not like fine sandpaper.
Any roughness means you haven't worked up through your grits properly.
Third, check for glossy spots. Shiny patches in the light mean you've missed a section with your sanding. Paint doesn't adhere to glossy spots nearly as well as it does to scuffed, matte surfaces.
The "Slick Test"
To check whether your surface is ready for primer, do the "slick test." Place a drop of water on the sanded surface. If it beads up and rolls off, the surface is still too slick. If it spreads out and soaks in slightly or wets the surface evenly, you've broken the gloss enough for proper adhesion.
This works on both wood and laminate surfaces, and it's a trick that professional painters use daily.
Skip the Deglosser Unless You Must
Liquid deglosser can work, but it needs to be applied properly and evenly to actually help. In aggregate reviews, homeowners report mixed results with deglosser alone. Sanding is more predictable and gives you a rougher surface profile for the primer to grip.
If you have heavily textured or routed cabinet doors with intricate details, a deglosser can help reach crevices sandpaper can't. Use it, then follow with a scuff sanding anyway.
The Step-by-Step Process: Prep Like a Pro
Now let's get into the actual workflow. Follow these steps in order, and don't skip ahead. Each step builds on the last.
Step 1: Remove Doors, Hardware, and Label Everything
Take every door off its hinges. Remove all pulls, knobs, and hinges from each door. Then label each door with a number and mark its location on a simple diagram or sticky note taped to the inside of the cabinet frame.
This seems tedious now, but it saves enormous frustration at reassembly.
Doors are rarely perfectly uniform. A door that fits well in one spot may not line up in another because of subtle frame variations. If you plan to replace hinges anyway, skip the puzzle and just stack doors in a neat pile.
Step 2: Clean, Degrease, and Rinse
Mix your degreaser or TSP substitute with warm water. Scrub every surface thoroughly, including the edges and backs of doors. The backs matter just as much as the fronts because they'll also be painted.
Rinse with clean water to remove any chemical residue. Let everything air dry completely before proceeding.
Step 3: Fill, Caulk, and Repair Surface Damage
Walk around each door and inspect it closely. Fill dents, scratches, and old hinge holes with wood filler. Apply it slightly proud of the surface, because it shrinks as it dries.
Once dry, sand it flush with 120-grit.
For gaps where decorative panels meet a door frame, use a flexible painter's caulk. This prevents paint from cracking along the seams later. Painter's caulk stays flexible as the wood expands and contracts with humidity changes.
Wood filler in those seams would inevitably crack.
Step 4: Sand with the Right Grit and Pattern
Start with 120-grit sandpaper to cut through the old finish and create a profile for the primer. Sand in the direction of the wood grain, not in circles. Circular sanding leaves visible swirl marks that can telegraph through your finish.
After the 120-grit pass, switch to 220-grit and sand again. This smooths the scratches left by the coarser grit. Finer sanding leaves a smoother base for the primer, which means a smoother final finish.
If you're using an orbital sander, keep it moving constantly. Resting it in one place creates divots that are almost impossible to fix without starting over. For routed or detailed sections, sand by hand with a folded piece of sandpaper.
Step 5: Vacuum and Wipe with a Tack Cloth
This is the step everyone rushes, and it's the one that causes most "dust in the paint" complaints. Vacuum the doors thoroughly, including the edges. Then wipe every surface with a tack cloth, flipping and refolding it as you go to expose fresh wax-impregnated surface.
Tack cloths are cheap, and you should use at least two on a full cabinet set. The wax in the cloth picks up the fine dust that a vacuum leaves behind. Skipping this step means every dust particle on the surface becomes a visible bump in your primer coat.
The Labeling Trick
The best labeling method we've found: write numbers on small pieces of painter's tape, stick one on each door, and create a matching numbered diagram of your cabinet layout. Leave the tape on through sanding and priming. Remove it right before the final paint coat, then reapply fresh tape with the same numbers if you need to do touch-ups after drying.
The Priming Stage: Don't Paint Before You Read This
Primer is not optional for kitchen cabinet doors, even if the paint label says "paint and primer in one." That claim means the paint includes some extra resin and pigment to improve coverage. It doesn't mean it can bond to a bare, greasy, or glossy surface the way a dedicated primer can.
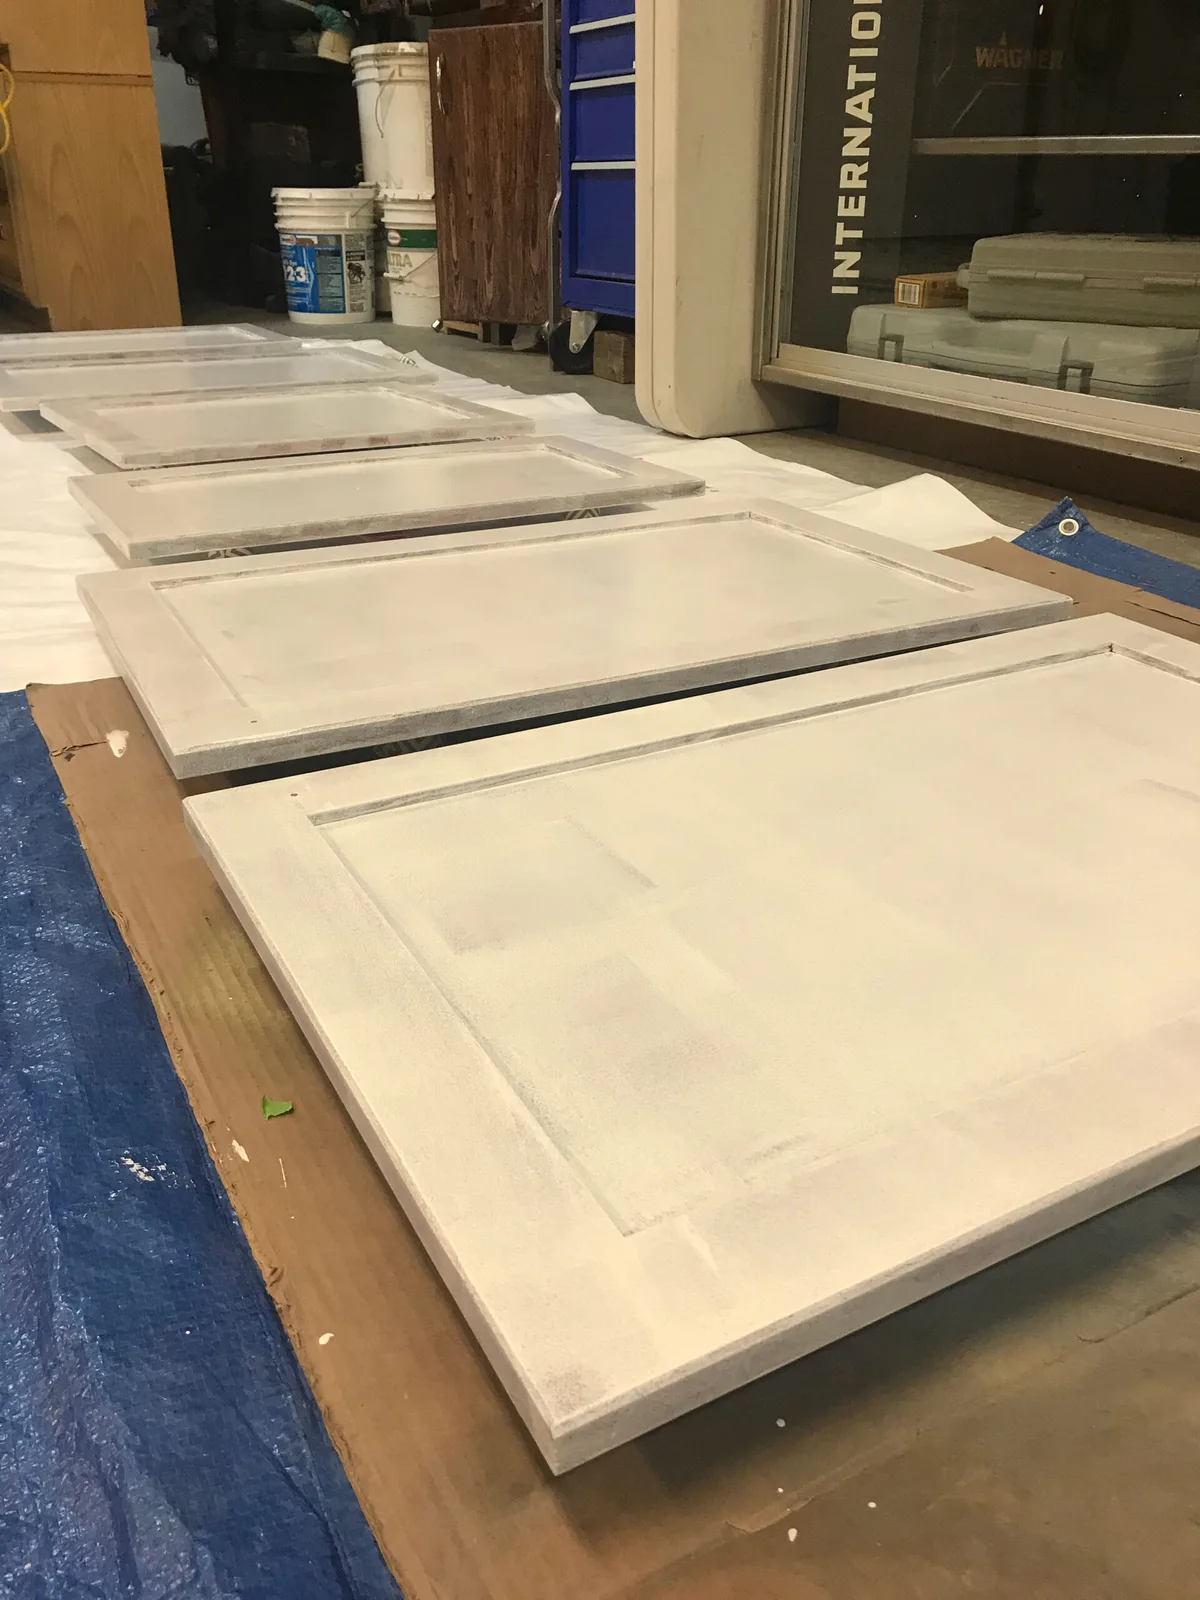
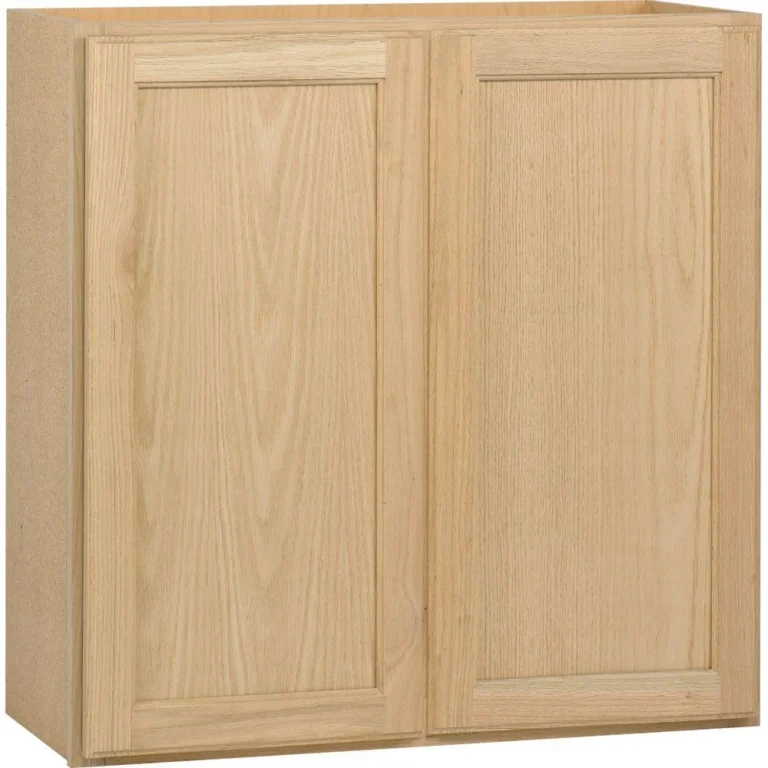
Image source: Web (Bing) / toolsgearlab.com (Web image (fair-use with source credit))
What Primer Actually Does
Primer serves three functions. First, it bonds to the substrate and gives the paint something to grip. Second, it seals the raw wood or old finish so oils and tannins don't bleed through into your fresh paint.
Third, it provides a uniform base color, which means fewer topcoats and a more even finish.
For solid wood doors, a quality acrylic primer works well. For laminate, thermofoil, or previously painted glossy surfaces, you need a dedicated bonding primer. This type contains special resins that stick to slick surfaces that standard primers can't grip.
How to Spot a Poorly Primed Surface
After priming, the surface should look completely uniform in sheen and color. If you see glossy patches, that's insufficient coverage. If you see texture or brush strokes, you applied the primer too thick or worked it too long.
The right visual for a primed cabinet door is a smooth, matte, even surface with no bare spots and no ridges. Run a light across it at a low angle. If the light shows a perfectly smooth surface, you're ready for paint.
If not, sand lightly with 220-grit and apply another thin coat.
Tinted Primer Saves You Money
If you're using white paint, ask your paint supplier to tint the primer gray or to match it to your finish color. A tinted primer means you need fewer topcoats for full coverage. That cuts costs and, more importantly, reduces the amount of paint film buildup on your doors.
Too many thick coats can cause doors to stick or hinge alignment to shift.
Filling and Priming in the Right Order
There's a subtle ordering detail here that matters. Prime first, then spot-fill any tiny imperfections you missed, then prime those filled spots again. Priming first seals the wood, which means the wood filler won't get discolored by tannins or moisture from the wood itself.
It creates a stable base for the filler and two layers of protection against any surface irregularities telegraphing through.
Paint Application: Brush, Roller, or Sprayer?
This is the moment of truth, and the tool choice shapes your entire finish. Each method has a learning curve, a different time investment, and a different final surface quality.
The Brush and Roller Method
Brushing and rolling is the most accessible method for DIYers, and it's capable of producing excellent results if you use the right products. The key is "self-leveling" paint, which flows out after application to erase brush marks and roller stipple.
For flat panels: Use a microfiber roller. It leaves a texture that's very close to a sprayed finish, much smoother than a traditional foam roller.
For edges and recesses: Cut in with a high-quality synthetic-bristle brush. Cheap brushes leave visible streaks and shed bristles into the paint.
The trick with brushing and rolling is to work in small sections. Paint the recessed areas first, then roll the flat panels immediately afterward. Overworking paint causes it to drag and leaves marks that no amount of drying will fix.
A pro tip: use a paint conditioner like Floetrol to extend the open time of water-based paints. This gives the paint more time to level out before it starts to skin over, which is the difference between a smooth finish and one with roller marks in the sheen.
If you're tackling a full kitchen set and want to avoid visible brush texture entirely, consider whether the layout and ventilation of your workspace can support a sprayer. A clean, dust-free, well-ventilated area is essential for spraying, and many DIYers don't have that space. In that case, the roller method wins for practicality.
Spraying Cabinet Doors
Spraying produces the smoothest finish, period. No brush marks, no roller stipple, nothing but a clean, uniform film. An HVLP sprayer (high volume, low pressure) is the typical tool here.
It atomizes the paint into a fine mist that lands on the surface and levels out beautifully.
But spraying comes with caveats. You need a well-ventilated area, proper masking of everything you don't want painted, and you'll spend as much time cleaning the sprayer as you did painting. Overspray is a real problem, and unprotected surfaces in a home kitchen will get a fine dust of paint particles.
For doors you've removed and taken to a garage or outdoor area, spraying is absolutely the way to go. For cabinet frames that stay in place, most people brush or roll because the masking effort is substantial.
What "Self-Leveling" Actually Looks Like
Self-leveling paint contains solvents or water that keep the film fluid for a short window after application. During this window, surface tension pulls the paint into a perfectly flat layer. Brush marks and roller texture literally dissolve away.
The visual signal that self-leveling is working: you'll see the texture begin to melt away within 30 to 60 seconds of application. If you watch a brushed edge, the ridges start to soften and flatten. If you see this happening, your technique is good, and you should resist the urge to go back and "fix" it.
If your paint isn't leveling, it's usually because you applied it too thick, the room is too warm, or the paint was overworked with the brush. Thin coats level best. Apply a modest amount and let the paint do the work.
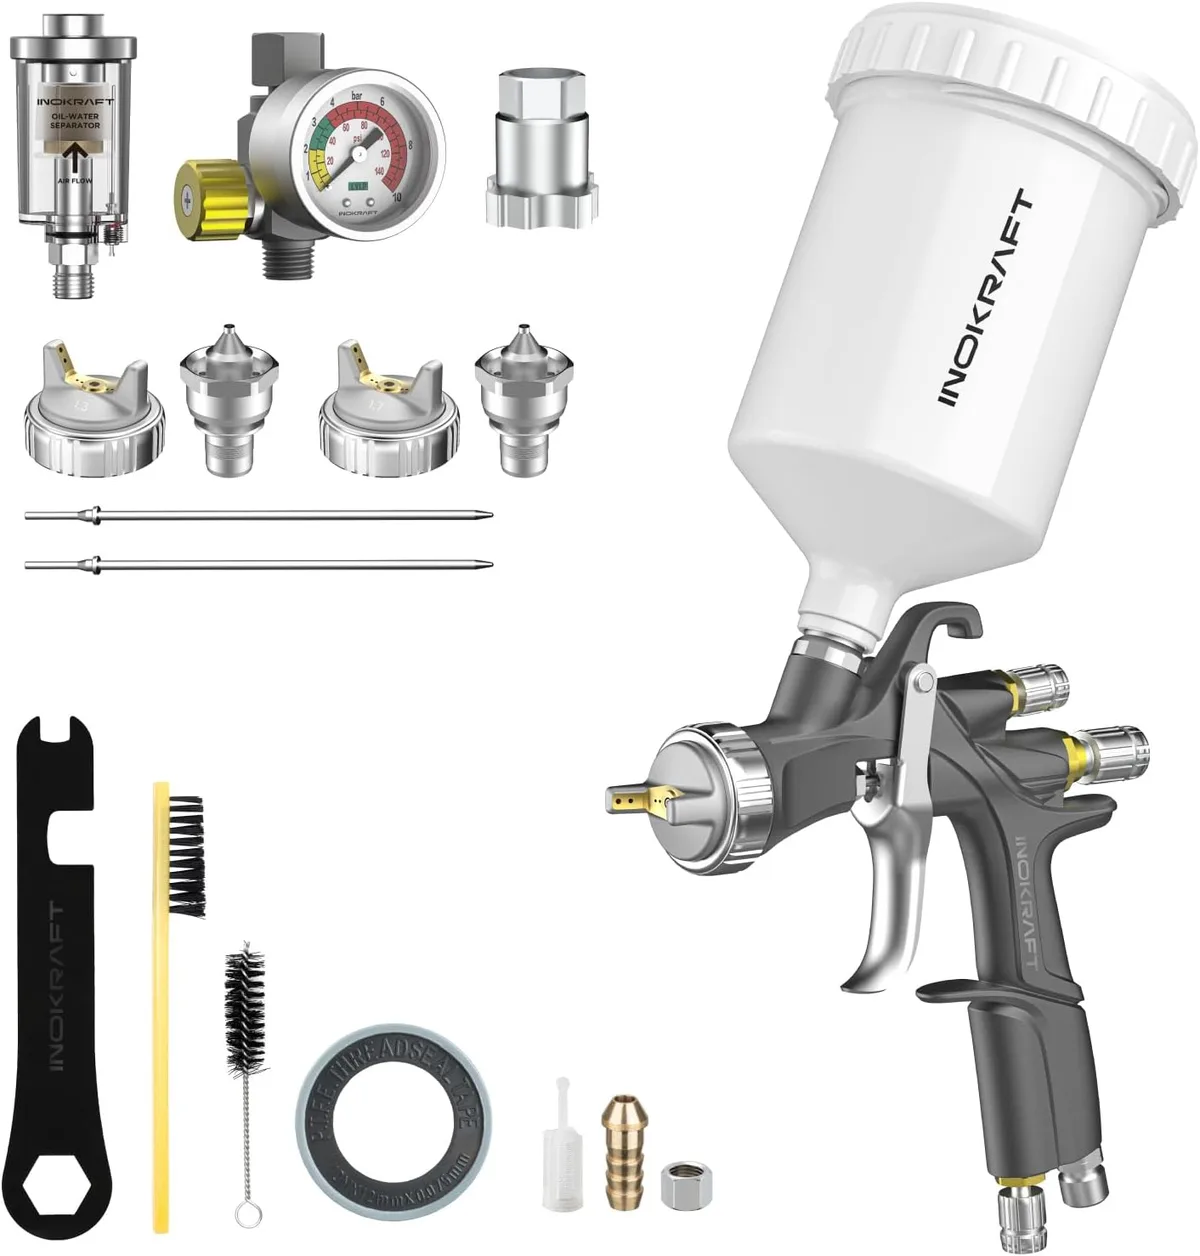
Image source: Web (Bing) / amazon.com (Web image (fair-use with source credit))
Choosing Between Spraying and Brushing
| Factor | Brush and Roller | HVLP Sprayer |
|---|---|---|
| Learning curve | Low | Moderate to high |
| Setup time | Minimal | Significant |
| Overspray risk | None | High |
| Cleanup time | Quick | Lengthy |
| Finish quality | Very good | Excellent |
| Best for | Frames, touch-ups, small jobs | Large flat surfaces, doors |
For most first-time painters, the brush and roller method is the right balance of quality and control. For a full kitchen with dozens of flat door panels, investing in a sprayer rental often pays off in finish quality and speed. Unless you have prior spraying experience, start with a test board to calibrate flow and distance.
The Step-by-Step Process: First Coat
Start with the backs of the doors. They dry out of sight, so you'll refine your technique before moving to the fronts. Apply a thin, even coat using long, steady strokes.
Don't overwork the paint; the self-leveling formula needs to do its job. If the substrate shows through after the coat settles, that's normal, the second coat handles coverage.
The Step-by-Step Process: Second Coat and the Decision Point for a Third
Wait for the first coat to dry to the touch, then sand lightly with 220-grit. Wipe the dust away with a tack cloth, then apply the second coat. Once it dries, inspect the surface under raking light.
If you see uneven sheen or bare spots, a third coat is justified. Most cabinet paints need two coats; three is only for dramatic color changes.
The Hardest Part: Curing Time and Why Patience Wins
Paint dry and paint cured are different things. Water-based cabinet paint dries to the touch in 1 to 2 hours, but it takes 14 to 21 days to reach full hardness. Reinstalling doors too early risks chipping and denting.
Wait a minimum of 48 hours before reattaching hardware. This patience is the real secret to a durable finish.
Common Visual Mistakes (And How to Catch Them Early)
Catch problems early by inspecting each coat under raking light once it's dry.
- Brush marks: drag lines appear when paint is overworked or applied too thick.
- Orange peel: a dimpled texture signals overspray or paint applied too heavily.
- Tannin bleed-through: brown blotches mean a stain-blocking primer was needed.
- Blushing or streaking: a milky haze appears when humidity is high or drying is uneven.
Reinstalling Doors and Hardware Without Ruining Your Work
Let every coat cure fully before touching the surface. Use the labels you created earlier to hang each door on the correct frame. Install hinges over the fresh paint but avoid overtightening.
Drive screws until snug, then stop. Excess pressure can crack the paint around the screw heads.
Spraying vs. Brushing: Which Is Right for Your Project?
Choose the brush and roller for your first cabinet project. It's forgiving, requires minimal setup, and still delivers a professional finish with self-leveling paint. Choose a sprayer when you have many flat doors to finish and a garage or well-ventilated workspace.
The learning curve is real, but the surface quality is worth it for large jobs. Test on a scrap board first.
Maintenance, Touch-Ups, and Long-Term Care for Cabinet Doors
Clean painted doors with a soft cloth and mild soapy water. Avoid abrasive pads and harsh chemical cleaners; they dull the finish over time. For chips and scratches, keep a small jar of your paint color.
Touch up problem spots with a fine brush before they spread. Humidity shifts cause wood to expand, so minor touch-ups are a normal part of long-term maintenance.
Real-World Case Example: What a $100 Cabinet Refresh Actually Looks Like
Editorial analysis of DIY forum posts shows a typical budget refresh runs about $120 in materials. That covers degreaser, sandpaper, primer, two quarts of cabinet paint, brushes, and a roller. The project timeline spans roughly five days, with the longest wait being curing time.
The result, per homeowner reports, is a kitchen that looks dramatically more modern for about 2 percent of a full remodel cost.
FAQs About Painting Kitchen Cabinet Doors
How long does it take to paint kitchen cabinet doors?
Expect three to five days from start to finish. That includes cleaning, sanding, priming, two paint coats, and drying time between each stage. Full curing takes another two to three weeks before heavy use.
Do I really need to sand before painting?
Yes. Sanding scuffs the surface so primer and paint can grip. Skipping this step is the leading cause of peeling and chipping within a few months.
Can I paint laminate cabinet doors?
Yes, but you need a bonding primer designed for slick surfaces. Regular primer won't adhere properly to laminate.
What paint sheen should I use?
Satin or semi-gloss works best for kitchen cabinets. Both resist moisture and wipe down easily without showing too many fingerprints.
How much does it cost to paint kitchen cabinets?
A DIY job runs between $50 and $150 in materials for a standard kitchen. Professional painting services typically charge $2,000 to $5,000 depending on door count and finish quality.
The Final Verdict: Is This Project Worth It for You?
Painting kitchen cabinet doors is one of the highest-impact DIY projects you can tackle. The cost is low, the visual payoff is huge, and the skills carry over to other furniture projects. The only real requirement is patience, especially with prep and curing time.
If you can commit to the process, this is absolutely a project worth doing. Your kitchen will look brand new for a fraction of the cost of replacement.
Spraying vs. Brushing: Which Is Right for Your Project?
Spraying wins on smoothness; brushing wins on simplicity. For a first-time project, brush and roller with self-leveling paint is the practical choice. Choose a sprayer for large door sets with a ventilated workspace.
Always test on scrap material first.
Maintenance, Touch-Ups, and Long-Term Care for Cabinet Doors
Wipe with mild soapy water and avoid abrasive cleaners. Keep leftover paint for spot repairs. Humidity causes wood movement, so small touch-ups are normal over time.
Address chips early to prevent moisture damage.
Real-World Case Example: What a $100 Cabinet Refresh Actually Looks Like
A typical DIY refresh costs about $120 in materials and spans five days. Two quarts of paint, primer, sandpaper, and a good brush cover a standard kitchen. Homeowner reports confirm a dramatic visual upgrade for minimal cost.
FAQs About Painting Kitchen Cabinet Doors
How long does the paint take to cure fully?
Water-based cabinet paints reach full hardness in 14 to 21 days. Wait at least 48 hours before reinstalling hinges and hardware.
Can I skip primer on glossy surfaces?
No. Bonding primer is essential for laminate and previously painted glossy doors. Skipping it leads to peeling within months.
What's the best finish sheen for kitchen cabinets?
Satin or semi-gloss resists moisture and cleans easily. Avoid flat sheens that show scuffs and fingerprints.
The Final Verdict: Is This Project Worth It for You?
Yes, if you commit to proper prep and curing time. The cost is low, the visual impact is huge, and the result rivals professional work. Patience is the only real requirement.