How to Change Kitchen Cabinet Color: Complete DIY Guide
Most homeowners ask how to change kitchen cabinet color without realizing the answer changes completely based on what the cabinets are actually made of. Solid oak, maple veneer, thermofoil, and high-pressure laminate each demand a different prep sequence, primer chemistry, and topcoat system. Using the wrong workflow on thermofoil causes edge delamination within months.
Using the wrong primer on oak lets tannin bleed turn white paint pink by summer.
Manufacturer specifications indicate that waterborne acrylic topcoats reach 90 percent cure in seven to fourteen days at 70 degrees Fahrenheit and 50 percent relative humidity per ASTM D5400 testing standards. Oil-based systems need fourteen to twenty-one days for the same milestone. As of 2026, CARB SCM 2007 VOC limits drive most pros toward waterborne 2K systems for durability without yellowing.
The decision tree starts with identifying your substrate and existing finish before you buy a single can.

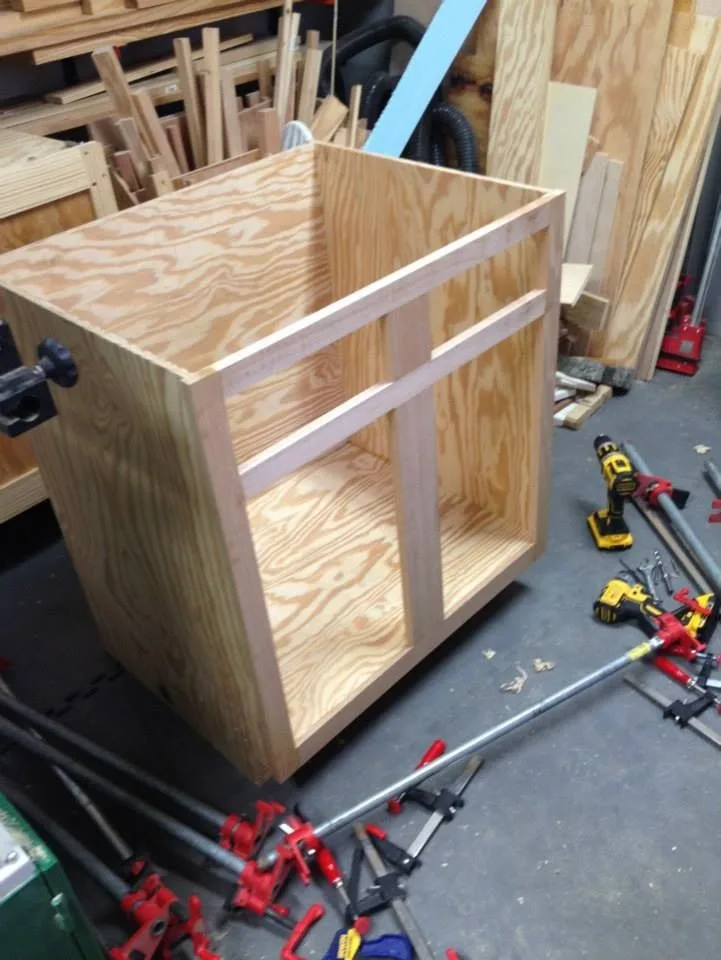
Image source: Web (Bing) / storage.googleapis.com (Web image (fair-use with source credit))
Quick Answer
Changing kitchen cabinet color requires matching the method to your cabinet material. Solid wood accepts paint, gel stain, or traditional stain after stripping. Laminate and thermofoil only accept paint with a shellac or waterborne bonding primer.
Gel stain works over sound factory finishes without stripping. Stripping to raw wood is required for traditional stain. Refacing replaces doors and veneers boxes when the substrate is failing.
Why Your Cabinet Material Dictates Everything
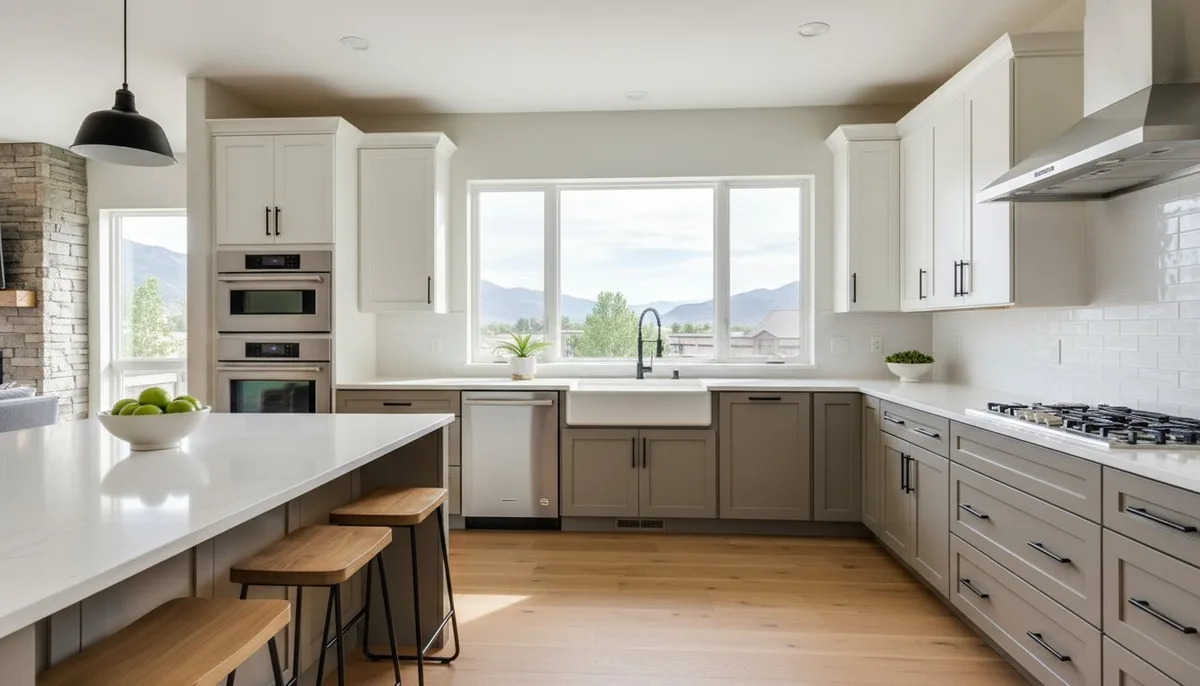
The substrate controls every product choice downstream. Solid hardwood like oak, maple, or cherry is porous and takes stain evenly when sanded to bare wood. Veneer over MDF has a thin real-wood layer that sands through fast.
Thermofoil is vinyl wrapped over MDF and cannot be stained. High-pressure laminate and melamine are non-porous plastics that only bond with specific primers. Particleboard swells if water penetrates edges during cleaning.
Open-grain woods such as oak and ash telegraph texture through paint unless you fill the grain first. Closed-grain woods like maple and cherry paint smooth with less prep. Tannin-rich species including cherry, mahogany, and red oak bleed pink or yellow through water-based primers.
Only shellac-based primer blocks tannins reliably. Factory finishes vary too. Catalyzed conversion varnish resists most chemical strippers.
Acrylic urethane sands well. Wax coatings repel paint unless fully removed.
| Substrate | Accepts Paint | Accepts Gel Stain | Accepts Traditional Stain | Primary Risk |
|---|---|---|---|---|
| Solid oak, maple, cherry | Yes | Yes | Yes (raw wood only) | Tannin bleed, grain telegraph |
| Veneer over MDF | Yes | Yes | Yes (careful sanding) | Sand-through, edge swell |
| Thermofoil (vinyl/MDF) | Yes (bonding primer only) | No | No | Heat delamination, edge peel |
| High-pressure laminate | Yes (bonding primer only) | No | No | Poor adhesion, chipping |
| Melamine | Yes (bonding primer only) | No | No | Chipping at edges |
| Particleboard | Yes (seal edges first) | No | No | Swelling, screw pull-out |
If you skip identification, you risk buying products that cannot adhere. A shellac primer like BIN sticks to almost anything and blocks stains in fifteen minutes. Waterborne bonding primers like STIX or Extreme Bond work on clean, scuffed laminate but fail over heavy tannin bleed.
Oil-based bonding primers bridge the middle but yellow over time and carry high VOCs. The material test takes ten minutes and saves weeks of rework.
Identify What You're Working With: Substrate & Finish Tests

Start by removing one door and labeling it with painter's tape. Number every door and hinge location so reassembly stays straight. Test the existing finish in a hidden spot using three solvents.
Denatured alcohol dissolves shellac. Lacquer thinner dissolves nitrocellulose lacquer. Acetone attacks conversion varnish and catalyzed finishes.
If none react, you likely have acrylic urethane, polyurethane, or a factory-cured waterborne coating.
Rub a cotton ball soaked in denatured alcohol on the back of a door. If the finish softens or transfers color, it contains shellac. Shellac requires a shellac primer for best adhesion.
Next, test lacquer thinner. If it gets sticky or dissolves, you have lacquer. Light scuff sanding with 180-grit paper plus a bonding primer works.
Finally, test acetone. If it softens the finish, you have conversion varnish or catalyzed lacquer. These need aggressive mechanical scuffing and a shellac or high-adhesion waterborne primer.
Check for wax by sprinkling water on the surface. If it beads tightly, wax is present. Wash with a TSP substitute or Krud Kutter degreaser, then wipe with mineral spirits.
Feel the surface. Thermofoil feels like smooth plastic with wrapped edges. Laminate has a visible seam at the edge.
Solid wood shows grain continuity across the face frame joint. Veneer shows a repeating pattern or a glue line at the edge.
If the home was built before 1978, test for lead paint before sanding. EPA RRP rules require certified renovators when disturbing more than six square feet of lead-coated surface. Use an EPA-recognized test kit or send a chip to a lab.
Positive results mean containment, HEPA vacuuming, and disposable coveralls. Skip this step and you risk federal fines and family exposure. The EPA maintains guidance at their renovation repair and painting program page.
Choose Your Path: Paint, Gel Stain, Strip-to-Stain, Reface, or Replace
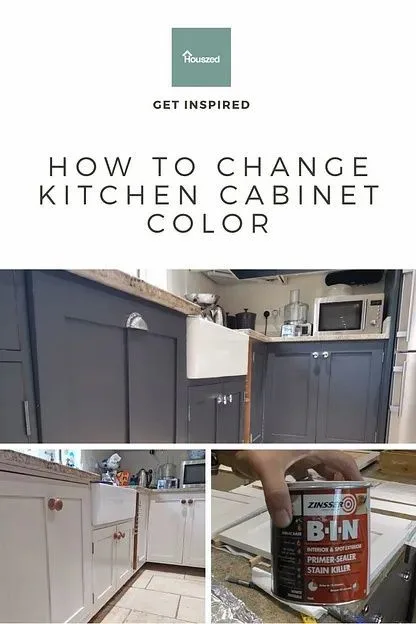
Match the workflow to your substrate, finish condition, and desired look. Paint covers everything and offers unlimited color. It hides grain, defects, and previous color.
Gel stain adds tone over a sound factory finish without stripping. It enhances grain but cannot lighten the existing color. Strip-to-stain returns wood to raw state for traditional stain.
It demands full chemical stripping, thorough sanding, and grain matching on new doors. Refacing swaps doors and applies veneer to boxes. It solves failing thermofoil or layout changes.
Replacement is the only path when boxes are water-damaged, particleboard is swollen, or you want a new footprint.
Decision logic flows like this. If the substrate is thermofoil, laminate, or melamine, you can only paint with a bonding primer. If the substrate is solid wood or veneer and the factory finish is intact, you can paint or gel stain.
If you want a lighter color on wood, you must strip to raw wood. If the factory finish is peeling, cracked, or worn to bare spots, gel stain will highlight flaws. Strip or paint instead.
If doors are warped, hinges are stripped out, or boxes are sagging, refacing or replacement beats any surface coating.
| Starting Condition | Paint Route | Gel Stain Route | Strip-to-Stain | Reface | Replace |
|---|---|---|---|---|---|
| Thermofoil/laminate/melamine | ✓ Best | ✗ | ✗ | ✓ Good | ✓ |
| Sound factory finish on wood | ✓ | ✓ Best | ✓ | Optional | Overkill |
| Peeling/cracked finish | ✓ (extra prep) | ✗ | ✓ | ✓ | ✓ |
| Tannin-rich wood (oak, cherry) | ✓ (shellac prime) | ✓ | ✓ | ✓ | ✓ |
| Water-damaged boxes | ✗ | ✗ | ✗ | Risky | ✓ Best |
| Layout change desired | ✗ | ✗ | ✗ | Partial | ✓ Best |
| Budget range (30-door kitchen) | $200–$500 DIY | $100–$200 DIY | $400–$800 DIY | $6k–$12k pro | $15k–$40k+ |
Paint with a bonding primer plus a 2K waterborne topcoat delivers ten to fifteen years of service if prep is correct. Gel stain over factory finish lasts five to eight years before wear shows at handles. Strip-to-stain with a catalyzed topcoat matches new cabinet durability but costs more in labor and materials.
Refacing keeps the layout and costs forty to sixty percent of full replacement. Replacement allows layout changes, modern hardware, and soft-close everything. Most DIYers choose paint for flexibility and cost.
Pros often steer clients toward refacing when thermofoil is failing.
Path A: Paint Route — Bonding Primer + Durable Topcoat System
The paint route works on every substrate when you pair the right primer with a kitchen-grade topcoat. Shellac-based primer (BIN, Cover Stain) blocks tannins, knots, and heavy stain bleed in one coat. It dries in fifteen minutes and accepts any topcoat.
Waterborne bonding primers (STIX, Extreme Bond, Multi-Surface) stick to clean laminate and factory finishes with low odor. They fail over active tannin bleed. Oil-based bonding primers (Kilz Original, Cover Stain Oil) bridge the gap but yellow under white paint and carry 350-plus grams per liter VOC.
Topcoat choice determines durability. Waterborne acrylic (General Finishes High Performance, Enduro-Var) offers 200 to 400 Taber abrasion cycles, zero yellowing, and two-hour recoat. Two-component waterborne (Target Coatings EM8000, ML Campbell Agualente) pushes 500 to 800 cycles, chemical resistance comparable to conversion varnish, and seven-day full cure.
Catalyzed conversion varnish (post-cat, pre-cat) hits 1000-plus cycles but requires spray equipment, respiration protection, and thirty-day cure. Wipe-on polyurethane is too soft for cabinet boxes and doors.
Application method changes the finish quality. HVLP turbine sprayers (Fuji, Apollo, Earlex) lay down a factory-smooth film with minimal orange peel. Airless sprayers apply faster but risk heavy texture and overspray.
Foam roller plus brush works for DIY but leaves stipple. Use a 3/16-inch nap microfiber roller for boxes and a fine-finish brush for faces. Add Floetrol or manufacturer reducer to improve flow.
Two coats of primer and three coats of topcoat build 3 to 4 mils dry film, the minimum for kitchen duty.
Prep sequence never changes. Remove doors and hardware. Label everything.
Clean with TSP substitute, rinse, dry. Degrease with Krud Kutter or 50/50 vinegar water. Scuff sand 180 to 220 grit on flat areas, foam sanding pad for profiles.
Vacuum and tack cloth. Repair dents with wood filler, deep damage with Bondo. Prime.
Sand 220 to 320 grit between primer and first topcoat. Topcoat two to three coats with 320-grit sanding between coats two and three. Reinstall after 72-hour minimum cure.
| Primer Type | Best For | Dry Time | Recoat | VOC | Cleanup |
|---|---|---|---|---|---|
| Shellac (BIN) | Tannin bleed, knots, universal adhesion | 15 min | 45 min | 350+ g/L | Denatured alcohol |
| Waterborne bonding (STIX) | Laminate, factory finish, low odor | 1 hr | 2 hr | <50 g/L | Water |
| Oil bonding (Kilz Original) | Stain block, high adhesion, budget | 1 hr | 2 hr | 350–450 g/L | Mineral spirits |
| Topcoat System | Taber Cycles | Yellowing | Recoat Window | Full Cure | Application |
|---|---|---|---|---|---|
| Waterborne acrylic | 200–400 | None | 2–4 hr | 7–14 days | Brush, roll, spray |
| 2K waterborne | 500–800 | None | 1–2 hr | 7–10 days | Spray only |
| Conversion varnish | 1000+ | Slight | 1–2 hr | 30 days | Spray only |
| Wipe-on poly | <100 | Moderate | 4–6 hr | 14–21 days | Cloth only |
Humidity above 65 percent extends dry times dramatically. Cold below 55 degrees Fahrenheit stops cure. Plan the project for a stable weather window.
Run a dehumidifier in summer, a space heater in winter. Keep the workpiece at 70 degrees if possible. The first thirty days are critical.
Clean only with a damp microfiber cloth. Avoid ammonia, alcohol, or abrasive cleaners until full cure.
Path B: Gel Stain Route — Color Shift Over Sound Factory Finish
Gel stain sits on the surface rather than penetrating, so it works over an intact factory finish without stripping. The existing topcoat must be fully cured, well-adhered, and free of wax, grease, or peeling. Test adhesion with a cross-hatch tape pull per ASTM D3359.
If squares lift, the finish is failing and gel stain will peel with it. Clean with TSP substitute, rinse, dry, then scuff with 220-grit foam pad. Tack cloth every surface.
Apply gel stain with a foam brush or lint-free cloth. Work one door at a time. Wipe on liberally, let dwell three to five minutes, then wipe off excess with a clean cloth following the grain.
Blend edges fast, gel stain sets quicker than oil stain. Uneven dwell time creates lap marks that cannot be sanded out later. Two coats deepen tone; sand 320 grit between coats.
Topcoat is mandatory. Wipe-on polyurethane or waterborne acrylic spray both work. Two coats minimum.
| Gel Stain Brand | Dry Time | Recoat | Topcoat Compatibility | Best For |
|---|---|---|---|---|
| General Finishes | 4–6 hr | 6–8 hr | Waterborne, oil, 2K | DIY control, color range |
| Minwax Gel Stain | 8–10 hr | 8–10 hr | Oil poly only | Big-box availability |
| Old Masters | 6–8 hr | 8 hr | Oil, waterborne | Pro consistency |
Gel stain cannot lighten a dark cabinet. It only adds warmth or shifts hue darker. Oak grain stays visible.
Maple blotch risk is lower than with penetrating stain but still present, test a hidden spot. Expect five to eight years before handle wear shows. Touch-up is simple: clean, scuff, wipe on gel stain, topcoat.
No primer needed. No spray equipment required. Total material cost for a 30-door kitchen runs $100 to $200.
Path C: Strip-to-Stain Route — Raw Wood Only, Full Commitment
Traditional stain requires bare wood. Chemical stripper (Citristrip, Smart Strip, or methylene chloride for pros) removes factory finish. Apply thick, cover with plastic, dwell per label, usually 30 to 60 minutes.
Scrape with a plastic putty knife. Repeat until wood is clean. Neutralize with mineral spirits or water per product directions.
Sand 120 grit, then 180 grit. Vacuum and tack.
Stain application demands a wet edge. Use a lint-free pad or brush. Wipe on, dwell two to five minutes, wipe off completely.
Blotchy species like maple, cherry, and pine need a pre-stain conditioner or a gel stain instead. Oil-based stain (Minwax, Varathane) penetrates deeper but raises grain. Waterborne stain (General Finishes) dries faster, low odor, but laps faster.
Two coats max, third coat sits on surface and peels.
Topcoat must be sprayed for durability. Brush-on polyurethane builds too thick and yellows. Conversion varnish or 2K waterborne delivers the 1000-plus Taber cycles that match factory cabinets.
Three coats, 320-grit sand between. Full cure 30 days. This route costs $400 to $800 in materials for a 30-door kitchen and takes five to seven days of active work.
Grain matching new doors to stripped boxes is the hardest part. Many pros refuse this job unless the kitchen is high-end hardwood throughout.
Path D: Refacing or Replacement — When Painting Isn't the Answer
Refacing replaces doors and drawer fronts, then applies veneer or laminate to the existing boxes. It solves thermofoil delamination, water-damaged particleboard edges, and outdated door styles. Boxes must be structurally sound.
Pro install takes three to five days. Cost runs $150 to $300 per door plus $50 to $100 per linear foot for box veneer. A 30-door kitchen lands $6,000 to $12,000.
Warranty typically covers delamination and hinge failure for five to ten years.
Replacement means new boxes, doors, hardware, and often countertop. Layout changes become possible. Cost starts $15,000 for stock cabinets, $25,000 for semi-custom, $40,000-plus for custom.
Lead times run four to twelve weeks. If the footprint works and boxes are solid, refacing beats replacement on cost and speed. If boxes are swollen, out of square, or you want taller uppers, replacement is the only path.
Painting over failing thermofoil or swollen particleboard wastes money, the substrate fails under the new finish.
Prep Workflow That Prevents Peeling, Bleed, and Grain Telegraph
The prep sequence is identical for paint and gel stain routes. Remove doors and hardware. Label every piece with numbered tape on the hinge mortise.
Clean with TSP substitute (Dirtex, Krud Kutter), one cup per gallon hot water. Scrub, rinse with clean water, dry two hours. Degrease with 50/50 vinegar water or dedicated degreaser.
Scuff sand 180 to 220 grit on flats, foam pad for profiles. Do not sand through veneer. Vacuum with brush attachment.
Tack cloth every surface.
Repair dents with shrink-free wood filler (DAP Plastic Wood, Elmer's ProBond). Deep gouges get two-part epoxy (Bondo Wood Filler). Sand flush.
Caulk seams where face frame meets panel, paint-grade acrylic latex caulk, tool smooth, wipe damp. Prime within four hours of final tack to avoid dust settlement. Shellac primer: one coat, 15-minute dry.
Waterborne bonding: one to two coats, one-hour dry. Oil bonding: one coat, one-hour dry. Sand 220 to 320 grit after primer.
Tack again.
Grain filling on oak or ash: apply Aqua Coat or Famowood grain filler with a plastic spreader. Push into pores. Scrape excess.
Dry two hours. Sand 220 grit. Repeat if pores show.
This adds four to six hours but eliminates telegraphing. Skip it and you will see grain through three coats of paint. Maple and cherry do not need filler.
Tannin block on cherry, mahogany, red oak: shellac primer only. Waterborne bonding primers claim stain block but fail in field tests on heavy tannin.
| Prep Step | Tool | Time | Skip Risk |
|---|---|---|---|
| Label doors/hardware | Painter's tape, marker | 20 min | Misaligned doors, lost hinges |
| TSP clean | Sponge, bucket | 45 min | Grease fish-eyes, adhesion fail |
| Degrease | Spray bottle, rags | 20 min | Primer beads, peeling |
| Scuff sand | 180–220 grit, foam pad | 60–90 min | Mechanical bond failure |
| Vacuum + tack | Shop vac, tack cloth | 30 min | Dust nibs in finish |
| Repair filler | Putty knife, filler | 30 min + dry | Visible dents, cracks |
| Caulk seams | Caulk gun, tool | 20 min | Crack lines, moisture intrusion |
| Prime | Brush, roller, sprayer | 30 min + dry | Stain bleed, poor adhesion |
Application Methods: Brush/Roll vs HVLP Spray — Real Tradeoffs
Brush and roller cost $50 in tools. HVLP turbine costs $300 to $800 entry. Airless costs $400 to $1,200.
Brush/roll leaves stipple and brush marks. Self-leveling additives (Floetrol 8 oz per gallon, Penetrol for oil) reduce texture but extend dry time. Foam cabinet roller (3/16-inch nap) on boxes, fine-finish brush (Purdy Nylox, Wooster Silver Tip) on faces.
Two people, one rolls, one brushes, keeps wet edge.
HVLP spray delivers factory finish. Turbine 4-stage or 5-stage (Fuji Mini-Mite, Apollo 1050) provides 6 to 9 PSI at the gun. Tip size 1.3 mm for primer, 1.2 mm for topcoat.
Strain paint through mesh cone. Warm cans to 70 degrees in water bath. Humidity under 65 percent.
Spray 6 to 8 inches, 50 percent overlap, 2 to 3 mils wet film. Two coats primer, three coats topcoat. Cleanup 20 minutes.
Learning curve: two doors to get rhythm.
Airless sprayers (Graco Magnum, Titan) run 2000 to 3000 PSI. Fast on boxes. High overspray.
Texture risk on faces. Tip 311 or 411. Back-roll immediately with foam roller to level.
Not recommended for DIY on doors. Pro crews use air-assisted airless (Graco G15, Kremlin) for speed and finish. Rental $80 to $120 per day.
Buy if you do two kitchens a year.
| Method | Tool Cost | Finish Quality | Speed | Learning Curve | Best For |
|---|---|---|---|---|---|
| Brush/roll | $50 | Good with additives | Slow | Low | DIY, small kitchens |
| HVLP turbine | $300–$800 | Excellent | Medium | Medium | DIY serious, pro start |
| Airless | $400–$1,200 | Fair to good | Fast | Medium | Boxes only, pros |
| Air-assisted airless | $2,500+ | Excellent | Fast | High | Pro production |
Topcoat Selection: Durability, Sheen, and Yellowing Resistance
Sheen choice balances durability and aesthetics. Dead flat (0, 5° gloss) hides imperfections but scratches easily. Matte (5, 10°) slightly better.
Eggshell (10, 25°) standard for walls, marginal for cabinets. Satin (25, 35°) sweet spot, cleanable, hides minor flaws. Semi-gloss (35, 60°) most durable, shows every brush mark.
Gloss (60, 85°) highest durability, unforgiving. Most pros specify satin for doors, semi-gloss for boxes and trim.
Waterborne acrylic (General Finishes High Performance, Enduro-Var) cures clear, non-yellowing, 200 to 400 Taber cycles. Two-hour recoat. Brush, roll, or spray. 2K waterborne (Target Coatings EM8000, ML Campbell Agualente) mixes Part A resin with Part B crosslinker.
Pot life two to four hours. Sprays only. 500 to 800 Taber cycles. Chemical resistance matches conversion varnish.
Seven-day full cure. Conversion varnish (post-cat, pre-cat) 1000-plus cycles, slight amber tone, 30-day cure, spray only, respirator mandatory.
Wipe-on polyurethane (General Finishes Arm-R-Seal, Minwax Wipe-On) builds 0.5 mils per coat. Needs six to eight coats for kitchen duty. Not recommended for doors.
Use only on interior shelves or low-wear areas. Oil-based polyurethane yellows visibly in six months on white paint. Alkyd paint yellows in one year.
Waterborne systems stay color-true for a decade. Manufacturer TDS lists dry film thickness targets, aim for 3 to 4 mils total dry film across all topcoats.
| Topcoat | Yellowing | Taber Cycles | Recoat | Cure | Application |
|---|---|---|---|---|---|
| Waterborne acrylic | None | 200–400 | 2–4 hr | 7–14 days | Brush, roll, spray |
| 2K waterborne | None | 500–800 | 1–2 hr | 7–10 days | Spray only |
| Conversion varnish | Slight | 1,000+ | 1–2 hr | 30 days | Spray only |
| Wipe-on poly | Moderate | <100 | 4–6 hr | 14–21 days | Cloth only |
Common Mistakes That Ruin Results (And How to Fix Them)
Skipping the finish test leads to primer failure. Shellac over conversion varnish without scuff sand peels in sheets. Waterborne bonding primer over tannin-rich oak bleeds pink in weeks.
Fix: strip failed areas, shellac prime, restart. Sanding through veneer on MDF boxes exposes brown core. Fix: touch up with gel stain pen, topcoat, accept flaw.
Painting thermofoil edges without sealing lets steam penetrate. Fix: caulk edges before prime, use shellac primer.
Recoating past the window causes solvent pop and intercoat delamination. Waterborne topcoat recoat window closes at four hours. Past that, sand 320 grit before next coat.
Dust nibs in finish: wet-sand 600 grit, polish with automotive compound, or respray. Brush marks in final coat: sand 320, add Floetrol, reapply thin coat. Roller stipple on faces: switch to foam roller, lighter pressure, maintain wet edge.
Hinge adjustment lost after reinstall. Number every hinge cup. Euro hinges adjust three ways: side-to-side, up-down, in-out.
Soft-close mechanism resets by closing door fully twice. Bumpers on every corner prevent door slap. Hardware template ensures pulls align.
Drill new holes before finish if changing pull centers. Fill old holes with epoxy, sand flush, touch up.
| Mistake | Symptom | Fix |
|---|---|---|
| Wrong primer | Peeling at edges, bleed | Strip, shellac prime, restart |
| Missed recoat window | Solvent pop, delamination | Sand 320, reapply |
| No grain fill on oak | Texture shows through paint | Sand, grain fill, reprime |
| Paint thermofoil unsealed | Steam delamination | Caulk edges, shellac prime |
| No label system | Misaligned doors, lost hardware | Remove, label, map before start |
| Dust in finish | Gritty feel, visible specks | Wet-sand 600, polish or respray |
Cost Breakdown: DIY Materials vs Pro Spray vs Refacing vs New
DIY paint route: shellac primer $35/gallon, 2K waterborne topcoat $85/gallon, sandpaper/tape/cleaners $60, HVLP rental $60/day. Two gallons primer, two gallons topcoat, three-day rental = $350 to $450 for 30-door kitchen. Add grain filler $40 if oak.
Gel stain route: gel stain $25/quart (two quarts), wipe-on poly $30/quart, prep supplies $40 = $120 to $160. Strip-to-stain: stripper $40/gallon (two gallons), stain $30/quart, conversion varnish $120/gallon, respirator $80 = $400 to $600.
Pro spray labor: $80 to $120 per door, $30 to $50 per drawer front, $200 to $400 box veneer. 30-door kitchen = $3,000 to $5,500. Includes masking, spray booth setup, two coats primer, three coats 2K topcoat, reinstall. Refacing: $150 to $300 per door, $50 to $100 per linear foot box veneer, install $1,500 to $2,500. 30-door = $6,000 to $12,000.
Replacement: stock $15,000 to $25,000, semi-custom $25,000 to $40,000, custom $40,000+. Countertop, plumbing, electrical extra.
| Approach | Material Cost | Labor Cost | Total (30-door) | Timeline | Lifespan |
|---|---|---|---|---|---|
| DIY paint | $350–$500 | Your time | $350–$500 | 3–7 days | 10–15 yr |
| DIY gel stain | $120–$160 | Your time | $120–$160 | 1–2 days | 5–8 yr |
| DIY strip-stain | $400–$600 | Your time | $400–$600 | 5–7 days | 15–20 yr |
| Pro spray | Included | $3,000–$5,500 | $3,000–$5,500 | 2–3 days | 15–20 yr |
| Refacing | $4,500–$9,500 | $1,500–$2,500 | $6,000–$12,000 | 3–5 days | 15–20 yr |
| Replacement | $15,000–$40,000+ | $5,000–$15,000 | $20,000–$55,000 | 4–12 wk | 30+ yr |
Safety, Ventilation, and Lead Paint Rules You Can't Ignore
Pre-1978 homes: test for lead before sanding. EPA RRP rule triggers at six square feet interior disturbance. Certified renovator required.
Containment plastic, HEPA vacuum, disposable coveralls, N100 respirator. Waste goes to hazardous collection. Fines reach $37,000 per violation.
EPA maintains the renovation repair and painting program page with certified firm locator.
VOC regulations vary. CARB SCM 2007 limits architectural coatings to 50 g/L in California. OTC model rule covers Northeast states.
South Coast AQMD governs Los Angeles basin. Check local limits before buying oil-based primer or conversion varnish. Waterborne 2K systems comply nationwide.
Shellac primer exempt as "shellac" but still 350+ g/L, ventilate aggressively.
Flammability: oil-based rags spontaneously combust. Metal can, water, tight lid, store outside. Solvent vapors heavier than air, floor-level ventilation critical.
NIOSH-approved respirator with organic vapor cartridge (3M 6001) plus P100 particulate filter. N95 does not filter vapors. Spray booth NFPA 33 for commercial.
DIY garage: explosion-proof fan, no ignition sources, solvent cabinet.
Waste disposal: liquid oil paint, stripper, solvent rags = hazardous waste. Municipal collection events only. Never drain, trash, or ground.
Waterborne cleanup water can drain if solids filtered. Check local hazardous waste schedule. Manufacturer SDS lists disposal class.
OSHA 29 CFR 1910.107 covers spray finishing. 1910.134 covers respiratory protection. Follow both.
First 30 Days: Cure Timeline, Cleaning, and Touch-Up Strategy
Waterborne topcoat: touch dry two hours, recoat four hours, 90% cure seven days, full cure 14 to 30 days. 2K waterborne: touch dry one hour, recoat two hours, 90% cure three days, full cure seven to ten days. Conversion varnish: touch dry 30 minutes, recoat one hour, 90% cure seven days, full cure 30 days. Oil polyurethane: touch dry six hours, recoat eight hours, 90% cure 14 days, full cure 30+ days.
First 72 hours: no objects on shelves, no door closing force. Use bumpers. Week one: damp microfiber only.
No cleaners. Week two: mild soap (Dawn few drops per gallon), immediate dry. Month one: no ammonia, alcohol, vinegar, abrasive pads.
Magic Eraser melamine foam scratches satin sheen, avoid. Touch-up kit: save one ounce each primer and topcoat in labeled jars. Small chip: clean, tiny brush dab primer, dry, dab topcoat.
Larger flaw: sand featheredge, prime, topcoat.
Seasonal movement: wood expands in summer humidity, contracts in winter dry. Paint film stretches. Hairline cracks at panel joints are normal.
Do not caulk after finish, caulk shows. Maintain 35 to 55% RH indoors for stability. Humidifier in winter, dehumidifier in summer.
Annual inspection: tighten hinge screws, check bumpers, wipe tracks. A maintained paint job lasts 15 years. Neglected fails in five.
Decision Guide: Match Your Situation to the Right Workflow
Start with the substrate test. Thermofoil, laminate, melamine → paint only with bonding primer. Solid wood or veneer with sound factory finish → paint or gel stain.
Solid wood with peeling finish → paint (extra prep) or strip-to-stain. Tannin-rich wood (oak, cherry) → shellac primer mandatory for paint. Water-damaged boxes → refacing or replacement.
Layout change desired → replacement. Budget under $500 → DIY paint or gel stain. Budget $3,000 to $6,000 → pro spray.
Budget $6,000 to $12,000 → refacing. Budget $20,000+ → replacement.
Timeline pressure: weekend only → gel stain. One week → DIY paint. Two weeks → pro spray or DIY strip-stain.
One month → refacing. Three months → replacement. Skill comfort: never painted → gel stain or hire pro.
Comfortable with brush/roll → DIY paint. Own HVLP or willing to learn → DIY spray. Want zero risk → pro spray or refacing.
Resale soon → neutral paint (white, greige) or refacing. Forever home → custom color, 2K topcoat, grain fill.
| Your Situation | Recommended Path | Key Reason |
|---|---|---|
| Thermofoil, laminate, melamine | Paint + bonding primer | Only method that adheres |
| Sound factory finish, want richer tone | Gel stain | No strip, fast, reversible |
| Oak/cherry, want white paint | Paint + shellac primer + grain fill | Blocks bleed, hides grain |
| Peeling finish, solid wood boxes | Strip-to-stain or paint | Prep removes failure layer |
| Water-damaged particleboard | Refacing or replace | Substrate cannot be saved |
| Layout change needed | Replace | Boxes must move |
| Budget $500, two weekends | DIY paint or gel stain | Materials only, your labor |
| Budget $5,000, want pro result | Pro spray 2K waterborne | Warranty, speed, durability |
Frequently Asked Questions
Can I paint over thermofoil cabinets without sanding?
No. Thermofoil requires scuff sanding 180 to 220 grit and a shellac or waterborne bonding primer. Skipping sand causes edge peeling within months.
How long does cabinet paint take to fully cure?
Waterborne systems reach 90% cure in seven to fourteen days. Full chemical cure takes 30 days. Oil systems need 30+ days.
Use gently until then.
Will gel stain cover white paint to make it dark?
Yes. Gel stain sits on surface and shifts color darker. It cannot lighten.
Test a hidden spot first. Topcoat required.
Do I need to remove cabinet doors to paint them?
Yes. Painting on hinges misses edges, drips on hinges, and prevents proper sanding. Label, remove, paint flat, reinstall after cure.
What primer stops tannin bleed on oak cabinets?
Shellac-based primer (BIN, Cover Stain) is the only reliable block. Waterborne bonding primers fail on heavy tannin within months.
Can I use chalk paint on kitchen cabinets without topcoat?
No. Chalk paint with wax wears through in weeks at handles. Waterborne topcoat over chalk paint works but bonding primer under chalk paint works better.
The FAQ covers the most common questions, but real projects always throw curveballs. Keep your labeled hardware bags, primer jars, and touch-up brushes together in a zip-top bag taped inside a cabinet, future you will thank present you. If something feels off at any step, pause and re-read the relevant section.
The substrate test, the primer match, the recoat window, those three checkpoints prevent ninety percent of callbacks.