How to Disconnect a Kitchen Faucet: Simple DIY Guide
Learning how to disconnect kitchen faucet hardware starts with accepting that no two installs look the same. The supply lines might be braided stainless with compression nuts or push-fit PEX with collet clips. The mounting nuts could be standard hex, quick-release brackets, or commercial shanks that need a 1-1/2-inch wrench.
Your shutoff valves might be quarter-turn balls or multi-turn compression stems that weep when disturbed.
Manufacturer specs indicate that 3/8-inch OD compression and 1/2-inch FIP remain the dominant supply standards as of 2026. A basin wrench with 3/8-to-1-1/4-inch jaw capacity covers 90 percent of residential mounting nuts. The next section breaks down how to identify every variable before you turn a wrench.
Quick Answer
Turn off both shutoff valves. Open the faucet to relieve pressure. Disconnect supply lines at the valve nuts.
Release the sprayer hose quick-connect if present. Remove mounting nuts with a basin wrench. Lift the faucet body free.
Why Disconnecting a Kitchen Faucet Isn't One-Size-Fits-All
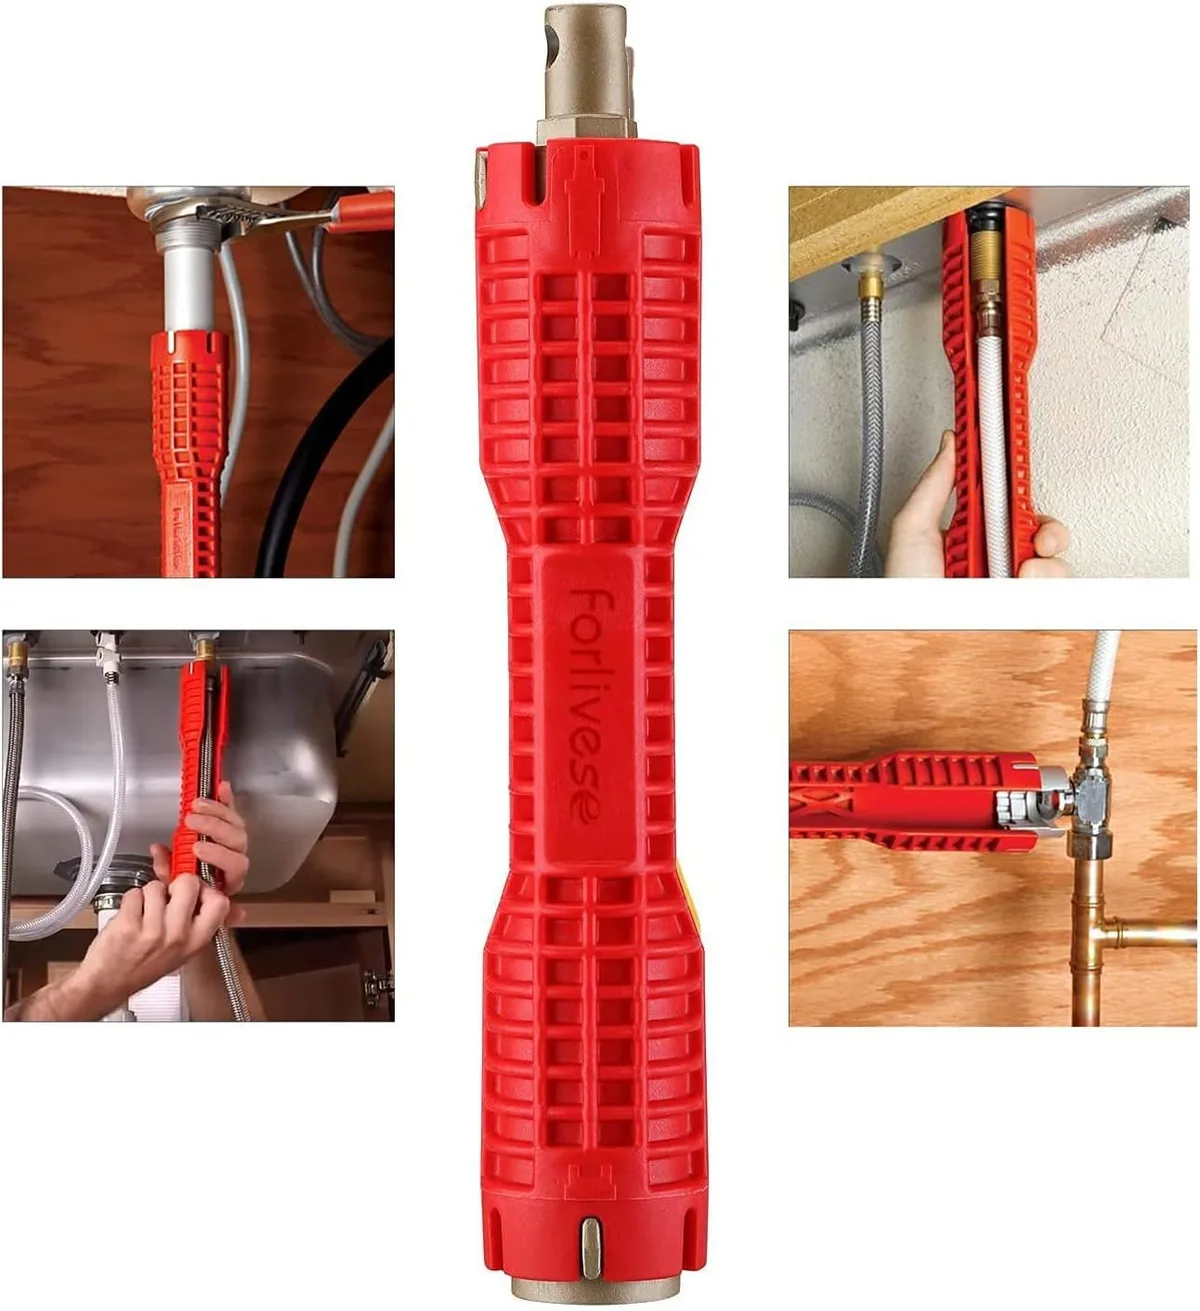
Image source: Web (Bing) / ipipeline.net (Web image (fair-use with source credit))
The faucet type dictates the workflow. A pull-down model adds a sprayer hose quick-connect at the hose base or faucet body. A bridge faucet uses two shanks with separate supply connections and a center tee.
A single-handle deck mount typically has one shank with integrated supply tubes. Commercial-style units often feature 1-3/8-inch shanks and high-arc spouts that demand extra clearance. Manufacturer installation manuals from Moen, Delta, and Kohler all show different mounting hardware for each series.
You cannot follow a single linear guide and expect it to match what sits under your sink.
Supply line connections vary just as much. Compression nuts on 3/8-inch OD copper or braided lines need a 9/16-inch wrench on the nut and a second wrench holding the valve body. Push-fit fittings require a disconnect clip that seats on the collet.
Sweated copper joints must be cut. Old polybutylene or fragile plastic tubing cracks if you look at it wrong. Shutoff valves add another layer.
Quarter-turn ball valves shut off cleanly and reopen reliably. Multi-turn compression stems often fail to reseat after years of sitting open. Knowing which type you have determines whether you simply close the handle or plan for a valve replacement while the cabinet is open.
Access constraints complete the picture. Deep farmhouse sinks push the faucet body forward and crowd the rear mounting nuts. Garbage disposals eat the left-side workspace.
Thick countertops like 3-cm quartz or granite add vertical distance between the deck and the nuts. A standard basin wrench needs swing radius. If the cabinet depth is less than 18 inches or the sink bowl drops below the shelf line you may need a ratcheting box wrench or a right-angle adapter.
Check clearance before you buy tools.
Identify What You're Working With Before You Turn a Wrench
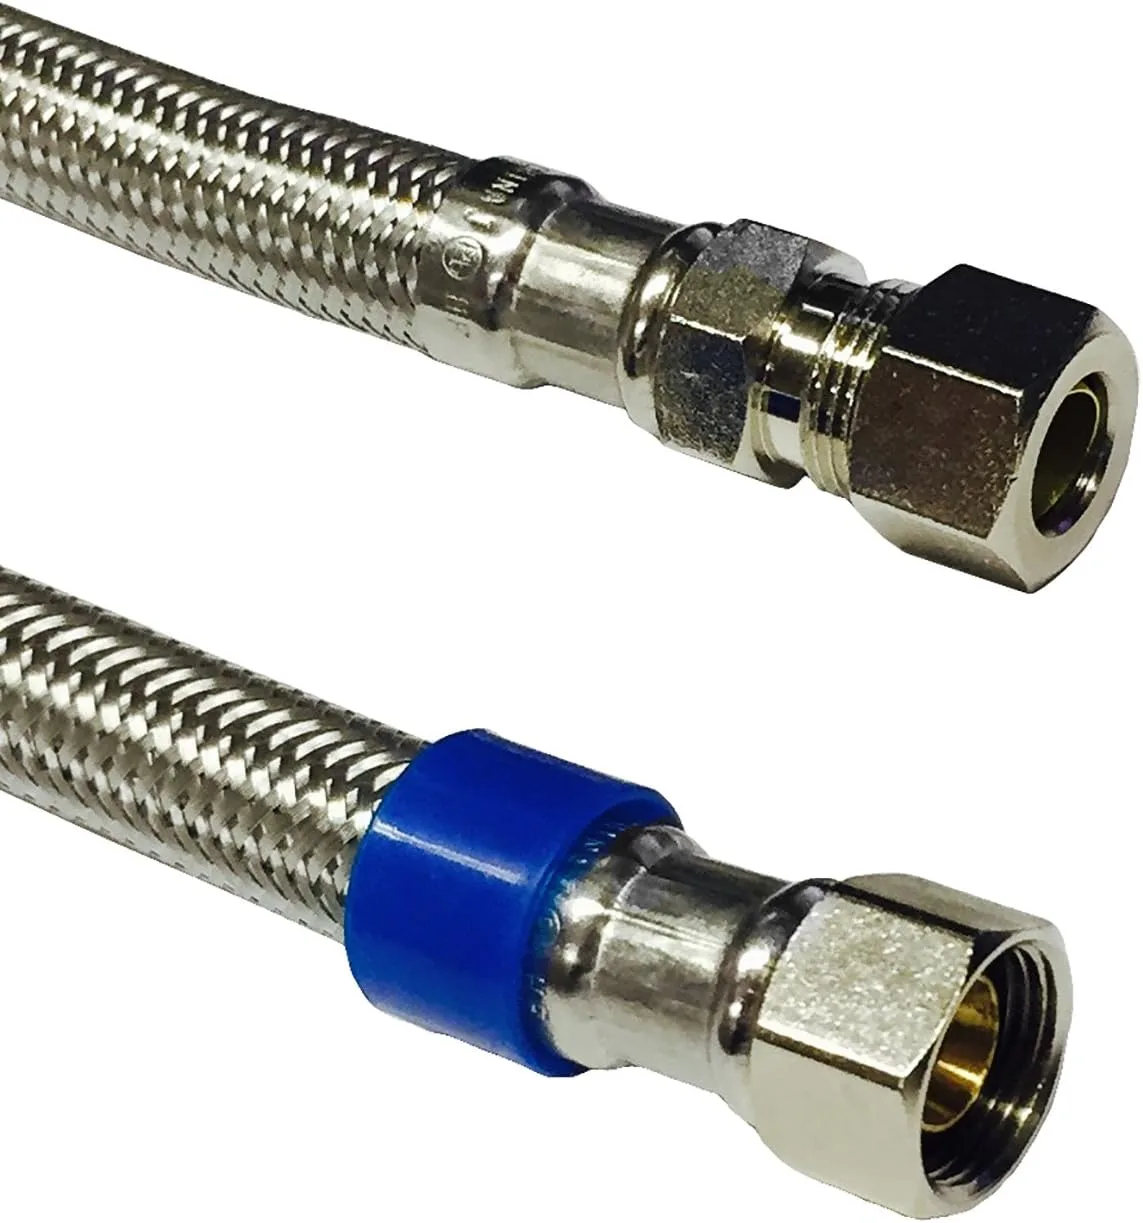
Image source: Web (Bing) / amazon.com (Web image (fair-use with source credit))
Faucet Mount & Hole Configuration
Count the holes in the countertop or sink deck. One hole means a single-handle faucet with integrated supplies. Two holes at 4-inch centers indicate a centerset two-handle model.
Three holes at 8-inch centers signal a widespread set with separate hot and cold handles plus a spout. Four holes add a side sprayer or soap dispenser. Pull-down and pull-out faucets usually occupy one or two holes but route a hose through the spout.
Bridge faucets use two or three holes with a visible connecting bar above deck. Note the configuration. It tells you how many supply connections to expect and whether a deck plate (escutcheon) covers unused holes.
Supply Line Connection Types
Look at the nuts where the supply tubes meet the shutoff valves. A hex nut with visible threads and a brass ferrule inside is a compression fitting. Size is typically 3/8-inch OD (9/16-inch wrench) or 1/2-inch FIP (7/8-inch wrench).
A smooth plastic or brass collar with no exposed threads and a release window is a push-fit collet. Brands include SharkBite, Apollo, and Cash Acme. These need a disconnect clip matched to the tubing diameter.
A shiny copper joint with no nut is a sweated connection. You will cut the tube. Grey or blue flexible pipe with crimp rings is PEX.
It uses either push-fit or crimp fittings. White or grey plastic pipe with a plastic nut is likely old polybutylene. Handle it gently.
Shutoff Valve Styles
Identify the valve handle. A lever that turns 90 degrees is a quarter-turn ball valve. These are reliable.
A round or oval handle that turns multiple rotations is a multi-turn compression stem. These often leak at the packing nut when reopened after years. A small rectangular tab that pushes or pulls is a push-fit stop valve.
It works like the supply fitting. If the valve body is chrome-plated brass with a hex nut at the wall it may be a sweat connection. If it threads onto a galvanized nipple it is IPS.
Knowing the valve type tells you whether to trust the shutoff or prep for a main-house shutdown.
Access & Clearance Reality Check
Open the cabinet doors. Shine a light up to the underside of the deck. Measure the distance from the back wall to the nearest mounting nut.
Measure the vertical drop from the deck to the nut flats. Note obstructions. A garbage disposal, a water filter housing, a pull-out shelf, or a deep sink bowl can block a basin wrench swing.
If the nut sits deeper than 10 inches from the cabinet face or lower than 6 inches below the deck a standard basin wrench may not reach. A telescoping basin wrench or a 12-inch ratcheting box wrench with a 15-degree offset solves many tight spots. If clearance is under 3 inches you may need to cut the nut.
The Go/No-Go Check: Verify Water Is Actually Off
Close both shutoff valves fully. Quarter-turn levers should sit perpendicular to the pipe. Multi-turn handles need firm clockwise rotation until they stop.
Do not force a stuck multi-turn stem. It can snap the spindle. Open the faucet handles both hot and cold.
Wait for flow to cease completely. No drips. No hiss.
If water continues to run the shutoff has failed. You must close the main house valve. Locate it now before you disconnect anything.
If the main valve is also stuck or missing call a licensed plumber. Proceeding with live pressure floods cabinets and ruins subfloors in minutes.
Once flow stops leave the faucet handles open. This vents residual pressure and confirms the line is dead. Place a bucket under the supply connections.
Lay towels across the cabinet floor. Water trapped in the supply tubes will spill when you crack the nuts. A typical 16-inch braided line holds roughly 2 ounces.
A 30-inch line holds 4 ounces. Have a second bucket ready for the sprayer hose if it retains water. Double-check that the hot side is truly off.
Cross-connected valves in older homes sometimes feed hot from the cold side.
Decision Branch: Disconnecting Supply Lines
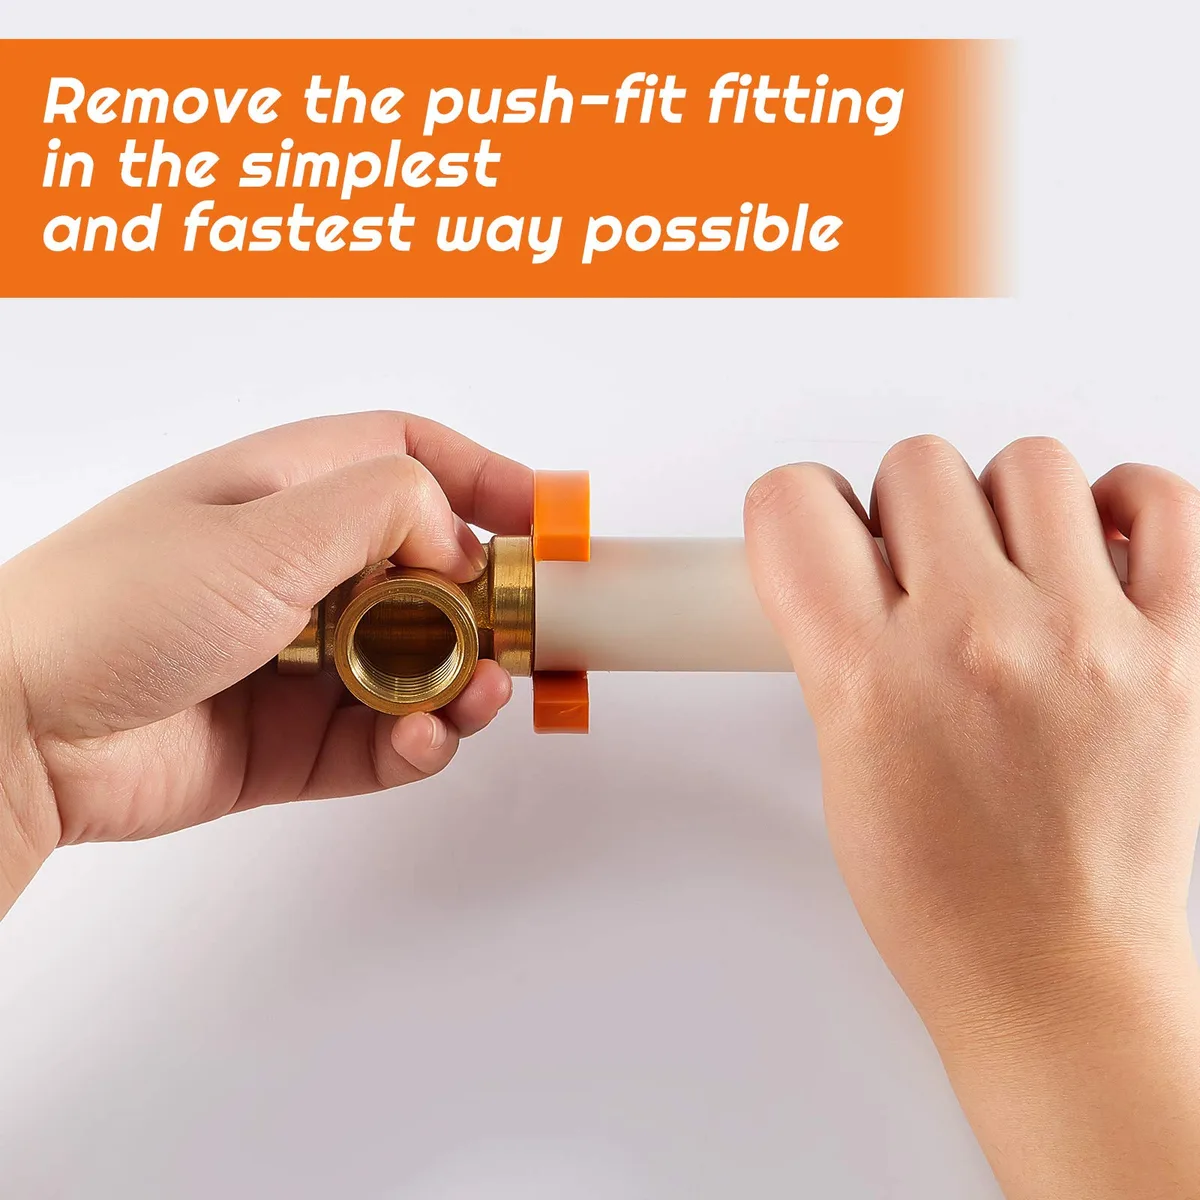
Image source: Web (Bing) / snapklik.com (Web image (fair-use with source credit))
Compression Nuts (3/8" OD / 1/2" FIP)
Grip the valve body with an adjustable wrench or channel locks. Use a second wrench on the supply nut. Turn the nut counterclockwise.
Do not turn the valve body. If the nut seizes apply penetrating oil. Wait 15 minutes.
Try again. If the nut rounds off switch to a 6-point flare nut wrench or a locking plier on the nut flats. Once loose pull the tube straight off.
Inspect the ferrule. It stays on the tube. If it is crushed or corroded replace the supply line.
Reusing a damaged ferrule causes leaks. New braided lines cost under $10 per pair.
Push-Fit / Quick-Connect (SharkBite, Apollo, Cash Acme)
Identify the tubing size stamped on the fitting. Common sizes are 3/8-inch OD, 1/2-inch OD, and 1/2-inch CTS. Select the matching disconnect clip.
The clip is a horseshoe-shaped plastic tool with an internal ridge. Slide the clip over the tubing until the ridge seats squarely against the collet face. Push the clip firmly inward.
This compresses the collet teeth. While holding the clip fully seated pull the tubing straight out. Do not twist.
Twisting scores the tube and damages the O-ring. If the clip slips or the tube won't release the collet may be debris-filled or ovalized. Cut the tube 1 inch from the fitting and install a new push-fit connector.
Sweated Copper / CPVC
These joints cannot be unscrewed. Use a mini tubing cutter for copper. A standard 15mm cutter works in tight quarters.
Rotate and tighten every few turns until the tube severs. For CPVC use a ratcheting PVC cutter or a fine-tooth saw. Cut at least 2 inches from the valve to leave room for a new compression adapter.
Clean the cut end with emery cloth. Deburr inside and out. Install a new 3/8-inch OD compression fitting or a push-fit adapter rated for the pipe material.
Follow the manufacturer torque spec. Over-tightening cracks CPVC.
Old Polybutylene / Fragile Plastic
Grey polybutylene (PB) and early white plastic supply tubes become brittle with age. They crack under wrench pressure. Do not use a wrench on the nut if the tube flexes.
Instead cut the tube 6 inches from the valve with a sharp utility knife or tubing cutter. Leave enough length to install a new braided supply line with a compression x compression adapter. If the shutoff valve outlet is 1/2-inch FIP use a 1/2-inch FIP x 3/8-inch OD compression adapter.
If it is 3/8-inch OD compression use a straight coupling. PB pipe is no longer code-approved for new work. Replace it whenever exposed.
Decision Branch: Releasing the Sprayer Hose (Pull-Down & Pull-Out)
Pull-down and pull-out faucets route a flexible hose through the spout. The hose connects either at the base of the hose assembly under the deck or at the faucet body itself. Both use a quick-connect collet similar to push-fit supply fittings.
The difference is access and the sprayer weight.
Quick-Connect at Hose Base (Collet Style)
Look under the sink near the faucet shank. A plastic cylinder with a release window sits on the hose. This is the quick-connect.
Note the hose diameter. Most are 3/8-inch OD or 1/2-inch OD. Select the correct disconnect clip.
Slide the clip over the hose until it seats on the collet. Push the clip in. Pull the hose down.
The weight may catch on the cabinet floor. Lift the weight over the obstruction. If the hose pulls through the spout from above you can remove the entire assembly in one piece.
If the hose stays in the spout you will feed it back down during reinstall.
Quick-Connect at Faucet Body (Weight Attached)
Some brands hide the quick-connect inside the faucet body. The hose runs up through the spout and locks into a port at the base of the cartridge housing. The sprayer weight clamps onto the hose below the deck.
To release, locate the weight. Squeeze the weight tabs or loosen the set screw. Slide the weight off.
Reach up into the faucet body. Feel for the collet. Insert the disconnect clip.
Push and pull the hose down. This requires small hands or a long clip tool. Moen Reflex and Delta MagnaTite systems use magnetic docking but the hose connection is still a standard collet.
Threaded Compression at Spout
Older or commercial pull-outs may use a threaded compression nut at the spout base. A 1/2-inch or 9/16-inch wrench fits the nut. Hold the spout steady with a strap wrench or protected adjustable wrench.
Turn the nut counterclockwise. The ferrule stays on the hose. Inspect for damage.
Replace the hose assembly if the ferrule is crushed. These connections are rare on residential faucets post-2010 but appear on some restaurant-grade units.
Decision Branch: Removing Mounting Hardware
Standard Hex Nuts (Basin Wrench Territory)
Most residential deck-mount faucets secure with one to three hex nuts threaded onto the shank. Nut size is typically 1 inch or 1-1/8 inch across flats. A basin wrench fits these.
Position the jaw on the nut flats with the handle pointing toward the center of the cabinet. Pull the handle toward you to turn counterclockwise. The pivoting head self-tightens under load.
If the nut spins the shank instead of unthreading hold the shank with a strap wrench from above deck. Plastic wing nuts on older models turn by hand but often seize. Use channel locks with jaw protectors.
Quick-Install Brackets (EZ-Install, FastMount, Snap-On)
Moen, Delta, and Pfister use proprietary brackets that lock the faucet to the deck without tools. Look for a plastic or metal collar at the base of the shank with release tabs. Squeeze the tabs inward while lifting the faucet.
Some models have a setscrew on the bracket face. Loosen it with a 3/32-inch hex key. The bracket stays on the shank.
If the bracket cracks replace it with the manufacturer service kit. Do not force a stuck bracket. Heat the shank gently to break corrosion.
Horseshoe Washers & Bridge Faucet Nuts
Widespread and bridge faucets use a horseshoe washer that straddles the supply tubes under the deck. A single large nut compresses the washer. Nut size reaches 1-3/8 inch.
A standard basin wrench won't open wide enough. Use a 12-inch adjustable wrench or a dedicated spud wrench. Turn counterclockwise.
The washer may stick to the deck. Pry it loose with a plastic putty knife. Bridge models add a center tee nut.
Remove the side nuts first then the tee.
Commercial / High-Arc Shank Nuts
Commercial-style faucets often have 1-3/8-inch shanks with matching 1-1/2-inch hex nuts. These require a large basin wrench or a 1-1/2-inch deep socket on a 1/2-inch drive ratchet with a 12-inch extension. Clearance is tight.
A crowfoot wrench on a ratchet works if the socket won't fit. Turn counterclockwise. The shank may have a keyway.
Align the key during reinstall.
When the Nut Won't Budge: Escalation Ladder
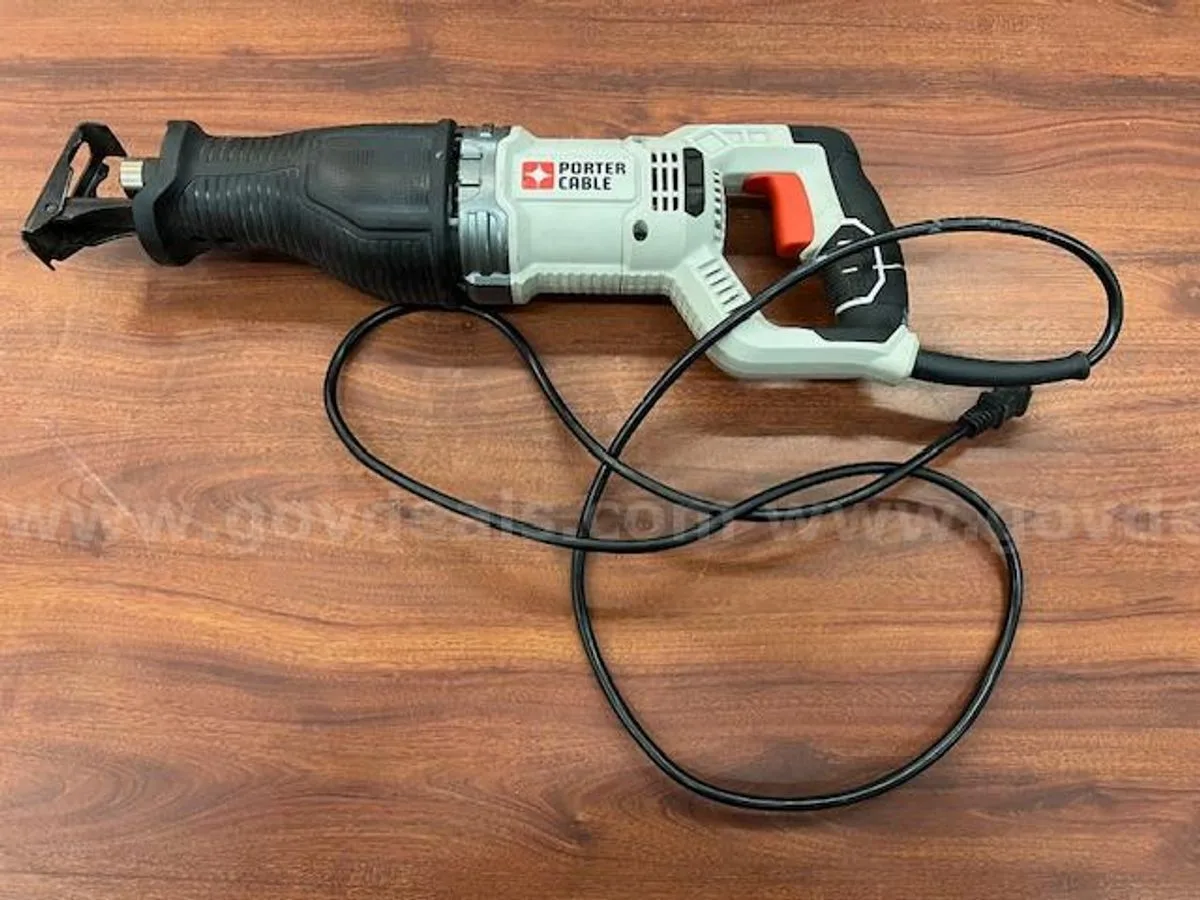
Image source: Web (Bing) / govdeals.com (Web image (fair-use with source credit))
Penetrating Oil + Time
Soak the nut threads with PB Blaster or Liquid Wrench. Wait 30 minutes. Reapply.
Wait another 30. Tap the nut lightly with a hammer to vibrate the oil into the threads. Try the basin wrench again.
Slow steady force beats jerky pulls. If the nut moves but binds reapply oil and work it back and forth.
Heat (Heat Gun vs. Torch + Heat Shield)
A heat gun at 750°F expands the nut faster than the shank. Heat the nut for 60 seconds. Try the wrench while warm.
A propane torch works faster but risks fire. Use a welder's blanket or a sheet of cement board between the flame and the cabinet. Keep a spray bottle of water handy.
Never heat push-fit fittings or plastic supply lines. Heat only the mounting nut.
Cutting the Nut (Oscillating Tool / Mini Hacksaw / Recip Saw)
An oscillating multi-tool with a bi-metal plunge blade cuts a brass nut in 60 seconds. Cut across one flat. The nut splits and falls away.
A mini hacksaw takes 10 minutes but fits tighter. A recip saw with a short metal blade works if you have swing room. Wear safety glasses.
Metal shards fly. Protect the supply lines and the deck with a metal guard.
Last Resort: Cut the Faucet Shank Above Deck
If the nut is fused to the shank and the shank won't turn cut the shank flush with the deck using an angle grinder with a thin cutoff wheel. The faucet body lifts off. The shank remnant stays in the hole.
Drill it out with a step bit or split it with a chisel. This destroys the faucet. Only do this if the faucet is trash and the countertop is staying.
Cleanup & Deck Prep for What Comes Next
Removing Plumber's Putty vs. Silicone Without Scratching
Plumber's putty peels in sheets. Use a plastic putty knife. Silicone bonds harder.
Score the bead with a utility knife. Pull it in long strips. Residual film comes off with mineral spirits and a nylon scrub pad.
Do not use a metal scraper on stone quartz or solid surface. It leaves micro-scratches that show under sealer.
Inspecting Mounting Holes & Countertop Condition
Check each hole for cracks chips or elongation. Standard hole diameter is 1-3/8 inch. If the hole is ovalized a deck plate covers it.
If the countertop is cracked around the hole the slab may need repair before a new faucet seals. Measure hole spacing on widespread sets. 8-inch centers must be exact. Flex supply lines tolerate 1/4-inch variance.
When to Replace Shutoff Valves While You're There
If the shutoff is a multi-turn compression stem replace it. They fail to reseal after closing. A quarter-turn ball valve costs $12 and lasts decades.
If the valve body is corroded or the handle spins freely replace it. Sweat valves need a pro. Push-fit and compression valves are DIY-friendly.
Shut off the main. Drain the line. Swap the valve.
Test before reinstalling the faucet.
Common Mistakes That Turn a 30-Min Job Into a 3-Hour Nightmare
Forgetting to verify zero pressure before cracking a supply nut. The spray soaks insulation and drywall. Using channel locks on chrome nuts without jaw protectors.
The finish peels. Turning the valve body instead of the supply nut. The sweat joint leaks inside the wall.
Losing the sprayer weight down the drain. It blocks the trap. Reusing old supply lines.
The ferrule leaks in a new orientation. Over-tightening push-fit collets. The tube scores and fails later.
Cutting copper with a recip saw vibration. The pipe fatigues at a hidden joint. Skipping the main shutoff test.
A failed angle stop becomes a flood.
Tool Checklist: What You Actually Need vs. What's Nice to Have
| Must Have | Nice to Have | Pro Only |
|---|---|---|
| Basin wrench telescoping | Ratcheting box wrench 12-inch | Propane torch heat shield |
| Adjustable wrench 10-inch | Oscillating multi-tool bi-metal blade | Tubing cutter mini |
| Channel locks jaw protectors | Right-angle drill adapter | Sweat fitting tools |
| Push-fit disconnect clips set | Magnetic parts tray | Pressure test gauge |
| Bucket towels headlamp | Penetrating oil PB Blaster | Pipe threading kit |
| Plastic putty knife | Strap wrench |
Buy the basin wrench and disconnect clips. Borrow the oscillating tool. Rent the torch kit.
The rest live in a basic homeowner kit.
When to Stop and Call a Pro
Stop if the main shutoff fails to close. Stop if a sweat joint leaks inside the wall. Stop if the supply tube is galvanized steel threaded into brass.
Stop if the countertop cracks during removal. Stop if asbestos wrap covers old supply pipes. These scenarios need a licensed plumber.
The service call costs less than water damage repair.
Quick Reference: Match Your Setup to the Right Branch
| Your Setup | Supply Disconnect | Hose Release | Mounting Removal | Escalation |
|---|---|---|---|---|
| Standard 1-hole pull-down | Compression 3/8" | Collet at hose base | Basin wrench 1" nut | Penetrating oil then cut |
| 3-hole widespread | Compression 1/2" FIP | Threaded at spout | Spud wrench horseshoe | Heat then cut nut |
| Push-fit supply lines | Disconnect clip | Collet at body | Quick-install bracket | Clip sticks cut tube |
| Commercial high-arc | Compression 1/2" FIP | Threaded at spout | 1-1/2" socket crowfoot | Cut shank above deck |
| Old polybutylene | Cut tube replace | N/A | Basin wrench plastic nuts | Replace all supplies |
Frequently Asked Questions
Can I reuse the old supply lines?
No. Ferrules deform on first compression. Reused lines leak in new orientations.
New braided lines cost under $10.
Do I need to turn off the main water valve?
Only if the angle stops fail to shut off completely. Test by opening the faucet after closing stops. No flow means you are good.
What size basin wrench do I need?
A telescoping model with 3/8 to 1-1/4 inch jaw capacity covers nearly all residential mounting nuts.
How do I remove a stuck plastic wing nut?
Use channel locks with rubber jaw pads. Turn counterclockwise. If it cracks replace the nut.
Do not force metal tools on plastic.
Can I cut the faucet shank instead of the nut?
Yes. An angle grinder with a thin cutoff wheel severs the shank above deck. The faucet lifts off.
The remnant drills out. This destroys the faucet.