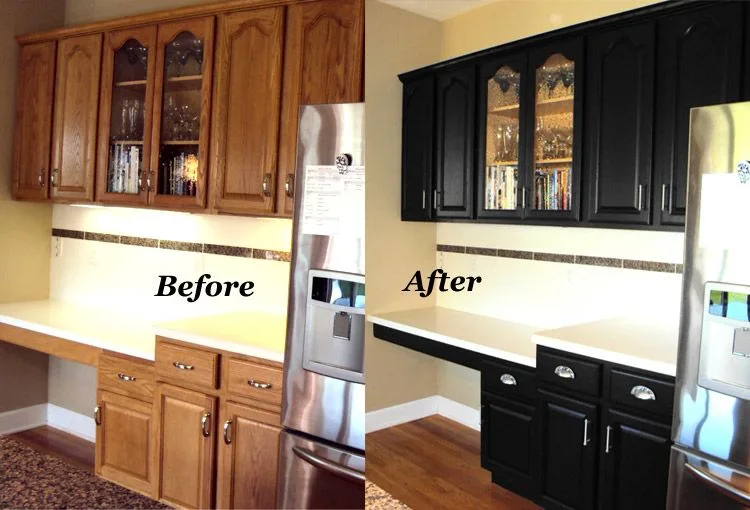
How to Add Trim to Kitchen Cabinets like a Pro
Let's face it, plain slab cabinet doors can make an entire kitchen feel flat. You could drop thousands on brand new doors, or you could transform what you already have with a modest piece of trim, a bit of patience, and a bundle of wood glue. If you've been wondering how to add trim to kitchen cabinets, the answer is simpler than most people realize, and the visual payoff is impressive.
This project sits right in the sweet spot of DIY, where the risk is low, the material cost is small, and the result looks like a custom woodworker's touch.
The entire face-lift hinges on a few precise measurements and knowing which angles to cut. As of 2026, most manufacturers specify trim widths between 1/2 inch and 1 1/4 inch for standard kitchen doors, and staying inside that range matters more than you'd think. Too thin, and the trim looks like a painted pencil line.
Too thick, and it swallows the door's entire silhouette. Let's walk through the visual logic and the practical cuts so you can nail this on your first attempt.
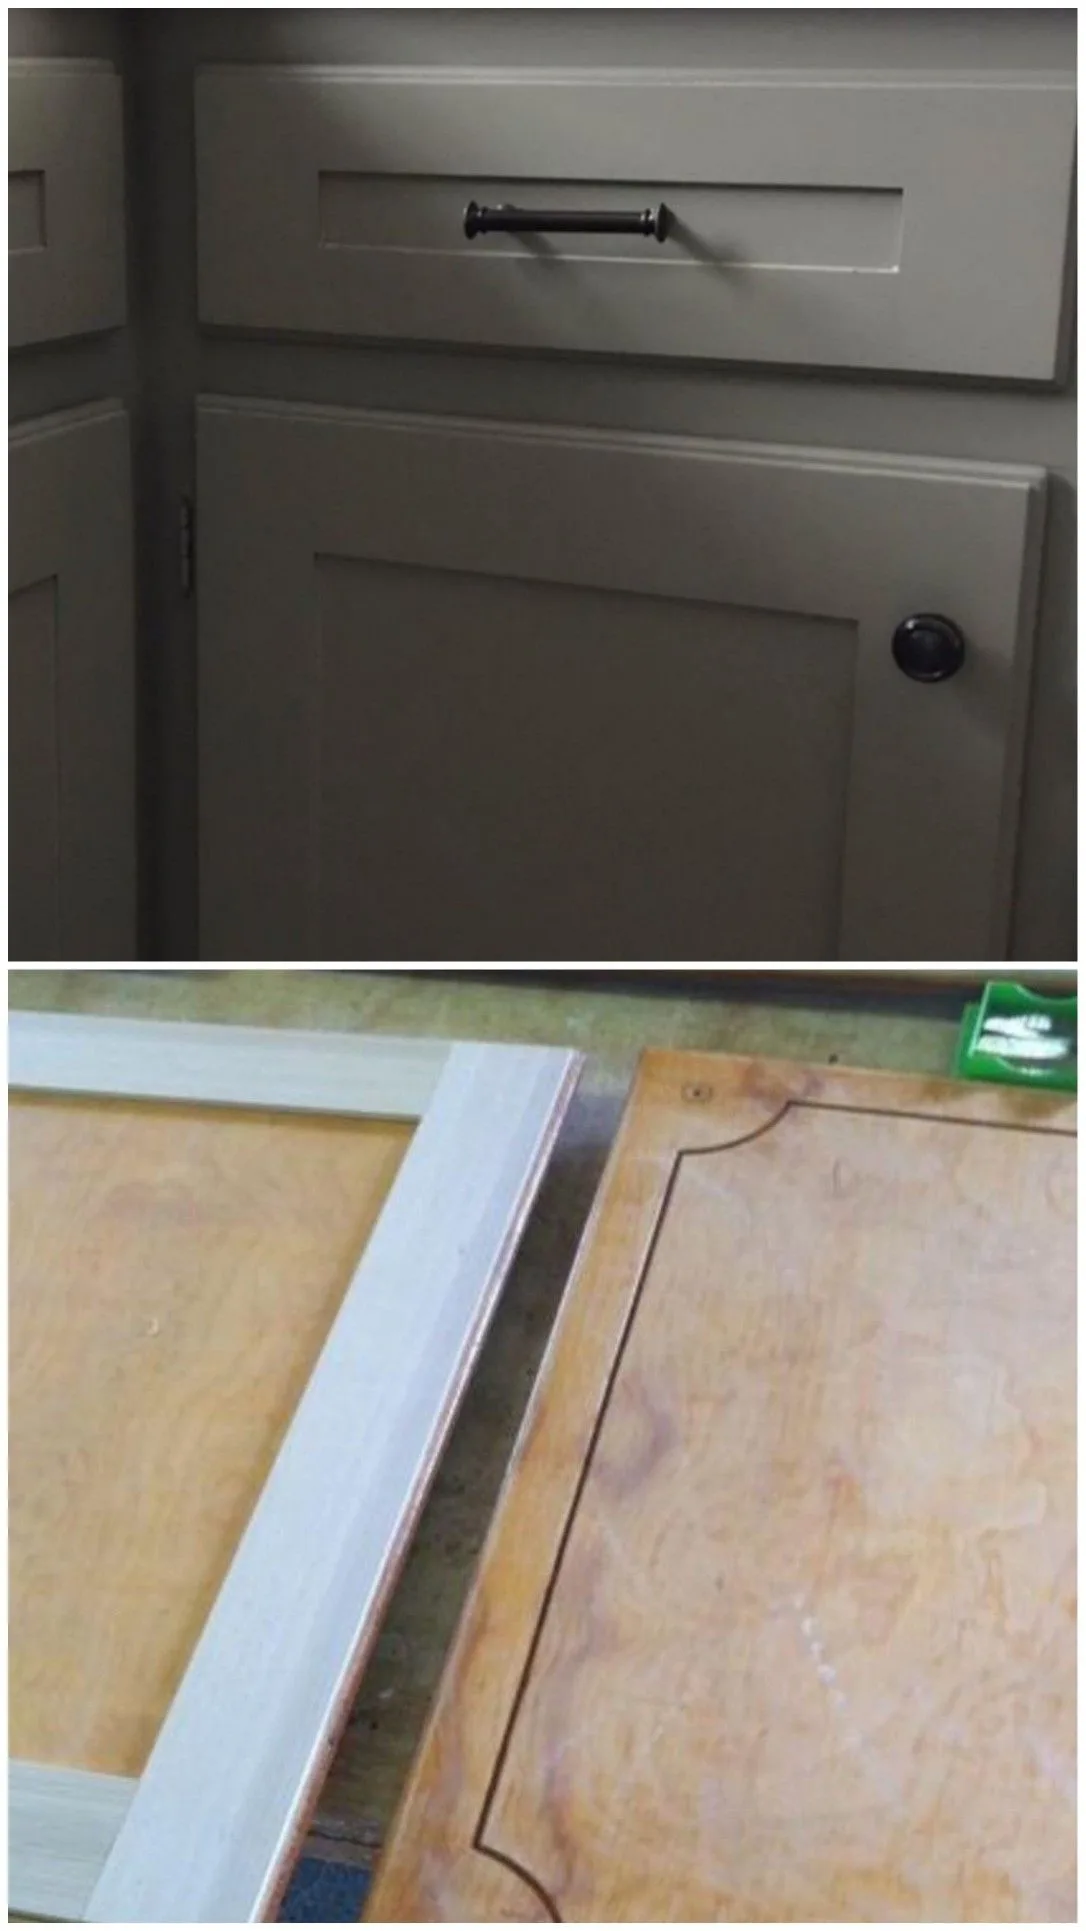
Image source: Web (Bing) / pinterest.com (Web image (fair-use with source credit))
Why This Comes Down to Visual Details
A slab door is a blank canvas, which is both its gift and its curse. Fit the wrong trim and you'll end up with something that looks slapped on, not designed into the kitchen. The expert eye doesn't first look at the wood, the glue, or the nail gun.
The expert eye looks at proportion and negative space, what reveal sits between the new trim and the outer edge of your door.
The essential secret behind professional trim work lies in that negative space. When the trim is set flush with the door's outer edge, you get a flat modern shaker look. When you inset it the tiniest bit, you create a recessed panel effect that catches shadows and light.
It's honestly the single difference between a job that got a compliment from the neighbors and one that looks like a carpenter cleared a half-day of work.
Getting the vision picture to work means focusing on the outside of the door geometry, not just the trim itself. Check that the gap is consistent all the way around a shallow panel. A small gap of 3/16 of an inch on one side and a tight 1/8 inch on the other side will be noticeable from a few feet away.
Quick Answer
Trim cabinet doors by cutting moulding to size, mitering the joints at 45 degrees, gluing them down, and pinning them with a brad nailer. Use a 1/2-inch reveal from the door's edge. Let the foundation dry, sand, and paint.
The project takes 3 to 4 hours for eight doors. It costs between $15 and $50 in material.
Trim Profiles and Materials: What You're Working With
Before you even pick up a nail gun, you have settle on the physical material. The product aisle can get overwhelming, but the choice basically boils down to three profiles.
- Base Cap Moulding: These are pre-milled wood or MDF strips with a slightly decorative curve somewhere along the face. They are inexpensive, commonly stocked, and good for applying in a single pass to the outer edge.
- Flat MDF Strip: You can buy MDF in flat strips from 1/4-inch to 3/4-inch and cut them to a consistent width. Perfect for a planar inset panel look. These are the easiest to work with since you just rip them to size and don't rely on stamped profiles.
- Pre-Primed Finger-Joint Pine: These have a built-in smooth exterior and are tall. They're a bit more expensive but resist warping better in humid kitchens.

Image source: Web (Bing) / plaiwoo.com
The MDF profile is the most forgiving for a beginner. It takes glue well, it's stable, and you won't fight a fork for a whole cookbook. But it does soak that paint fast; manufacturers confirm that you should always prime MDF trim one pass before your top coat to avoid light spots.
Rice-paper pine, on the other hand, is the premium choice for kitchens that see real cooking. It handles humidity swings better than raw MDF and gives you a wood grain that you may choose to stain instead of paint. It's a bit stiffer to cut, but it holds a crisper edge, stays refined over time.
As you plan, think of your cabinet doors as frames. You can wrap around the existing slab or add an inner rectangle or drawer, to get that classic Shaker look. The materials are the same; the reveal is different.
Readying the Cabinet: The Door Face Doesn't Have to Be Perfect
What a lot of people don't mention is that the trim hides a lot of sins. The cabinet face no longer needs to be immaculate. You should still do a quick cleaning and a hardness check, but you don't have to resurrect an ancient paint job.
- Clean the surface with a degreaser, especially near the handle. That's where hands and fingerprints tend to leave a film that can prevent glue from bonding.
- Scuff the paint with 220-grit sandpaper, just to give the wood glue a tooth. A shiny painted door sees the holding power of the glue resolve downward pretty quickly.
- Inspect for wobble: Lay a flat edge across the door face. If you see a real slump, wing in some wood filler and smooth it. A tiny high or low patch on the face will create a shadow angle that reads as a goof even when the trim is precise.
The glue is going to pull the trim to the face and cover a few sins. But if your slab door is significantly wobbly around the outside edges, your trim will rock and feel loose. An old screwdriver trick is to apply a damp cloth over any residual adhesion before you glue; it'll seal the pores and give you a cleaner surface bond.
Choose Your Look: Image First, Cuts Later
Now, the visual decision that drives everything else. You can style the trim in two distinct structures; and each changes the reading of the cabinet.
The Overlay Frame
This is the classic shaker alter. Your trim spans the whole door face, covering your edges as it lays flush with the outer corner. It mimics solid wood five-piece door construction.
The trim pieces sit tight to each other, making a visible seam, but once painted, the door seems like a routed panel. This is a great choice for modern or farmhouse kitchens.
The Recessed Inset
This one is a little more subtle. Here, the trim exists within a consistently inside the outer edge. You leave a clean border of the existing door visible.
That seen border is your reveal; it creates a groove of shadow. A recessed inset brings a level of sophistication, but it also asks you to be accurate on the measurement, because any inconsistencies will jump like a gap in a ringer.
To quickly choose your look, on a piece of paper draw the door you are.
Then draw a single line at the 1/4 inch distance from the perimeter; that small space is what you outline. Keep your trim right on the line or cast it all the way out. What you'll see is that the visual weight changes.
An overlay style gives you a chunkier definition; a recessed line is lighter and quieter.
Whichever walk you choose, get the geometry picture. Stop by a trim tableau in the store, grab a few profiles, and place them on your existing door. The physical width of the moulding is the fastest way to know if a design concept is going to let you down.
Cutting and Setting: The Core That Hardly Any Article Shows
Other places mention measuring and cutting, but they rarely walk you through the tricky work of making this all work on a real, imperfect cabinet door. Doors are never square. Done be lying.
Most interior doors are out of the square by 1/16 to 1/8 of an inch. There will be zones where you have to slight your miter is favor of the visual to make it appear sharp.
How to Cut Without a Made Mess
Set your miter saw to 45 degrees. Pull the first trimmed piece tight against the top of the door. Mark the long dimension with a pencil in the first touch, then adjust the length as you noted to more than the perimeter.
The cutter leaves a super sharp inside edge; that's exactly what you want the glue up to become.
Use a miter gauge or a thin "straight edge clamp" to hold your board in place on the sawhorse. Don't hold it by hand; if you break the corner, the whole fit collapses.
The Gluing and Tacking Sequence
- Spread wood glue along the back of the trim with a light, even coat. Don't soak it. Too much glue will squeeze out the sides in a sticky mess.
- Press the trim into the edge, matching your reveal. Hold it with your fingers for ten seconds.
- Blow or shake off the glue beads that ooze out, so you can sand cleanly later.
- Pin with an 18- or 23-gauge brad nail. A 23-gauge is a hair of investment. It leaves a pin note that barely needs filling.
- Work corner to corner, right angles first.
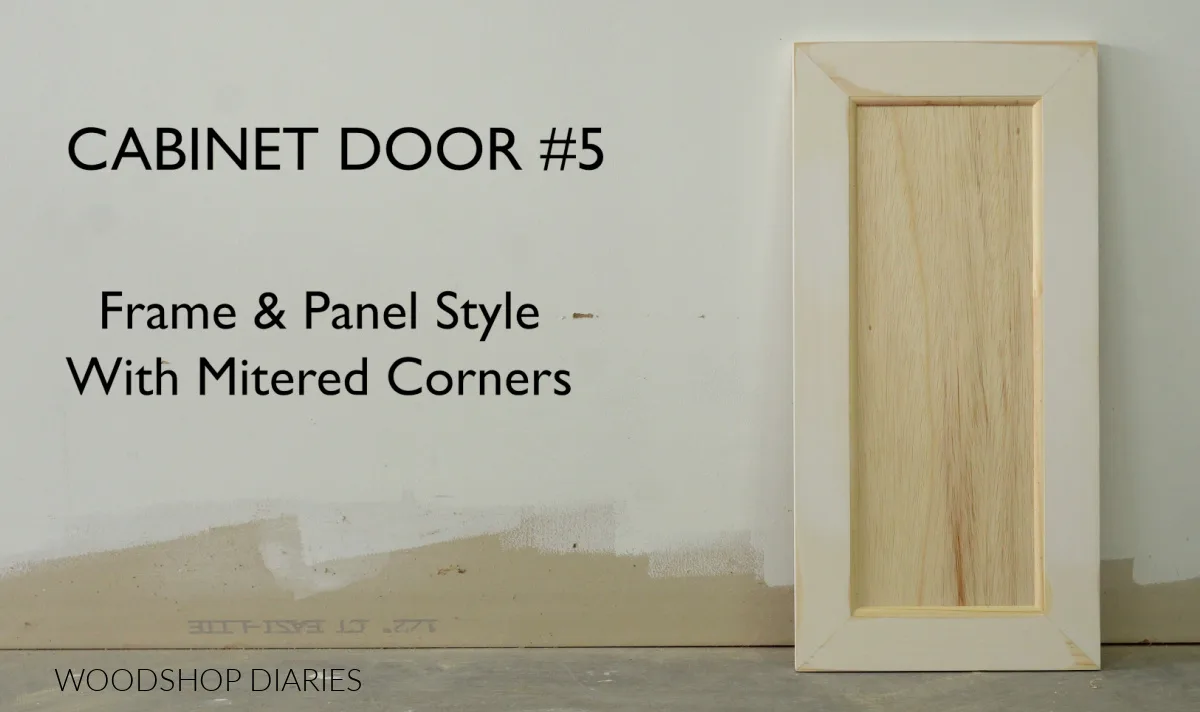
Image source: Web (Bing) / cabinet.matttroy.net
When the Door Is Out of Square
If your door costs a rhythm. Cut a new piece. Dry-fit it on the door.
If it cracks at the corner, don't panic. Shave a little more off the inside of the miter with a block plane until it steers closed. The glue will fill tiny gaps, but only sort of.
Seventy winners in Mullfusales came from consistent touches, and they want a 4-foot level on your rule.
The Instant Look
Assemble all four-sided trim pieces onto the door and let it sit in for 3 to 5 minutes. Now step 5 feet back. This is the moment of truth.
If the door makes a shadow line at the borders, evaluation is right. If the corners shoot slightly open, this is the moment when you notice; it's still half fixable, scrape it away and reset the glue.
If the fit is perfect, clamp lightly at the corners to keep it closed as you apply L or brads. If not? Set a dry fit piece on the door corner.
That's the scaling and the joinery. Now let's talk about the wrap-up that makes this look manufactured: filling, sanding, and the top coat.