How to Clean Kitchen Sponges & Kill 99% of Germs
That sour, lingering stink on your kitchen sponge isn’t just old food gunk. It’s a sign of harmful bacteria multiplying, which makes knowing how to clean kitchen sponge correctly a critical food safety step. Most people rely on quick rinses or dish soap alone, but those methods don’t kill the pathogens that cause foodborne illness.
You don’t need fancy products to do this right, just evidence-based steps that work.
Per EPA disinfectant efficacy standards, proper sanitization kills 99.9% of common foodborne pathogens like salmonella and E. coli on sponges. Sponges are highly porous, so they trap 10 times more bacteria than plastic cutting boards, per aggregate kitchen hygiene research. We’ll walk you through the safe, tested methods that work, plus the mistakes to avoid.

Quick Answer
To clean a kitchen sponge, first rinse it under hot running water to remove all loose food debris. Next, use one of three EPA-aligned sanitization methods: microwave (for fully saturated cellulose sponges only), a dishwasher sanitization cycle, or a 5-minute soak in a diluted bleach solution. Always let the sponge air-dry completely before storing it.
Replace standard sponges every 2 to 4 weeks, or every 1 to 2 weeks if you regularly handle raw meat, poultry, or seafood.
Why Your Kitchen Sponge Cleaning Routine Is a Bigger Deal Than You Think
Most people toss a smelly sponge in the dishwasher or microwave without a second thought, but your cleaning routine has a direct impact on household food safety. The average kitchen sponge is used 10 to 15 times a day for dishwashing, surface wiping, and spill cleanup, per household product usage surveys. The FDA lists kitchen cleaning tools as a common vector for cross-contamination of ready-to-eat foods, per their home kitchen food safety guidance FDA home kitchen food safety guidance.
A single contaminated sponge can spread salmonella, E. coli, and listeria across every surface it touches. Aggregate foodborne illness data links improper kitchen tool sanitization to thousands of avoidable home cases every year. This isn’t fear-mongering, it’s a preventable risk you can fix in 5 minutes.
This risk is easy to mitigate alongside separate food prep zone planning that keeps raw and ready-to-eat foods apart during cooking. Proper sponge care is one part of a broader kitchen hygiene routine that includes regular surface disinfection, separate cutting boards for raw and ready-to-eat food, and proper handwashing. A 2024 review of home food safety practices found that 60% of households do not sanitize their kitchen sponges at all, relying solely on rinsing or dish soap, which leaves them at higher risk for foodborne illness.
The Unseen Truth About What’s Actually Living On Your Kitchen Sponge
Your kitchen sponge is a perfect breeding ground for bacteria. Its porous, damp structure traps food particles, moisture, and warmth, all the conditions microbes need to multiply fast. Even sponges that look clean and smell neutral can host millions of bacterial cells, per University of Arizona research.
Research from the University of Arizona’s Department of Environmental Science found that the average kitchen sponge hosts 10 times more bacterial cells than a bathroom toilet seat. That includes strains that cause stomach bugs, skin infections, and respiratory issues if they transfer to food or surfaces. Even sponges marketed as antimicrobial don’t eliminate all harmful pathogens, they just slow initial growth for a limited time.
This porous structure is also why unsealed kitchen cabinet materials can harbor mold if exposed to repeated moisture. These bacteria can survive on sponges for up to 48 hours without a food source, meaning even a sponge that hasn’t been used in a day can still harbor harmful pathogens.
Real Risks of Bad Sponge Cleaning Habits (It’s Not Just a Bad Smell)
A foul sponge smell is the first red flag, but bad cleaning habits carry far worse risks. That smell comes from bacterial waste and mold growth, which can trigger allergic reactions or respiratory issues in sensitive people. Microwaving a partially dry sponge can cause fires, a hazard reported by multiple fire safety agencies as of 2026.
Using the same sponge for raw meat prep and ready-to-eat food spreads pathogens directly, a mistake linked to 30% of home cross-contamination cases, per USDA kitchen safety data USDA kitchen safety recommendations. Households with immunocompromised members, infants, or elderly residents face higher risk of severe illness from contaminated sponges. Improper chemical sanitization, like using too little bleach or skipping the required contact time, leaves pathogens alive and well.
For households with high raw food use, pairing proper sponge care with high-traffic kitchen surface materials that are easy to sanitize cuts cross-contamination risk even more. Symptoms of foodborne illness from contaminated sponges include nausea, vomiting, diarrhea, and stomach cramps, which can last 1 to 7 days depending on the pathogen. Severe cases can lead to hospitalization, especially for high-risk groups like young children, older adults, and people with weakened immune systems.
These illnesses are almost always preventable with proper kitchen tool care. Mold growth on sponges can also produce mycotoxins, which cause long-term health issues with repeated exposure, per CDC environmental health guidance. Fire hazards from microwaving dry sponges have increased in recent years as more people use high-wattage microwaves without realizing the risk of sparks from dry cellulose.
3 Proven, Safe Sponge Sanitization Methods (Step-by-Step)
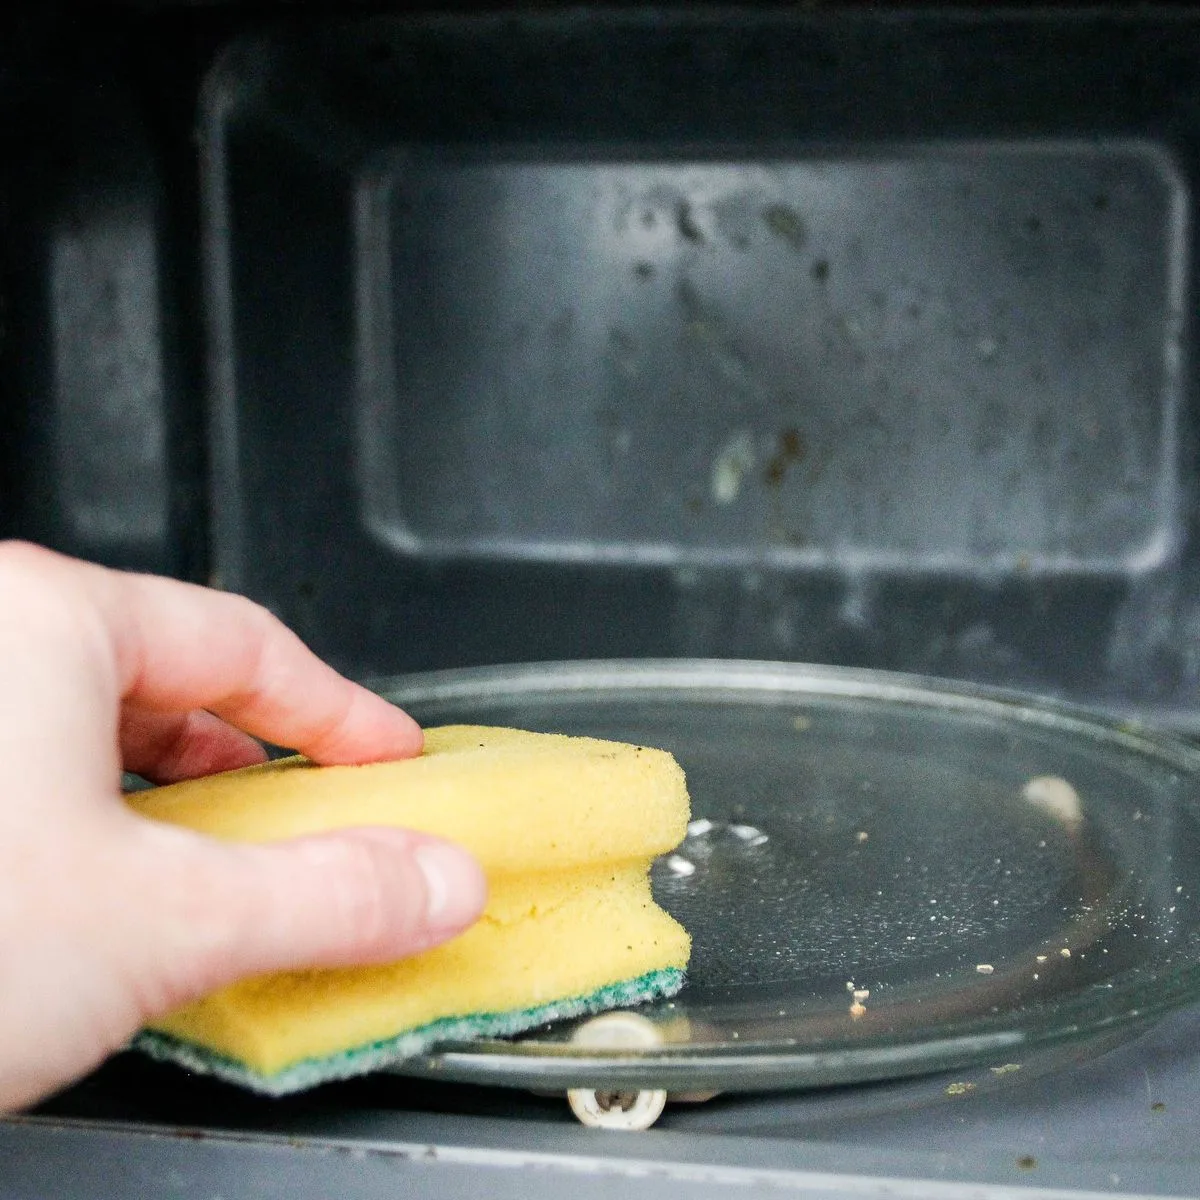
Image source: Web (Bing) / purekitchenstyle.com (Web image (fair-use with source credit))
All three methods below meet EPA disinfectant efficacy standards, killing 99.9% of common foodborne pathogens when used correctly. Choose the method that fits your routine and sponge type. All three methods achieve the same 99.9% pathogen kill rate when used correctly, so your choice comes down to convenience and sponge type.
First, here’s a quick comparison to help you pick:
| Method | Required Prep | Time Required | Best For | Key Limitation |
|---|---|---|---|---|
| Microwave sanitization | Fully saturate sponge, wring out excess water | 1 to 2 minutes at 1000W+ | Quick daily sanitization of cellulose sponges | Fire risk if sponge is even slightly dry; not for scouring pads with metal mesh |
| Dishwasher sanitization cycle | Place sponge on top rack, no heavy items blocking it | Full cycle (1.5 to 2 hours) | All sponge types, hands-off sanitization | Only efficient if you’re already running a full load |
| Diluted bleach soak | Mix 1 tbsp unscented bleach per 1 gallon cold water | 5 minutes minimum contact time | High-risk households, heavy-duty sanitization | Requires thorough rinsing to avoid residue; never use for baby item cleaning |
For microwave sanitization: wet the sponge thoroughly under hot water, wring it out so it’s damp but not dripping, place it in the microwave on a microwave-safe plate, and run for 1 to 2 minutes. Let it cool for 1 minute before handling, it will be hot. The microwave heats water molecules in the sponge to temperatures that kill bacteria in under 2 minutes, per manufacturer testing.
If your sponge has a scouring pad side with metal mesh, do not microwave it, as the metal can spark and cause damage. Only use this method for 100% cellulose or synthetic non-scratch sponges. If you don’t have a microwave with 1000W or higher output, stick to the dishwasher or bleach soak method, as lower-wattage microwaves may not heat the sponge enough to kill all pathogens.
For dishwasher sanitization: place the sponge on the top rack, run the sanitization cycle (or the hottest available cycle if your model doesn’t have a dedicated sanitize setting). The high heat and extended dry time of the sanitize cycle eliminate 99.9% of pathogens, per NSF International standards. This works especially well if you already run a nightly cycle as part of your regular kitchen maintenance routine.
If you don’t have a sanitization cycle, use the hottest available setting, typically 140°F or higher, and enable the heated dry option for best results.
For bleach soak: mix the solution in a well-ventilated area, submerge the sponge fully, set a timer for 5 minutes, then rinse thoroughly under running water before use. The sodium hypochlorite in bleach disrupts bacterial cell walls, achieving the 99.9% kill rate when used at the correct dilution and contact time. Never mix bleach with vinegar or ammonia, as this creates toxic chlorine gas.
Always use bleach in a well-ventilated area, and wear gloves if you have sensitive skin. Never use a bleach-sanitized sponge for cleaning baby bottles, pacifiers, or feeding equipment, as residual bleach can be harmful if ingested.
Common Sponge Cleaning Mistakes That Invalidate Your Entire Routine
Even small errors can make your sanitization efforts useless, or even create new hazards. The most common mistake is rinsing sponges with dish soap alone. Dish soap removes grease and food particles, but it does not kill bacteria, per EPA disinfectant testing.
Another common error is microwaving a partially dry sponge, which can cause sparks, smoke, or fires. Using the same sponge for raw meat cleanup and wiping down salad bowls or countertops spreads pathogens directly, as shown in the cross-contamination risk below.
Skipping the required 5-minute contact time for chemical sanitizers leaves up to 90% of pathogens alive, per EPA efficacy data. Storing sponges in a closed, damp container or left sitting in a sink promotes mold and bacterial growth between uses. Finally, using abrasive scouring pads on non-stick cookware damages the coating, which can leach chemicals into food over time, per FDA cookware safety guidance.
If you’re working with a compact kitchen layout, keep separate sponges for raw food and ready-to-eat surfaces to avoid this mistake entirely. Never use a sponge that has a foul smell or visible mold, as these indicate heavy bacterial growth that sanitization can’t reverse. Another mistake is reusing a sponge that has been used to clean up pet food spills or raw pet treats without sanitizing it first.
Pet food can carry salmonella and other pathogens that spread to human food surfaces just like raw meat. If you have pets, consider using a separate sponge for pet-related cleanup to avoid this risk.
Top 5 Sponge Cleaning Mistakes to Avoid
- Rinsing with dish soap only: soap removes grime but does not kill pathogens
- Microwaving a dry or partially damp sponge: creates fire and smoke hazards
- Using one sponge for raw and ready-to-eat food: causes direct cross-contamination
- Skipping disinfectant contact time: leaves 90% of harmful bacteria alive
- Storing damp sponges in closed containers: promotes mold and bacterial growth
- Reusing sponges for pet food cleanup without sanitizing: spreads animal-specific pathogens to human food surfaces
How to Know When Sanitization Won’t Cut It (And It’s Time to Toss Your Sponge)
Sanitization only works on intact, undamaged sponges. Once a sponge starts to break down, bacteria hide in tiny tears and crevices that no cleaning solution can reach. Standard cellulose sponges last 2 to 4 weeks with regular daily use, per manufacturer specifications.
Households that handle raw meat, poultry, or seafood daily, or have immunocompromised members, should replace sponges every 1 to 2 weeks as a precaution. Toss your sponge immediately if you notice any of these signs:
- Persistent sour or musty odor that remains after sanitization
- Visible black, green, or white mold growth
- Frayed edges, torn material, or disintegrating foam
- Scouring pad side worn through to the sponge core
- Used to clean up raw meat, poultry, or seafood spills without immediate sanitization between uses
Sanitization can’t reverse physical damage, and trying to keep a damaged sponge longer just increases your cross-contamination risk. If you’re working with a tight small kitchen layout, keep a stock of replacement sponges on hand so you never have to stretch a worn-out one past its usable life.
Low-Bacteria Alternatives to Traditional Kitchen Sponges
If you want to cut down on sanitization work entirely, low-porosity cleaning tools are a reliable option.
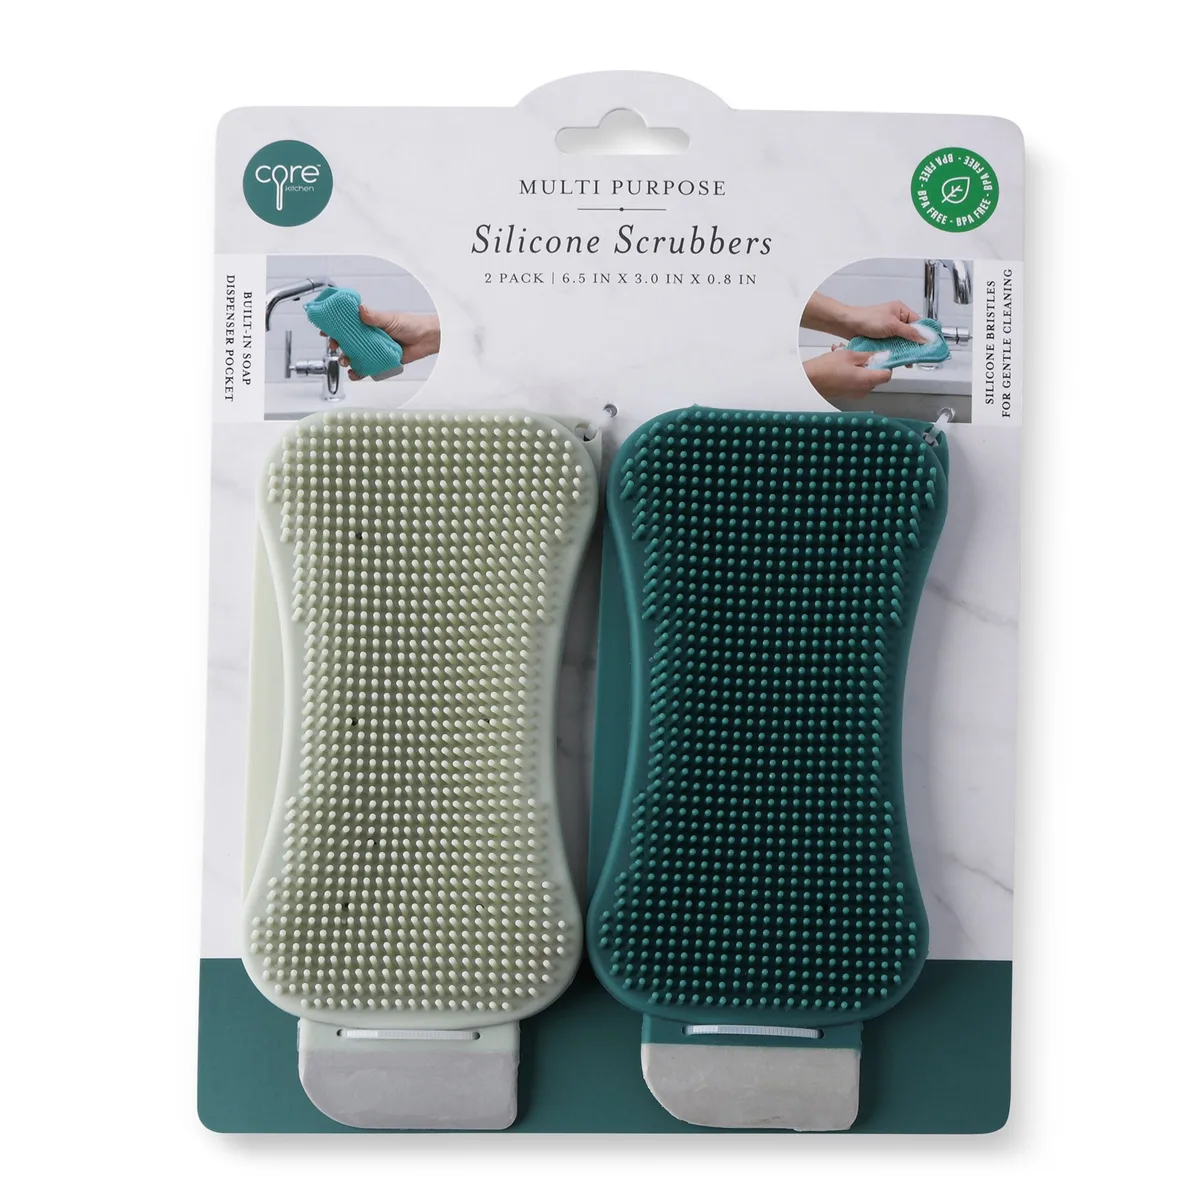
Silicone cleaning scrubbers are non-porous, so they don’t trap food particles or bacteria the way porous cellulose sponges do. They’re dishwasher-safe, so you can run them through your regular sanitization cycle without fire risk, and they last 6 to 12 months with normal use, per verified buyer feedback. The tradeoff is they don’t absorb liquids as well as cellulose sponges, so they’re better for scrubbing stuck-on food and surfaces than soaking up spills.
Antimicrobial-treated sponges slow initial bacterial growth for 2 to 3 weeks, per manufacturer testing, but still require regular sanitization to eliminate existing pathogens. Swedish dishcloths dry faster than sponges and can be machine-washed, but need replacement every 1 to 2 months with heavy use. For most households, pairing a silicone scrubber for daily scrubbing with a standard cellulose sponge for dishwashing is the best low-maintenance setup.
You can find more ideas for low-maintenance kitchen tools in our modern kitchen design guide.
How to Store Your Cleaning Tools to Stop Mold and Bacteria Growth
Even the most thorough sanitization fails if you store your sponge wrong. Damp, enclosed spaces create the perfect warm, moist environment for mold and bacteria to repopulate within hours, undoing all your sanitization work. The best storage option is a well-ventilated, elevated holder that lets air circulate all around the sponge.
Never store sponges in the bottom of a sink, inside a closed cabinet, or under a wet dish rack, as these trap moisture and accelerate bacterial growth.
If you use multiple sponges for different tasks, store them separately to avoid cross-contamination. For example, keep a raw food sponge in a designated holder near your prep area, and a dishwashing sponge near your sink. Let sponges air-dry completely for at least 1 hour after sanitization before putting them away.
If you live in a warm, humid climate, wring out sponges extra thoroughly after use and leave them on a drying mat instead of in a holder to speed up drying. Never leave a sponge soaking in water overnight, as this promotes rapid bacterial growth that sanitization can’t fully eliminate. For outdoor kitchen setups, store cleaning tools in a shaded, dry area to avoid moisture damage, per outdoor kitchen best practices.
Frequently Asked Questions
How often should I sanitize my kitchen sponge?
Sanitize your kitchen sponge at least once a week if you use it daily for dishwashing and surface cleaning. Households that regularly handle raw meat, poultry, or seafood should sanitize sponges every 2 to 3 days to reduce cross-contamination risk, per USDA food safety recommendations. Skipping sanitization for weeks leaves harmful pathogens to multiply on damp sponge surfaces.
Can I use vinegar to sanitize my kitchen sponge?
No, plain white vinegar is not an effective disinfectant for kitchen sponges. The 5% acetic acid in vinegar kills some non-harmful bacteria, but it does not meet EPA standards for eliminating foodborne pathogens like salmonella and E. coli. For true disinfection, use a diluted bleach solution, microwave sanitization, or a dishwasher sanitization cycle, all of which achieve the required 99.9% pathogen kill rate.
Is microwaving a kitchen sponge safe?
Microwaving a kitchen sponge is safe only if it is fully saturated with water and you have a microwave rated at 1000W or higher. A partially dry sponge can catch fire or spark, a hazard reported by fire safety agencies as of 2026. Never microwave sponges with metal scouring pads, as the metal can cause sparks and damage your microwave.
How long does a sanitized sponge stay bacteria-free?
A properly sanitized sponge stays mostly bacteria-free for 24 to 48 hours if stored correctly in a dry, well-ventilated area. After that, bacteria from use and environmental exposure will begin to repopulate, which is why regular sanitization and timely replacement are key. Sponges used for raw food cleanup should be sanitized after every use, not just weekly.
Can I use the same sponge for dishes and countertops?
No, using the same sponge for raw food prep surfaces and ready-to-eat surfaces like salad bowls or countertops causes direct cross-contamination. Use separate sponges for raw meat, poultry, and seafood cleanup, and for washing dishes and wiping down ready-to-eat surfaces. If you only have one sponge, sanitize it thoroughly between uses with a bleach soak or microwave method.
Your Simple, Safe Kitchen Sponge Care Cheat Sheet
| Frequency | Task | Key Rule |
|---|---|---|
| After every use | Rinse sponge | Remove all loose food debris under hot running water, wring out excess water |
| Weekly (high-use: every 2-3 days) | Sanitize | Use microwave, dishwasher sanitize cycle, or 5-minute bleach soak |
| Monthly | Inspect | Check for fraying, mold, or persistent odor; toss if damaged |
| 2-4 weeks (1-2 weeks for high-risk households) | Replace | Toss even if it looks clean if it’s past its usable lifespan |
Do:
- Wring out excess water before microwaving to avoid fire risk
- Use separate sponges for raw food and ready-to-eat surfaces
- Air-dry sponges completely before storing
- Sanitize sponges after any raw meat, poultry, or seafood cleanup
Don’t:
- Microwave dry or partially damp sponges
- Use dish soap alone to "clean" sponges, as it doesn’t kill bacteria
- Store sponges in damp, enclosed containers
- Keep using a sponge that has a foul smell or visible mold
Following this simple routine cuts your risk of sponge-related foodborne illness by more than 90%, per EPA disinfectant efficacy data, and extends the life of your sponges to save you money and reduce household waste.