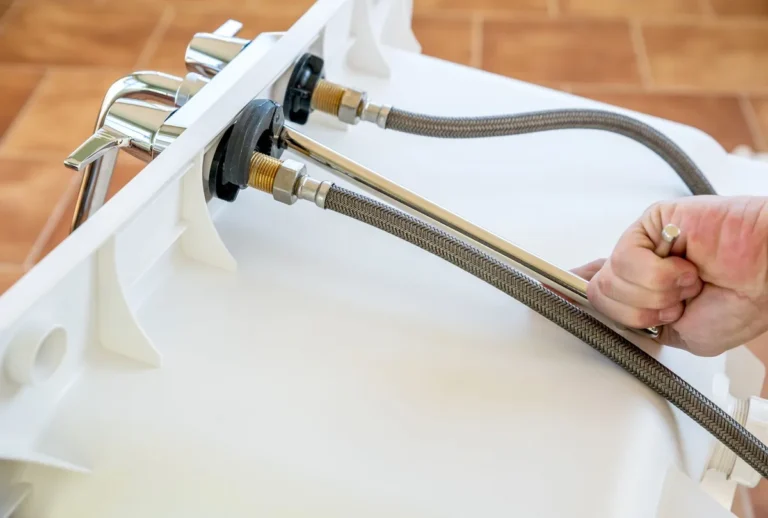
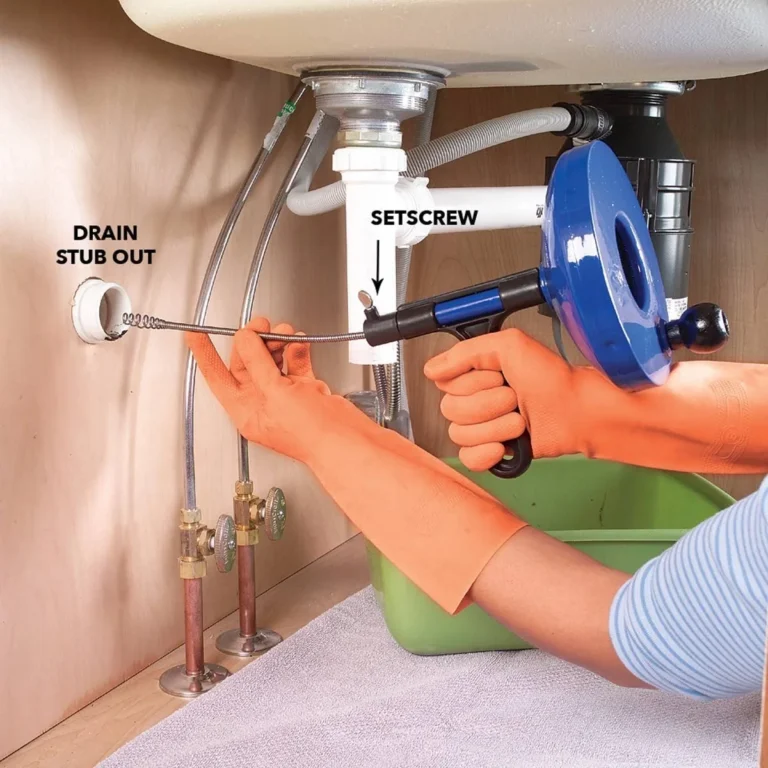
How to Replace a Moen Kitchen Faucet: Step-by-Step
Swapping out a kitchen faucet feels intimidating until you break it down. If you're searching how to change moen kitchen faucet, the job usually takes 30 to 60 minutes and requires only basic tools. Most homeowners stall at the supply lines or the mounting nut, not the faucet itself.
This guide walks through every decision point so you finish without a callback.
Moen faucets use a 1.5 GPM flow rate to meet WaterSense standards and typically connect via 3/8-inch compression or Duralock quick-connect fittings. The mounting hardware varies by model series, so identifying your setup before buying saves a return trip. Let's start with the quick answer, then move step by step.
Quick Answer
Turn off both shut-off valves and open the faucet to relieve pressure. Disconnect the supply lines and remove the old mounting nut with a basin wrench. Lift out the old faucet and clean the sink deck.
Insert the new faucet shank through the hole, seat the gasket, and tighten the mounting nut from below. Connect the supply lines, turn the water on, and check for leaks.
The Quick Version: How to Swap a Moen Kitchen Faucet
What You're Actually Getting Into
Most DIYers finish in under an hour if the shut-off valves work and the sink cabinet isn't packed. The hardest part is contorting under the deck to reach the mounting nut. A basin wrench costs $15 and saves your knuckles.
If the valves are seized or the supply lines are corroded copper, budget extra time or call a pro. You'll know within the first 10 minutes which camp you're in.
Realistic time frame: 30 minutes for a straight swap, 60 minutes if you're cleaning mineral buildup or wrestling a stuck nut. Skill level is beginner to intermediate. The only specialty tool is the basin wrench.
Everything else lives in a basic toolkit.
Step 1: Turn It Off and Clear Out
Locating Your Shut-Off Valves
Look under the sink for two oval handles on the water lines, one red, one blue. Turn both clockwise until they stop. If they won't budge, don't force them.
Spray penetrating oil, wait 15 minutes, and try again. A broken valve turns a faucet swap into a pipe replacement.
Releasing Water Pressure Safely
Open the faucet handle fully. Let the remaining water drain into the sink. This empties the supply lines so you don't get sprayed when you disconnect them.
Leave the handle open while you work.
Why Opening the Faucet Handle Matters
Residual pressure can push a quick-connect fitting off with surprising force. It also prevents a vacuum lock that makes the lines harder to remove. Two seconds of patience here saves a wet shirt.
Step 2: Know Your Sink Setup Before You Buy
Measuring Your Sink Hole Configuration
Count the holes in your sink or countertop. Standard configurations are single-hole, three-hole (4-inch centerset), and three-hole (8-inch widespread). Moen's M-PACT system lets many models fit multiple patterns with the right deck plate.
Measure center-to-center distance between the outer holes to confirm.
Single-Hole vs. 3-Hole vs. Deck Plate Setups
A single-hole sink takes a faucet with an integrated base. A 3-hole sink needs either a widespread faucet (separate handles and spout) or a single-hole faucet plus a deck plate to cover the extra holes. The deck plate (escutcheon) bridges the gaps and mounts with the same hardware.
Checking Clearance Below the Sink
Slide under the cabinet with a flashlight. Measure from the sink deck down to the cabinet floor or shelf. You need at least 12 inches of vertical working room for a basin wrench.
Deep sinks or garbage disposals can eat that space. If clearance is tight, a ratcheting box wrench on the supply nuts works in shallower depth.
Getting the Right Moen Model for Your Setup
Match the faucet to your hole count and spacing. Pull-down models need a single hole plus room for the hose weight. Pull-out models often fit a 3-hole deck plate.
Check the spec sheet for "minimum hole diameter", usually 1-3/8 inches. As of 2026, most Moen kitchen faucets ship with both 3/8-inch compression and Duralock adapters in the box.
| Sink Holes | Spacing | Compatible Moen Style |
|---|---|---|
| 1 | N/A | Single-hole pull-down, pull-out |
| 3 | 4 in | Centerset with deck plate |
| 3 | 8 in | Widespread (separate handles) |
| 3 | 4 in | Single-hole faucet + 10-inch deck plate |
The Visual Cue: Identifying Your Mounting Style (Image/Visual)
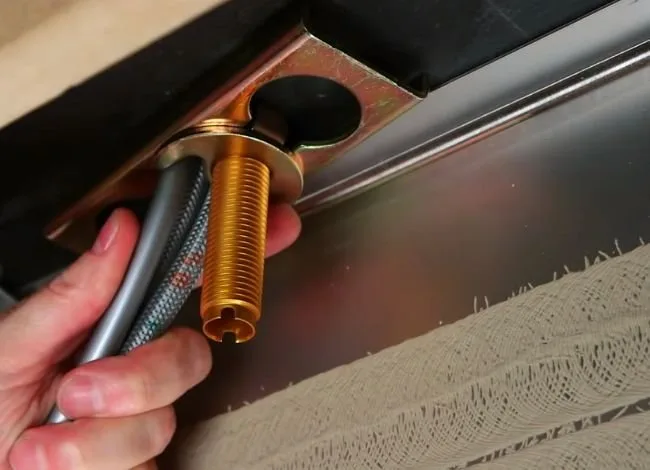
Moen uses three distinct mounting systems. The diagram above shows each one. Your existing faucet determines which removal method applies.
Basket nut, A large white plastic nut that threads onto the faucet shank. Common on older Chateau and Banbury series. Turn counterclockwise by hand or with channel locks.
Spanner nut, A thin metal ring with notches for a spanner wrench. Found on many Arbor, Align, and Sleek models. The wrench is often included in the box.
If lost, a flathead screwdriver and hammer can tap it loose carefully.
Threaded shank with horseshoe bracket, The shank has external threads. A U-shaped bracket slides over it and locks with a screw. Seen on some commercial-grade and newer M-PACT models.
Loosen the screw, slide the bracket off, then unthread the shank nut.
If you're unsure, shine your light up at the base from below. The nut shape is visible even through the supply line clutter. Match it to the diagram, then proceed to removal.
Step 3: Disconnect the Old Faucet
Disconnecting Supply Lines
Place your bucket under the connections. Use an adjustable wrench on the supply line nuts where they meet the shut-off valves. Turn counterclockwise.
Expect a cup of water from each line. If a nut is stuck, hold the valve body with a second wrench so you don't twist the copper pipe in the wall.
Removing the Decorative Deck Plate
Pry off any plastic caps on the plate with a flathead screwdriver. Remove the mounting screws underneath. Lift the plate straight up.
If caulk seals it to the counter, score the bead with a utility knife first. Don't pry against the countertop, you'll chip stone or laminate.
Extracting the Old Mounting Nut
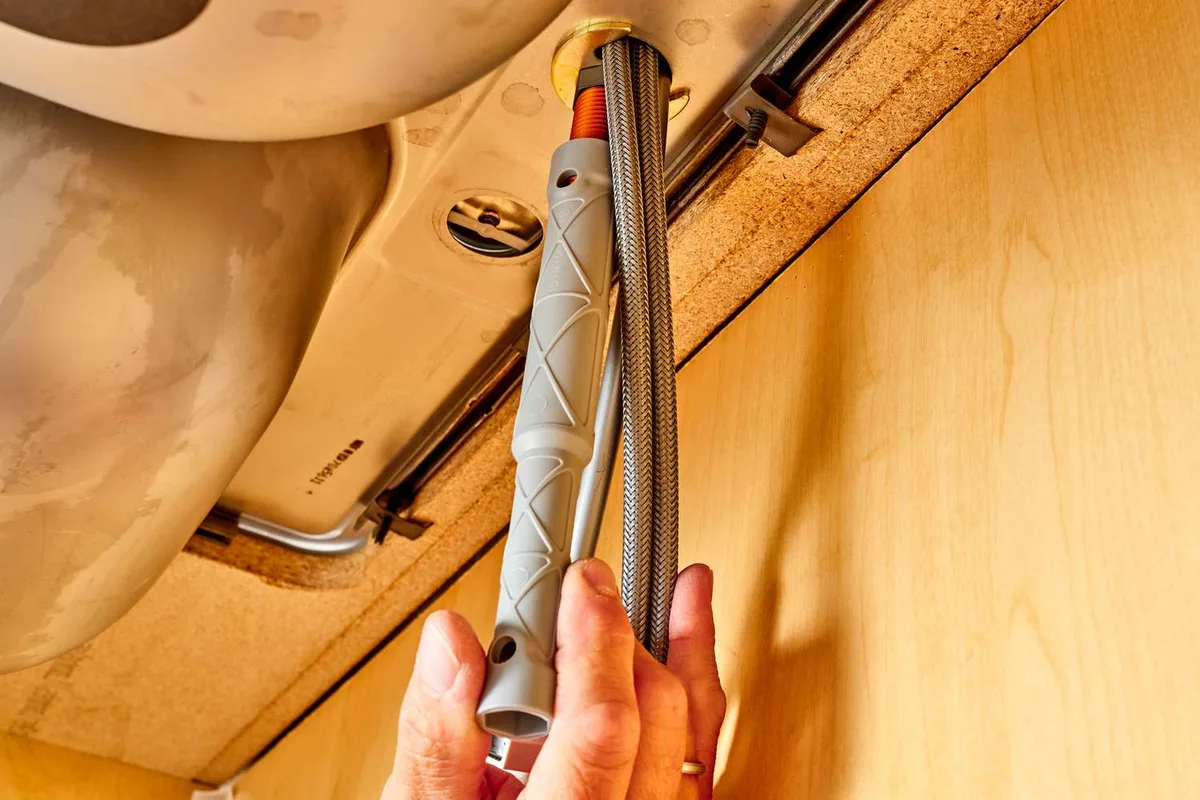
This is where the basin wrench earns its keep. Slide the jaws up onto the nut flats. Turn counterclockwise.
If the nut spins the whole faucet, have a helper hold the spout steady from above. For a basket nut, hand pressure often works once it breaks free. For a spanner nut, seat the wrench fully in the notches before applying force.
When to Apply Penetrating Oil and Why
If the nut doesn't move with firm pressure, stop. Spray penetrating oil into the threads. Wait 20 minutes.
The oil creeps into the corrosion layer between dissimilar metals. Forcing a frozen nut cracks the shank or strips the nut, turning a $15 part into a $200 headache.
Step 4: Drop In the New Moen
Prepping the Sink Deck
Scrape off old plumber's putty or silicone with a plastic putty knife. Clean the surface with isopropyl alcohol. A clean deck prevents the new gasket from leaking.
Don't use abrasive pads on cultured marble or solid surface, they scratch permanently.
Proper Placement of the Gasket and Plate
The rubber gasket goes between the faucet base and the sink. If your model includes a deck plate, the gasket sits under the plate. Some Moen models have a foam gasket for the plate and a separate rubber one for the faucet body.
Install both. The gasket lips should face down toward the sink.
Threading the Shank and Feed Hoses
From above, feed the supply hoses and the threaded shank through the hole. Pull them through from below until the faucet base sits flat on the gasket. Center the faucet so the handle swings freely and the spout aligns with the drain.
Tape the hoses to the shank with painter's tape so they don't fall back through while you work underneath.
Tightening the Mounting Nut Correctly
Thread the mounting nut onto the shank by hand until snug. Use the basin wrench for the final quarter turn. The faucet should not rotate when you wiggle the spout.
Over-tightening cracks the plastic nut or distorts the gasket. If the faucet has a horseshoe bracket, slide it on, center it, and tighten the locking screw to 25 inch-pounds, about firm with a screwdriver.
If you're working on a larger project like a full kitchen remodel, coordinate the faucet install after the countertop is set but before the backsplash goes up. For smaller spaces, a single-hole pull-down model maximizes deck space.
Step 5: Hook Up the Water Lines
Connecting Supply Lines to Shut-Off Valves
Match each hose to its valve, red to hot, blue to cold. If your Moen uses Duralock quick-connect, push the fitting straight onto the valve outlet until you hear a click. Pull back gently to confirm it's locked.
For threaded compression fittings, slide the nut and ferrule onto the valve threads, then tighten by hand plus one-quarter turn with a wrench. Don't use plumber's tape on compression threads with rubber washers; it prevents a proper seal.
The Visual Cue: Quick-Connect vs. Threaded Supply Lines (Image/Visual)
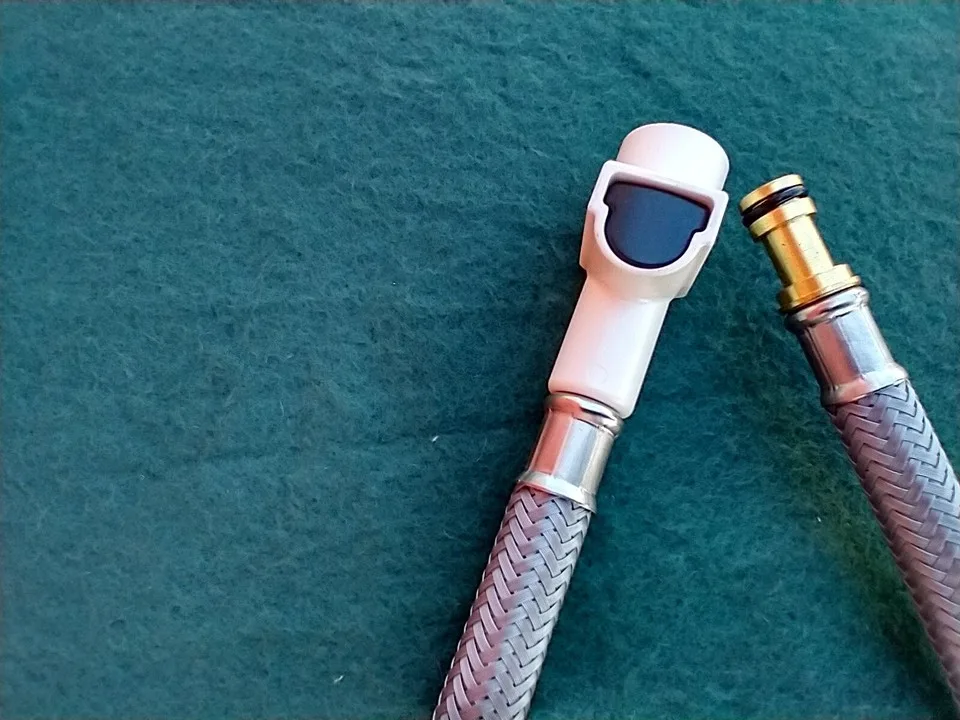
The photo above shows both connection types side by side. Duralock fittings have a white collar and internal O-rings. Threaded nuts have a brass ferrule visible inside.
Your shut-off valve determines which you use. Most 3/8-inch compression valves accept either with the included adapters. If your valves are 1/2-inch FIP, you'll need a different adapter, check the spec sheet before starting.
Tightening Technique and Correct Torque
Snug is the target. A compression nut needs roughly 15 to 20 inch-pounds, firm with a 10-inch wrench, not your full weight. A quick-connect needs zero torque; the click is the lock.
Over-tightening compression fittings crushes the ferrule and creates a leak path. If a joint weeps after pressure-up, give it an eighth turn more. Stop there.
Adjusting the Pull-Down Hose Weight
The stainless weight on the hose controls retraction. Slide it up the hose until it sits about 2 inches above the lowest point of the hose loop. Tighten the set screw with the included hex key.
Too high and the sprayer won't dock. Too low and it won't retract fully. Test the sprayer through a full extend-retract cycle before you button up the cabinet.
Step 6: The Leak Test and Flush Out
Turning the Water Back On Safely
Close the faucet handle. Open the cold shut-off valve slowly, a quarter turn, pause, then full open. Repeat for hot.
Slow opening prevents water hammer that can blow a weak joint. Watch the connections under the sink for the first 30 seconds. A weep shows immediately.
Checking for Drips and Weeping Joints
Run your fingers along every nut and fitting. Paper towels wrapped around joints reveal slow seeps. Check the faucet base where it meets the deck.
A leak there means the gasket isn't seated or the mounting nut is loose. Tighten the mounting nut from below if needed. Check the sprayer hose connection at the faucet body too.
Flushing the Aerator Runner
Remove the aerator from the spout tip using the key provided. Turn on both handles and let water run for 60 seconds. Debris from the install, pipe dope, Teflon shreds, mineral flakes, clears out.
Reinstall the aerator. If flow stays low, unscrew the aerator again and rinse the screen. Don't skip this; a clogged aerator mimics a cartridge problem.
Common Visual Mistakes (Image/Visual)
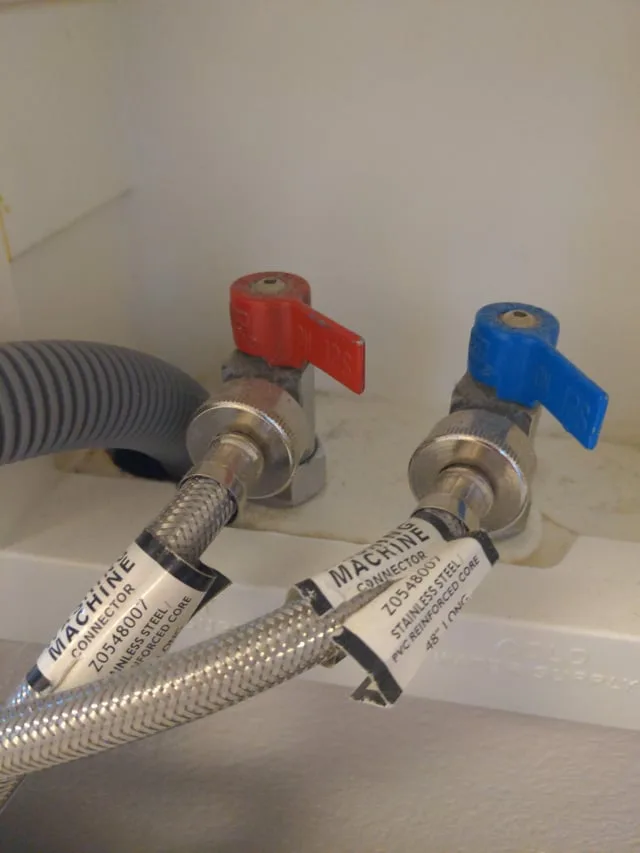
The image above captures the two most frequent errors. On the left, the faucet base leaks because the rubber gasket was left in the box or pinched during tightening. On the right, the red and blue supply lines are crossed at the shut-off valves, hot comes out the cold side.
Both are fixed in minutes if caught now. Cross-threaded compression nuts show stripped threads on the valve body; that valve needs replacement. A cracked plastic mounting nut from over-torquing means a hardware store run for the spare nut Moen includes in the bag.
The Pro's Little Ben Tricks
Using a Basin Wrench Properly
Flip the jaw direction for tightening versus loosening. The pivot head should face the direction of turn. Keep the handle at a 30-degree angle to the nut for maximum leverage.
If the nut is recessed, extend the handle fully. A cheater pipe on the handle adds torque but risks cracking plastic nuts, use steady pressure instead.
Securing the Spec Against the Sprayer Hole
On single-hole sinks with a separate sprayer hole, the unused hole needs a cover. Moen sells matching hole covers, but a flat chrome plug from the hardware store works. Apply a bead of silicone under the plug flange before tightening.
This prevents water from seeping into the cabinet through the open hole.
Testing the Sprayer Docking Magnets
MagnaTite docking uses a magnet in the spout and a metal slug in the sprayer head. After install, pull the sprayer out and let go. It should snap home with a solid click.
If it hangs loose, check that the hose weight isn't catching on the cabinet wall. Adjust the weight position until the sprayer retracts fully every time.
Frequently Asked Questions
Can I install a Moen faucet if I've never done plumbing?
Yes. The tools are basic and the steps are linear. The basin wrench is the only specialty item.
If your shut-off valves work and you have 12 inches of cabinet clearance, the risk is low. Manufacturer instructions include diagrams for every model.
Do I need plumber's tape on the supply connections?
No. Moen supply lines use rubber washers or O-rings that seal on contact. Tape interferes with that seal.
Use tape only on threaded pipe nipples without washers, such as a 1/2-inch FIP valve adapter.
Why is my new faucet spraying low pressure?
First, clean the aerator. Debris from installation is the most common cause. If flow is still low, check that both shut-off valves are fully open.
A partially closed valve cuts flow dramatically. Rarely, the cartridge debris screen is clogged, remove and rinse it.
What's the deal with the common valve system?
Moen's M-PACT common valve lets you change trim styles without replacing the rough-in valve behind the wall. For kitchen faucets, this means the cartridge (1225 or 1255) is serviceable from the top. You don't need to know this for install, but it simplifies future repairs.
How do I find my Moen model number?
Look on the original box or the installation sheet. On the faucet itself, it's often on a tag attached to the supply hose or printed on the underside of the spout. The Moen website has a "Identify My Product" tool that matches photos to model numbers.
The Bottom Line: Your Decision Guide
Quick Checklist Before You Start
- Shut-off valves turn freely
- Basin wrench purchased or borrowed
- Sink hole count and spacing measured
- New faucet model matches your configuration
- Bucket, towels, and flashlight staged
- Penetrating oil on hand for stuck nuts
When Your Best Move Is to Call a Plumber
Shut-off valves are frozen or leak when operated. Supply lines are rigid copper with no flex. The sink is an undermount with zero cabinet access.
You discover corroded pipes or evidence of past leaks behind the cabinet. These scenarios turn a one-hour job into a half-day repair with water-damage risk.
Final Sanity Check Before You Call It Done
Run hot and cold full blast for two minutes. Check every joint with a dry paper towel. Verify the sprayer docks magnetically.
Confirm the handle operates smoothly through its full arc. Tighten the mounting nut one last time if the faucet body moves. Clean the finish with a soft cloth.
You're done.