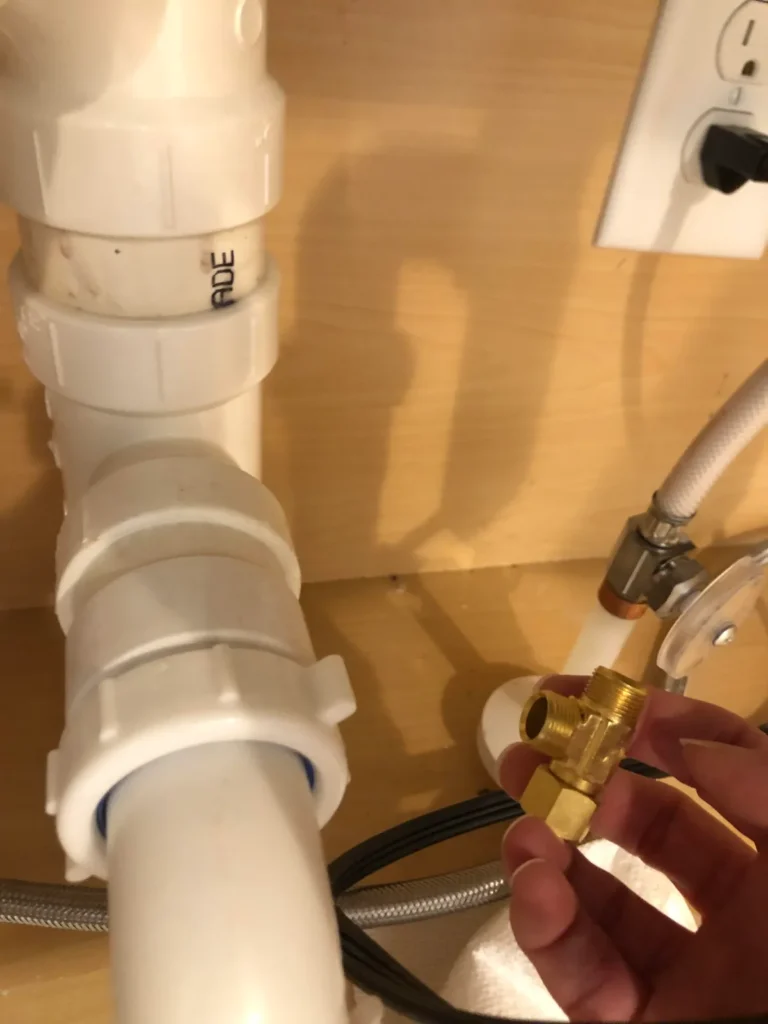
How to Disconnect a Kitchen Sink Without a Plumber
Learning how to disconnect a kitchen sink starts with accepting that no single set of steps works for every kitchen. The mounting method, the plumbing layout, and the countertop material all change the job. A drop-in sink held by clips comes out in twenty minutes.
An undermount epoxied to quartz can take three hours and risks a cracked slab. The supply lines might be braided stainless with compression nuts or push-fit connectors that release with a plastic clip. Most DIYers underestimate the weight of a cast-iron sink or the force needed to break a ten-year silicone bond.
Per IPC and UPC standards, every kitchen sink must have a functioning air gap or high loop for the dishwasher drain and a 1-1/2 inch trap with cleanout access. As of 2026, lead-free brass or stainless supply fittings certified to NSF/ANSI 372 are required for any replacement parts. The transition into the first decision point is simple: identify what you have before you turn a wrench.
Quick Answer
Disconnect a kitchen sink by shutting off water, unplugging the disposal, removing supply lines, detaching the drain assembly, releasing the mounting clips or epoxy bond, and lifting the sink free. The exact sequence depends on sink type and mounting method. Always verify shutoffs hold before starting.
Protect the countertop during removal.
Why This Isn't a One-Size-Fits-All Job
The sink type dictates the entire workflow. A drop-in sink sits on the countertop with a visible flange secured by metal clips underneath. An undermount sink hangs from the countertop cutout using brackets and construction-grade epoxy.
A farmhouse sink rests on a custom cabinet frame with the apron exposed. Each configuration demands different tools, different force, and different risk tolerance.
Countertop material adds another variable. Laminate tolerates a putty knife and heat gun. Quartz and granite crack under point loads or thermal shock.
Solid surface can be sanded and repaired but scratches easily. Tile countertops have grout lines that trap caulk and hide the true sink perimeter. The cabinet interior matters too.
A standard base cabinet offers 24 inches of depth. A farmhouse cabinet has a cut-down face frame that limits access to the rear mounting brackets.
Plumbing layout creates the final branch. A single-bowl sink with a disposal and dishwasher branch needs three drain connections plus two supply lines. A double-bowl with center outlet uses a tee tailpiece and two basket strainers.
A bar sink on a reverse-osmosis loop adds a third supply line. The shutoff valves might be 1/4-turn balls, multi-turn compression stems, or push-fit units that require a release tool. Every combination changes the order of operations.

The Golden Rule: Diagnose Before You Disconnect
Start with a phone camera and a flashlight. Photograph every connection from three angles: straight on, from the left, from the right. Capture the supply line nuts, the disposal mounting ring, the dishwasher drain hose clamp, the P-trap slip nuts, and the basket strainer locknuts.
Label hot and cold supply lines with painter's tape. Mark the disposal power cord if it plugs into a wall outlet. Note whether the disposal is hardwired to a junction box inside the cabinet.
Next, identify the sink mount. Slide a putty knife under the rim. If it slides under a visible flange, you have a drop-in.
If the countertop meets the sink bowl with only a thin caulk line, it is undermount. If the sink front extends past the cabinet face with no countertop overhang, it is a farmhouse. Run your finger along the seam.
Hard, rock-like resistance means epoxy. Soft, rubbery give means 100 percent silicone. Crumbly white residue means plumber's putty, common on older stainless drop-ins but never used on stone.
Check the shutoff valves. Turn each handle clockwise until it stops. Open the faucet.
If water still flows, the valve has failed. You must shut off the house main. Gate valves with round handles often seize after years of disuse.
Ball valves with lever handles are more reliable but can snap if forced. If the supply lines are copper with sweat connections, you need a tubing cutter and soldering gear for reinstall. Braided stainless lines with 3/8-inch compression nuts are the modern standard and the easiest to work with.
Anatomy of a Sink Connection: What You're Actually Disconnecting
Every kitchen sink has five connection groups. The water supply group includes two angle stops, two supply lines, and the faucet tailpieces. The faucet mounting group consists of the faucet body, mounting nuts, and any deck plate or soap dispenser.
The drain group starts at the basket strainer flange inside the bowl, passes through the locknut and gasket, and continues through the tailpiece. The waste group includes the P-trap, the trap arm, the wall bend, and any dishwasher branch or disposal connection. The electrical group covers the disposal power, either a cord and plug under the sink or a hardwired whip to a junction box.
| Connection Group | Typical Components | Common Fasteners | Tool Required |
|---|---|---|---|
| Water Supply | Angle stops, supply lines, faucet tails | 3/8" compression nuts, 1/2" FIP nuts, push-fit collars | Adjustable wrench, basin wrench, push-fit release tool |
| Faucet Mount | Faucet body, deck plate, mounting hardware | 1/2" or 5/8" hex nuts, Phillips screws | Basin wrench, deep socket, screwdriver |
| Drain (Sink Side) | Basket strainer, locknut, gaskets, tailpiece | 1-1/2" locknut, slip nuts | Large channel locks, basket strainer wrench |
| Waste (Wall Side) | P-trap, trap arm, wall bend, branch tailpiece | 1-1/2" slip nuts, compression nuts | Channel locks, adjustable wrench |
| Electrical | Disposal cord/plug or hardwire whip | Wire nuts, grounding screw, strain relief | Screwdriver, voltage tester, wire strippers |
The basket strainer is the most stubborn single component. The locknut is often a large plastic ring that seizes to the stainless flange. The gasket below it fuses to the sink bottom.
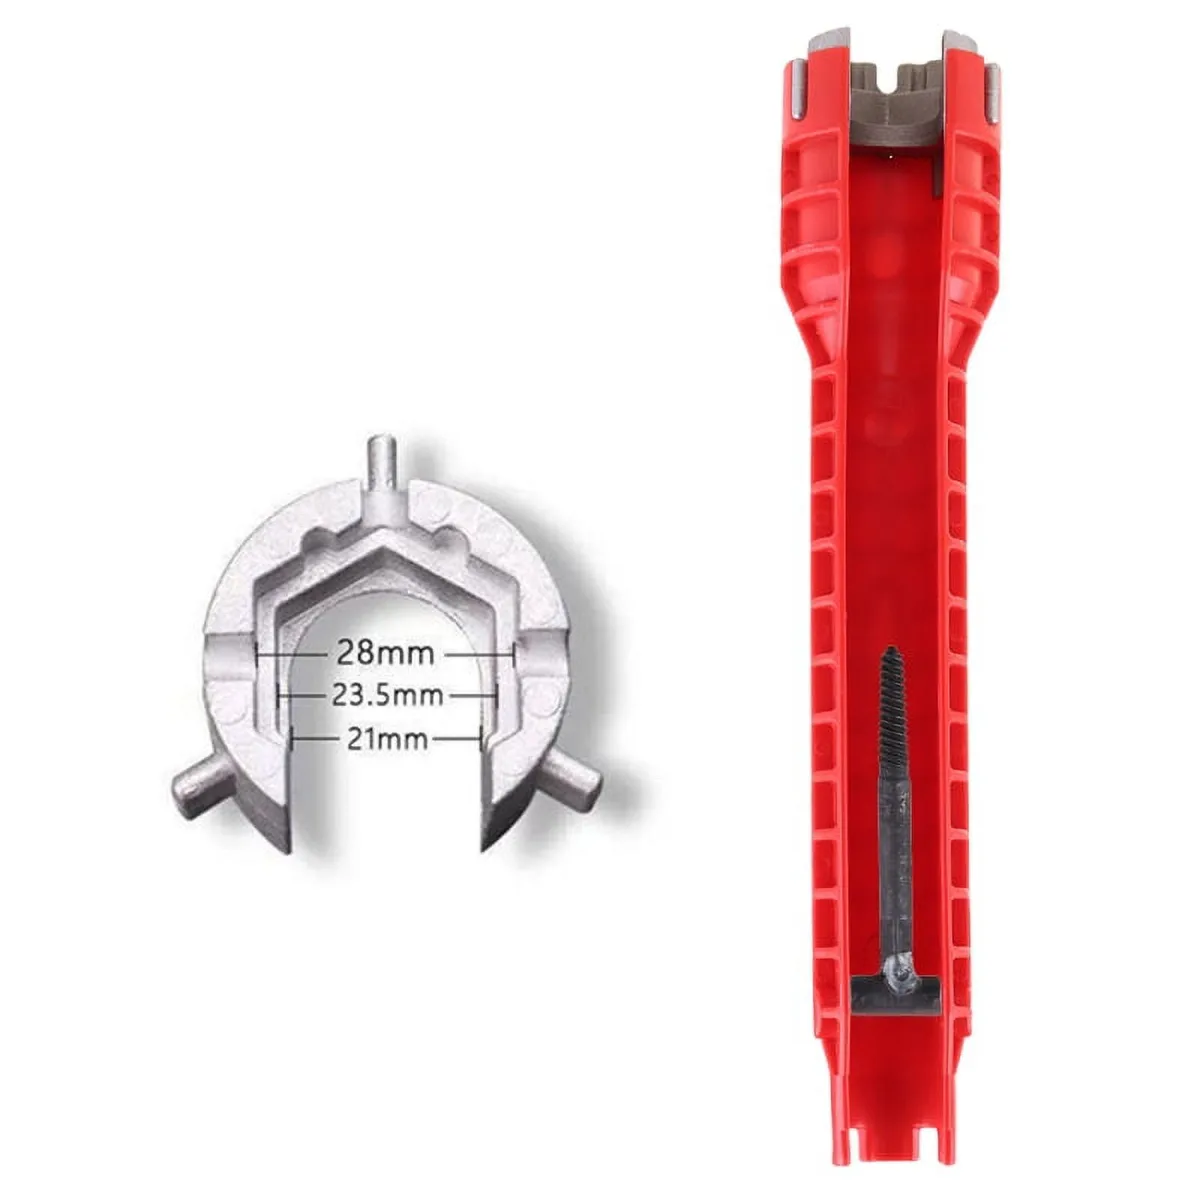
A specialized basket strainer wrench engages the crossbars inside the strainer body so you can hold the flange while turning the nut. Without it, the whole assembly spins and the putty seal breaks unevenly.
The disposal mounting system varies by brand. InSinkErator uses a three-bolt twist-lock ring with a snap ring retainer. Moen and Whirlaway use an EZ-mount bracket that clamps to the sink flange.
Waste King uses a proprietary three-bolt pattern with a metal mounting ring. All three support the disposal weight on the sink flange, never let the unit hang from the drain pipe. Support it with a block of wood or a painter's pole before releasing the mount.
Identify Your Sink Type & Mount Method
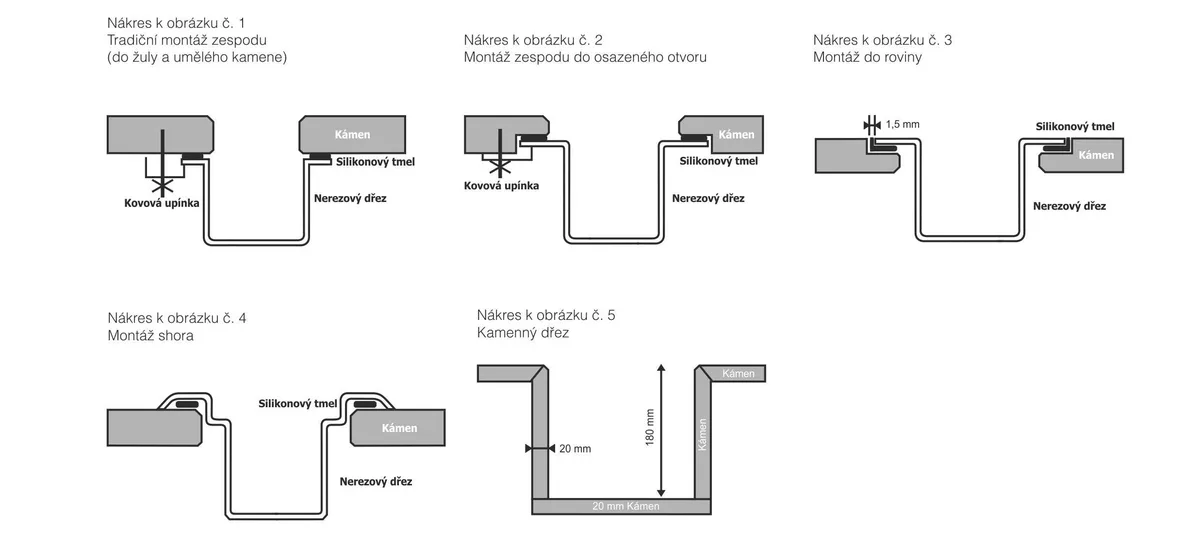
Drop-in sinks are the simplest. The flange rests on the countertop. Metal clips screw into the countertop underside or into the sink bowl lip.
Typically four to eight clips hold the sink. A bead of silicone or latex caulk seals the perimeter. Removal means scraping the caulk, backing out the clip screws, and lifting the sink straight up.
The faucet usually stays on the sink. Supply lines disconnect at the angle stops.
Undermount sinks hide the rim below the countertop. Two mounting systems exist. Clip-and-bracket systems use metal brackets screwed into the cabinet side walls or into blocking.
The brackets hook under the sink rim. Epoxy systems bond the sink rim directly to the countertop cutout with two-part structural adhesive. Some installs combine both.
Identification requires looking up from inside the cabinet. Brackets are visible. Pure epoxy shows only a thin glue line at the seam.
Farmhouse sinks sit on a modified cabinet frame. The apron front replaces the cabinet face frame. The sink weight transfers to the cabinet floor through support rails or a plywood cradle.
The countertop butts against the sink sides and back. Silicone seals the joint. Removal means disconnecting plumbing, cutting the silicone, and lifting the sink up and forward.
The cabinet frame often needs reinforcement before a new sink installs. Our research on how to frame an outdoor kitchen covers similar structural principles for heavy sink support.
Integral sinks are molded as one piece with the countertop, common in solid surface and some quartz lines. These cannot be disconnected separately. The entire countertop must be removed.
If you see no seam at all between sink and counter, you have an integral unit. Stop here and plan a full countertop replacement.
Safety & Code Checks Before You Start
Turn off the water. Verify zero flow at the faucet. If the fixture stops leak, close the house main.
Open a faucet on the lowest floor to drain the system. Place a bucket under the P-trap. Water will spill when you break the trap connection.
Have towels ready.
Electrical safety is non-negotiable. Unplug the disposal. If it is hardwired, turn off the breaker.
Confirm dead with a non-contact voltage tester at the disposal wiring compartment. NEC 210.8(A)(6) requires GFCI protection for all kitchen receptacle outlets serving countertop surfaces. The disposal receptacle must be GFCI protected whether it is a dedicated outlet or a split receptacle with the dishwasher.
If your house lacks GFCI at this location, note it for the electrician during reinstall.
Check for asbestos. Sink coatings and undermount adhesives installed before 1980 may contain asbestos fibers. Do not sand, grind, or abrade unknown black mastic or white fibrous backing.
Wet-wipe debris. Wear an N95 respirator. If you suspect asbestos, stop and consult a certified abatement contractor.
The EPA maintains guidance at epa.gov/asbestos.
Ventilation matters. Cutting epoxy with an oscillating tool releases fine dust and volatile organics. Open windows.
Run a box fan exhausting outward. Wear safety glasses and nitrile gloves. Silicone caulk removal with a utility knife creates sharp blade exposure.
Cut away from your body. Keep a first aid kit nearby.
Structural awareness prevents costly damage. An undermount sink epoxied to 3cm quartz weighs 50 to 80 pounds plus the countertop section. The countertop is not designed to cantilever without the sink supporting the cutout edges.
Once the epoxy releases, the countertop can crack under its own weight. Have a helper support the countertop perimeter. For farmhouse sinks, the cabinet floor carries the full load.
Verify the floor is solid plywood, not particle board that has swollen from leaks. Our guide on how deep are lower kitchen cabinets details standard cabinet construction specs.
Permit requirements vary. Most jurisdictions allow like-for-like sink replacement without a permit. Moving the drain rough-in, adding a disposal circuit, or altering the vent stack triggers a permit.
Check your local building department website. The IPC and UPC model codes are adopted with local amendments. A quick call to the inspector's office saves a failed inspection later.
Branch 1: Drop-In / Self-Rimming Sink Disconnect
Start with the faucet. Disconnect the supply lines at the angle stops using an adjustable wrench on the 3/8-inch compression nuts. Hold the valve body with a second wrench to prevent twisting the copper stub-out.
Remove the faucet mounting nuts with a basin wrench. Lift the faucet off the sink deck. Set it aside on cardboard if you plan to reuse it.
Move to the drain. Loosen the P-trap slip nuts by hand or with channel locks. Pull the trap free and drain it into the bucket.
Disconnect the dishwasher drain hose from the disposal or tailpiece branch. Loosen the disposal mounting ring, insert a screwdriver into the ring lug and tap counterclockwise with a hammer. Support the disposal weight as it releases.
Unplug the cord or disconnect the hardwire whip.
Cut the perimeter caulk. Run a utility knife with a fresh blade along the flange-to-counter seam. Work the blade in at the corners first.
A putty knife helps lift the caulk bead once scored. Do not pry the sink up yet. Locate the mounting clips underneath.
Most drop-ins use four to eight clips with hex-head or Phillips screws. Back out each screw until the clip swings free. Some clips slide in a track; push them toward the sink center to release.
Lift the sink straight up. A standard 33-inch stainless drop-in weighs 20 to 35 pounds. A cast-iron model hits 100 pounds.
Get a helper for anything over 40 pounds. Set the sink on a moving blanket. Scrape remaining caulk from the countertop with a plastic scraper.
Clean with mineral spirits. Inspect the cutout for swelling or delamination.
Branch 2: Undermount Sink Disconnect (Clips, Brackets & Epoxy)
Remove the faucet and drain plumbing first. Same steps as the drop-in branch. The difference starts at the mount.
Open the cabinet doors wide. Shine a light along the sink rim. Look for metal brackets screwed to the cabinet side walls or to vertical blocking.
If you see brackets, you have a mechanical mount. Back out the bracket screws. The sink drops slightly but stays bonded by epoxy or silicone.
If no brackets are visible, you have a pure epoxy mount. The sink rim is glued directly to the stone cutout. This is the highest-risk scenario.
Heat softens epoxy. A heat gun at 300 degrees Fahrenheit applied for 30 seconds per section helps. Move constantly.
Do not concentrate heat on one spot. Quartz cracks above 400 degrees. Granite tolerates more but thermal shock is real.
The oscillating multi-tool with a carbide segment blade is the professional choice. Insert the blade at the seam. Let the tool do the work.
Do not force it. Work around the entire perimeter. The blade cuts the epoxy bead.
You will feel the resistance drop when the bond breaks. A reciprocating saw with a fine-tooth demolition blade works but vibrates more. Vibration transmits to the countertop and can propagate cracks.

Once the bond releases, the sink hangs free. Support it from below before the final cut. A 30-inch undermount stainless sink weighs 25 to 40 pounds.
A composite granite undermount runs 60 to 90 pounds. Have a helper cradle the sink. Lower it gently onto the cabinet floor.
Do not let it swing on the last epoxy strand.
Clean epoxy residue from the countertop cutout. A plastic putty knife removes the bulk. Acetone or a citrus-based adhesive remover dissolves the film.
Do not use acetone on laminate, it melts the surface. For stone, a razor scraper at a low angle works. Finish with denatured alcohol.
The cutout must be clean and dry for the new sink.
Branch 3: Farmhouse / Apron-Front Sink Disconnect
Farmhouse sinks change the geometry. The apron front sits proud of the cabinet face. The countertop butts against the sink sides and back.
Silicone seals these joints. The sink rests on a support frame inside the cabinet, usually 2×4 cleats or a plywood cradle. Some installs use adjustable metal legs bolted to the cabinet floor.
Disconnect plumbing first. The drain centerline is often lower than a standard sink. The P-trap may run horizontally farther back.
Measure and note the trap arm length for reinstall. Disconnect the disposal if present. The disposal discharge may point sideways rather than down.
Label the orientation.
Cut the silicone at the countertop-to-sink joints. A utility knife works the side seams. The back seam against the backsplash is tight.
An oscillating tool with a flexible scraper blade reaches it. Do not cut the backsplash caulk unless you plan to replace the backsplash.
Check the support frame. Remove any screws securing the sink flange to the frame. Some fireclay sinks have mounting lugs cast into the body.
Others rely solely on gravity and silicone. Lift straight up. A 33-inch fireclay farmhouse sink weighs 150 to 200 pounds.
A 36-inch model exceeds 250 pounds. You need two strong helpers or a mechanical lift. Do not attempt this alone.
Once the sink clears the frame, tilt it back and slide it forward. The apron clears the cabinet face. Set it on a pallet or heavy moving blankets.
Inspect the cabinet frame. Water damage is common at the front edge. Probe with a screwdriver.
Soft wood means rebuild before the new sink goes in. Our kitchen remodel guide covers cabinet repair techniques.
Supply Lines, Disposal & Drain: Disconnect Methods Compared
Supply line disconnect depends on the fitting. Braided stainless with 3/8-inch compression nuts: hold the valve with one wrench, turn the nut with another. Push-fit (SharkBite, etc.): press the release collar square against the fitting body and pull the tube.
Copper sweat: cut the tube with a mini cutter, leave enough stub for a new compression adapter. PVC flex: unscrew the plastic nut by hand.
| Supply Type | Disconnect Action | Reuse Potential | Code Note |
|---|---|---|---|
| Braided SS compression | Two wrenches, turn nut | High if nuts intact | NSF/ANSI 372 lead-free |
| Push-fit | Press collar, pull tube | Medium, O-ring wears | Not allowed in all jurisdictions |
| Copper sweat | Cut tube, prep for new | Zero, must replace | Requires solder skill |
| PVC flex | Hand unscrew nut | Low, threads strip | Not for hot supply |
Disposal disconnect follows the mount type. InSinkErator three-bolt: insert jam wrench or screwdriver in ring lug, tap counterclockwise. EZ-mount: loosen the three clamp bolts evenly.
Waste King: remove the three bolts from the mounting ring. Always support the unit. Never let it hang from the drain piping.
The disposal inlet is 1-1/2 inches. The dishwasher branch knocks out with a screwdriver and hammer. Remove the knockout before mounting the new disposal.
Drain assembly disconnect starts at the basket strainer. Insert a basket strainer wrench into the crossbars. Turn the locknut counterclockwise with large channel locks.
If the nut spins the whole flange, hold the flange with the wrench while turning the nut. Penetrating oil helps corroded threads. Wait 15 minutes.
The tailpiece slip nut loosens by hand or channel locks. The P-trap slip nuts come off last. Keep the trap upright, it holds water and debris.
Mistakes That Cost Money: What Not to Do
Forcing a stuck supply nut snaps the copper stub-out behind the wall. That turns a $15 supply line job into a $400 wall repair. Apply penetrating oil.
Wait. Use a six-point socket on the nut. If it won't budge, cut the supply line with a mini cutter and replace the valve.
Prying an undermount sink with a flat bar cracks the countertop. The leverage concentrates force on a small area. Quartz fails at 600 psi point load.
Granite fails at 800 psi. A flat bar delivers 2000 psi. Use the oscillating tool.
Cut the bond. Let the sink release.
Cutting the dishwasher drain hose instead of releasing the clamp saves two minutes and costs a new hose. The hose is molded to fit. A splice leaks.
Use a flathead screwdriver on the worm gear clamp. If the clamp is corroded, cut the clamp with diagonal pliers, not the hose.
Dropping the disposal while releasing the mount bends the sink flange or cracks the basket strainer body. A bent flange leaks. A cracked strainer body requires full sink removal to replace.
Support the disposal with a paint roller handle across the sink opening or a block of wood on the cabinet floor.
Reusing old plumber's putty on a stone countertop stains the stone permanently. Putty contains oils that migrate into porous surfaces. Use 100 percent neutral-cure silicone for all stone, quartz, and solid surface installs.
Putty is for stainless and enamel only.
Skipping the shutoff test floods the cabinet. A failed angle stop flows at 2 to 5 gallons per minute. In five minutes you have 25 gallons on the floor.
Test the stops before you touch a drain nut. If they leak, shut the main.
Pro Moves That Save Time & Prevent Damage
Bag and label every fastener by component. A sandwich bag for faucet nuts, one for clips, one for drain hardware. Sharpie the bag.
Future you will thank present you. Photograph the disposal wiring before disconnecting. Note wire colors and ground screw location.
Cap supply lines with 3/8-inch brass caps if the reinstall is days away. Caps cost two dollars and prevent debris entry. Keep the old basket strainer as a template for the new sink cutout.
Trace the flange onto cardboard. The template verifies the new sink drain opening aligns.
Your Disconnect Decision Checklist
Sink type identified: drop-in, undermount, farmhouse, or integral. Mount method confirmed: clips, brackets, epoxy, or frame. Countertop material noted: laminate, stone, solid surface, tile.
Shutoff valves tested: hold or fail. Supply line type recorded: braided, push-fit, copper, PVC. Disposal mount known: three-bolt, EZ-mount, Waste King.
Drain configuration mapped: single, double, disposal branch, dishwasher branch. Electrical status verified: unplugged, breaker off, voltage confirmed dead. Helper arranged for sinks over 40 pounds.
Tools staged: basin wrench, channel locks, oscillating tool, utility knife, bucket, towels, caps, bags, tape, camera. Code items flagged: air gap, GFCI, vent, permit. Cleanup supplies ready: mineral spirits, acetone, silicone remover, alcohol, scrapers.