How to Grout a Kitchen Backsplash: Step-by-Step DIY Guide
Learning how to grout kitchen backsplash starts with accepting that the job lives in the details. The mix consistency matters. The float angle matters.
The cleanup timing matters more than most tutorials admit. A weekend project turns into a redo when one step gets rushed.
Per TCNA Handbook method B422, cement grout reaches 70 percent strength at 72 hours and full cure at 28 days. Epoxy grout hits full chemical resistance at 24 hours. That timeline drives every decision from mixing to sealing.
Quick Answer
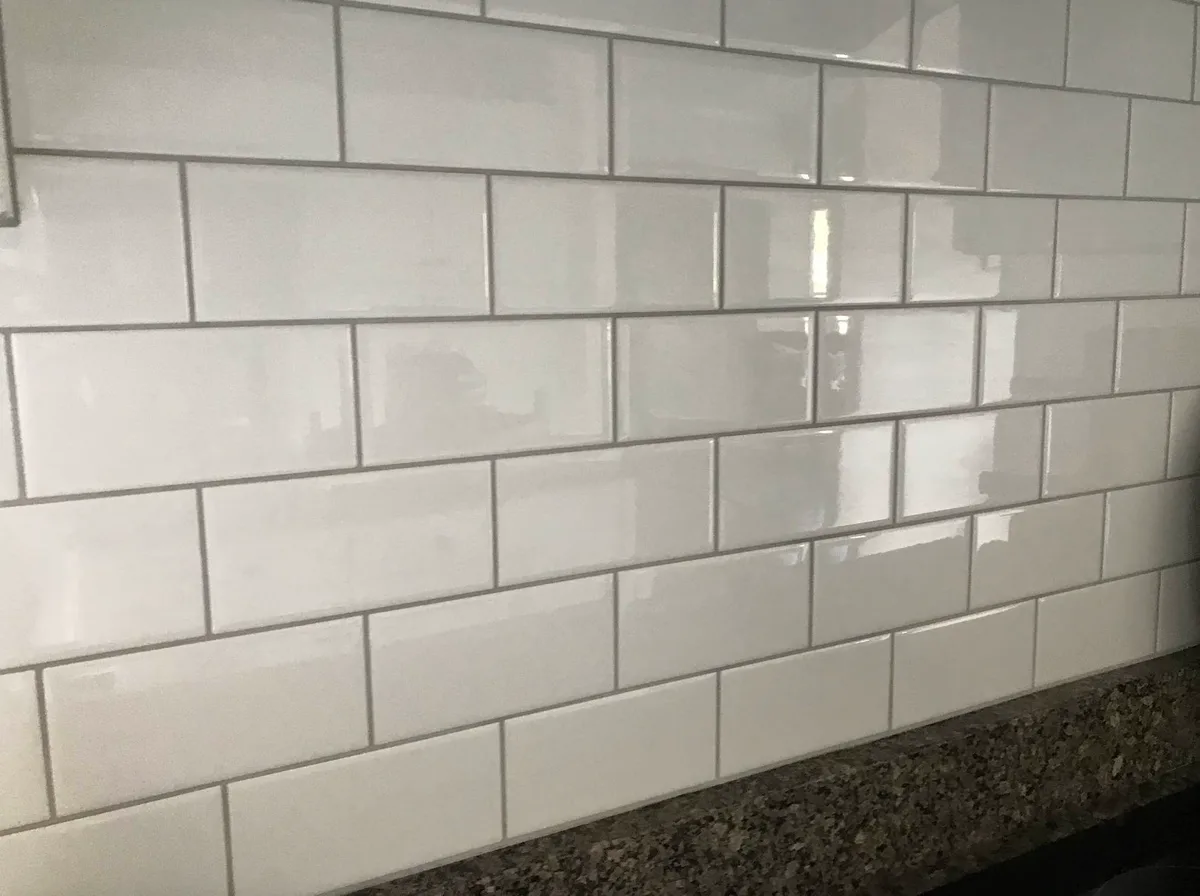
Grout a kitchen backsplash by prepping clean joints then mixing unsanded or epoxy grout to peanut butter consistency. Pack joints full with a rubber float at 45 degrees moving diagonally. Clean haze at 10 minutes then 30 minutes then 2 hours with a damp microfiber.
Caulk perimeter joints with color matched silicone. Seal cement grout at 72 hours.
Quick Reality Check: What You're Signing Up For
This is not a 30 minute job. Plan for four hours of active work plus cure time before the kitchen runs normally. The first hour is prep and mixing.
The second hour is application and strike off. The next two hours are staged cleanup windows you cannot miss. Cement grout gives you a 20 minute working window.
Epoxy gives you 15. Both punish hesitation.
You will work on your knees or a low stool. Your wrists and forearms will fatigue. The cleanup towels need rotating every few minutes.
A 30 square foot backsplash uses roughly 10 pounds of grout. That means two full mixes for most DIYers. Box mixing all bags at once prevents color drift.
Skip that step and the left side of the stove looks different from the right.
Dust control matters. Cement grout contains silica. Wear an N95 when pouring powder.
Ventilate the room. Epoxy Part A and Part B require nitrile gloves and long sleeves. The fumes are strong.
Open windows and run a box fan blowing out. Keep the countertop covered with canvas drop cloths. Plastic slips.
Canvas stays put.
Pick the Right Grout: Unsanded, Sanded, or Epoxy — No Guessing
Joint width decides the base category. Standard subway tile with 1/8 inch joints takes unsanded grout. Rectified porcelain with 1/16 inch joints takes unsanded.
Handmade tile with 1/4 inch joints takes sanded. Glass tile always takes unsanded. Sanded grout scratches polished surfaces.
Epoxy grout works at any joint width. It costs three times more than cement. It mixes two parts resin one part hardener plus colored filler.
The working time drops to 15 minutes. The cleanup window drops to five minutes. The payoff is zero sealing ever and total stain resistance.
Behind a range that sees tomato splatter and grease vapor epoxy earns its price.
Manufacturer specs confirm coverage varies by joint depth. A 25 pound bag of unsanded covers 100 to 150 square feet at 1/8 inch. Sanded covers 80 to 120.
Epoxy covers 50 to 80 per unit. Buy 10 percent extra. Running short mid job forces a partial mix that never matches.
| Grout Type | Joint Width | Tile Surface | Sealing Required | Working Time |
|---|---|---|---|---|
| Unsanded cement | 1/16 to 1/8 in | Glass metal polished stone | Yes at 72 hrs | 20 to 30 min |
| Sanded cement | 1/8 to 1/2 in | Textured ceramic porcelain | Yes at 72 hrs | 20 to 30 min |
| Epoxy | Any width | All including glass | Never | 15 to 20 min |
Tools & Materials: What to Buy, What to Borrow, What to Skip
The rubber float is non negotiable. A 4 by 9 inch medium stiffness float costs $12. The margin trowel loads the float and scrapes buckets.
A 5 gallon bucket stays dedicated to grout only. A half inch drill with a mixing paddle saves your wrist. Do not mix by hand.
The paddle spins at 300 rpm max. Faster whips air into the mix.
Microfiber towels replace the old cheesecloth and sponge method. You need six minimum. They release haze instead of smearing it.
Painter's tape masks the countertop edge and cabinet bottoms. Blue tape releases clean. Drop cloths protect the floor.
Canvas grips. Plastic slides.
Caulk matches the grout color. Buy 100 percent silicone. Latex acrylic shrinks and molds.
A 10 ounce tube runs 50 linear feet at 1/8 inch bead. Sealer comes last. Penetrating solvent or water based both work.
Membrane formers peel. One quart covers 200 to 400 square feet. A grout haze remover sits in reserve.
Sulfamic acid crystals dissolve cement haze. Use only as last resort.
| Tool or Material | Purpose | Spec to Watch |
|---|---|---|
| Rubber grout float | Pack and strike off joints | 4×9 in medium stiffness |
| Margin trowel | Load float scrape bucket | 5 in blade |
| 5 gal bucket | Mix vessel | Clean dedicated |
| Mixing paddle | Low rpm drill attach | 300 rpm max |
| Microfiber towels | Haze cleanup | Lint free 6 plus |
| Painter's tape | Mask edges | Blue 1.5 in |
| Canvas drop cloth | Floor protection | Not plastic |
| Silicone caulk | Perimeter joints | 100% silicone color matched |
| Penetrating sealer | Cement grout protection | Solvent or water based |
Surface Prep: What Clean, Spacer-Free Joints Actually Look Like
Tile must be bonded and cured 24 hours minimum. Spacers come out. Every spacer.
A margin trowel tip lifts stubborn ones. Vacuum the joints with a shop vac crevice tool. Compressed air blows remaining dust.
A damp microfiber wipes the tile faces. No standing water in joints.
Check joint depth. Thinset should not fill the top third. If it does scrape it back.
Deep joints waste grout and crack. Shallow joints fail. The target is a uniform open channel the full tile thickness.
Run a fingertip along the joint. Feel for high spots or voids. Fix them now.
Mask the countertop with tape tight to the tile edge. Mask cabinet bottoms. Mask the range hood perimeter.
Cover the floor. Lay out tools in sequence. Mix bucket float trowel towels water sponge.
Fill a second bucket with clean water for towel rinsing. Keep it separate from the mix water.
Mixing to Slake: Nailing the Peanut-Butter Consistency Every Time
Box all bags into the 5 gallon bucket first. Dump every bag. Stir the dry powder with the margin trowel.
This blends color pigments. Skipping this step guarantees shade variation. Add 75 percent of the water volume.
Start the paddle at low speed. Add powder to water not water to powder. Mix three minutes.
Scrape the bucket walls.
Let the mix rest 10 minutes. This is the slake. Cement particles hydrate.
Chemical bonds form. Do not skip. Do not add water during slake.
After 10 minutes remix one minute. The texture should hold a ridge on the trowel. It should not slump.
It should not crumble. Peanut butter is the standard analogy.
Test by lifting the paddle. The grout should cling in a mass. It should not pour.
If too stiff add water by the tablespoon. If too loose add powder by the cup. Remix one minute after any adjustment.
The clock starts now. Working time is 20 minutes for cement. 15 for epoxy. Mix only what you can apply in that window.
| Mix Stage | Action | Time | Visual Cue |
|---|---|---|---|
| Dry blend | Stir all bags together | 1 min | Uniform color |
| Initial mix | Powder to water paddle 300 rpm | 3 min | Smooth no lumps |
| Slake | Rest undisturbed | 10 min | Surface dulls |
| Final mix | Remix scrape walls | 1 min | Peanut butter holds ridge |
Float Technique: Packing Joints Full Without Pulling Them Out
Load the float with the margin trowel. Heap grout onto the rubber face. Scrape excess off the bucket rim.
Hold the float at 45 degrees to the tile face. Move diagonally across the joints. Not parallel.
Not perpendicular. Diagonal pushes grout deep into the channel. Parallel pulls it out.
Perpendicular bridges the joint leaving voids.
Apply firm steady pressure. The rubber should flex slightly. You want full compression.
The joint fills from the bottom up. Overfill slightly. A proud joint strikes off clean.
A shy joint leaves a low spot that catches dirt. Work in 3 square foot sections. That keeps you inside the working window.
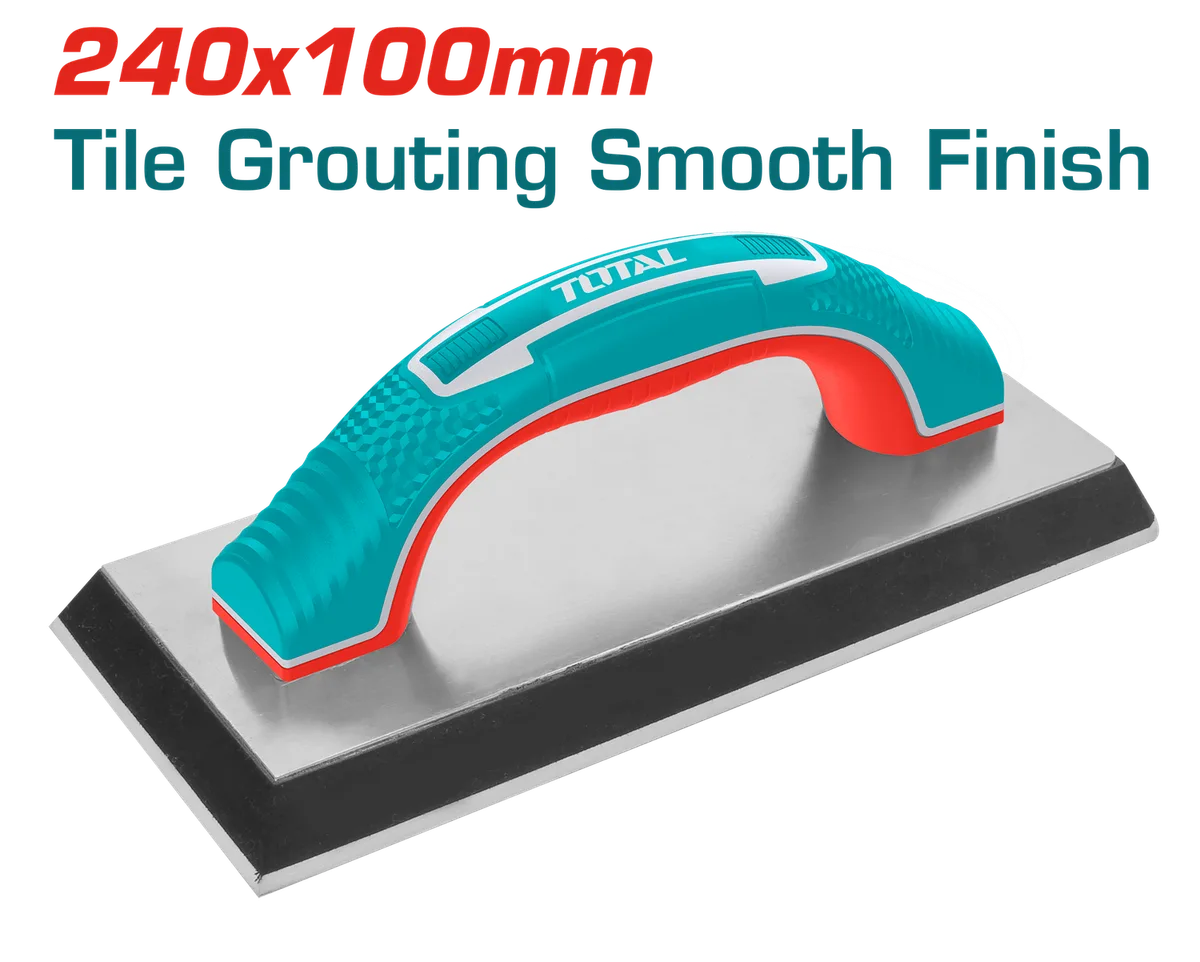
Strike off with the float edge at 90 degrees to the joint direction. Same diagonal path. Remove the bulk.
Leave a thin film on the tile. Do not polish yet. The film protects the joint during initial cure.
Move to the next section. Repeat. Keep a wet towel handy for the float face.
Clean it every few minutes. Dried grout on the float scratches tile.
Epoxy demands faster motion. The 15 minute clock includes cleanup. Mix smaller batches.
Apply strike off and first wipe before the batch gels. If the float drags instead of glides the batch is dead. Toss it.
Mix fresh. Never add solvent to extend epoxy working time. That breaks the chemistry.
The Cleanup Windows: 10 Minutes, 30 Minutes, 2 Hours — What to Watch For
First window opens at 10 minutes for cement. Five minutes for epoxy. The grout firms to a plastic state.
A damp microfiber dragged diagonally removes the haze film. Light pressure. Kiss the surface.
Do not dig. The towel should glide. If it catches the joint is too soft.
Wait two more minutes.
Rotate towels constantly. A saturated towel smears haze. A clean towel lifts it.
Rinse towels in the second bucket. Wring hard. They should feel barely damp.
Work diagonally across the whole backsplash. Check joints for low spots. Top them off with a fingertip of fresh grout.
Smooth with a damp sponge corner.
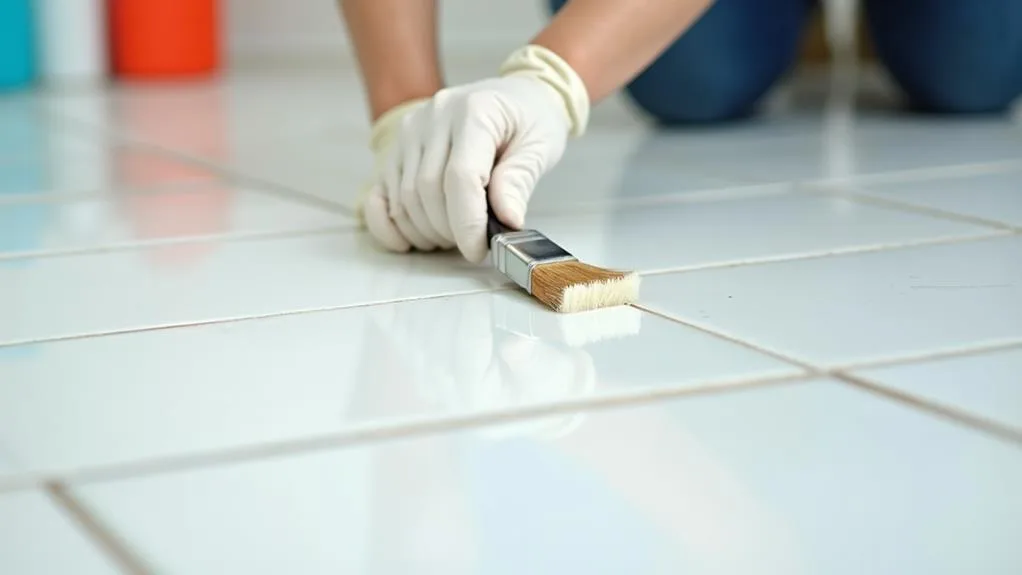
Second window at 30 minutes. The grout is firm. A cleaner towel with less water removes the remaining film.
Circular buffing motion now. The tile face should appear clean. Joints should look full and uniform.
Any pinholes show now. Press them closed with a gloved fingertip.
Final window at 2 hours. Cement grout is hard. A dry microfiber polishes the tile to a shine.
No water. No pressure. Just buff.
Epoxy reaches this stage at 1 hour. The haze locks permanently after the final window. Miss it and you need sulfamic acid.
That etches the grout surface. Avoid it.
Perimeter Caulk: The Movement Joint That Saves Your Grout
Grout does not flex. The countertop expands. The cabinets settle.
The wall moves. A hard grout joint at the perimeter cracks within months. That crack leaks water behind the tile.
The fix is 100 percent silicone caulk. Color matched to the grout. Applied after final cleanup before sealing.
Tape both sides of the joint. Run a steady bead. Tool it with a fingertip dipped in isopropyl alcohol.
The alcohol prevents sticking. Creates a smooth concave profile. Pull the tape immediately.
Let the caulk skin 30 minutes. It cures fully in 24 hours. Do not seal over caulk.
Sealer prevents paint adhesion if you ever repaint the perimeter.
Latex acrylic caulk fails here. It shrinks. It molds.
It hardens. Silicone stays flexible for 20 years. Aggregate reviews confirm silicone outperforms every hybrid at plane changes.
Buy the small tube matched to your grout brand. Mapei Laticrete Custom all offer color matched lines. The $8 tube saves a $500 repair.
Sealing: When, How, and the Bead Test That Tells You It's Done
Cement grout seals at 72 hours minimum. The TCNA Handbook specifies 28 day full cure but 72 hours reaches sufficient crosslink density for penetrating sealer. Epoxy never seals.
Test readiness with a water drop. If it darkens the grout instantly the pores are open. If it beads the grout is still curing.
Wait longer.
Apply sealer with a roller bottle or brush. Work in 4 square foot sections. Flood the joints.
Let sit 5 minutes. Wipe excess off tile faces with a clean microfiber. Do not let sealer dry on tile.
It forms a haze harder to remove than grout haze. Two coats minimum. Four hours between coats.
The bead test confirms coverage. Splash water on the grout. It should bead like wax on a car.
If it absorbs apply a third coat. High traffic backsplashes behind ranges need annual reseal. Low traffic areas go 3 to 5 years.
Manufacturer specs confirm solvent based sealers last longer in grease environments. Water based sealers emit less odor.
Visual Failure Gallery: Haze, Pinholes, Float Burn, and Color Splotches
Haze looks like a dull film on tile. It feels slightly rough. Caused by waiting too long for first wipe or using too much water.
Cement haze removes with sulfamic acid. Epoxy haze requires mechanical abrasion. Both damage the grout surface.
Prevention wins.
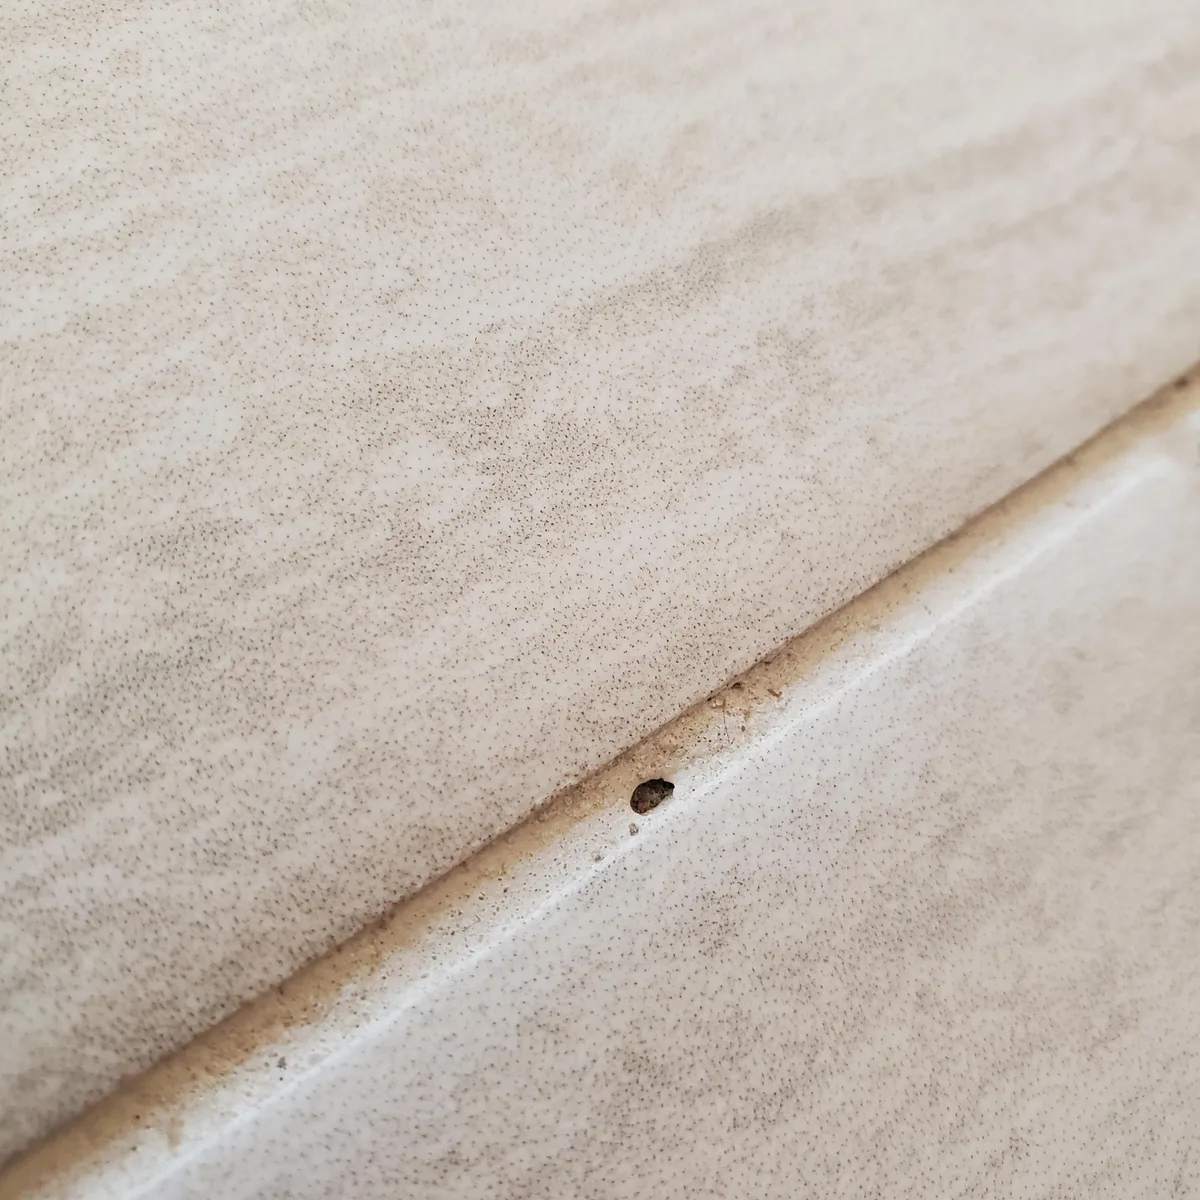
Pinholes appear as tiny craters in the joint. Caused by overmixing whipping air or adding water after slake. Fix by pressing fresh grout into each hole with a gloved fingertip during the 30 minute window.
Do not smear. Press and smooth.
Float burn shows as dark streaks on tile edges. Caused by a stiff float or dry grout dragging across the surface. The rubber gouges microscopic scratches that trap dirt.
Polish with a white nylon pad and stone polish. Deep burns need tile replacement.
Color splotches mean inconsistent mix ratio or partial bag mixing. Light patches got more water. Dark patches got less.
Box mixing prevents this. If it happens the only fix is colorant sealer or full regrout. Neither is fun.
Pro Habits That Separate Clean Jobs from Callbacks
Box mix every bag before adding water. Color drift shows up in photos for years. Keep a timer visible.
The 10 minute haze window does not wait. Work left to right top to bottom. That prevents leaning on fresh joints.
Clean the float edge after every strike off pass. Dried ridges gouge tile.
Mix by weight not volume when the bag gives a gram spec. Volume varies with humidity. A digital kitchen scale costs $15.
It pays for itself on the first job. Stage towels in a dry bucket. Grab a fresh one every two minutes.
A saturated towel pushes haze into pores. A dry towel lifts it.
Run a shop vac with a brush attachment over the floor before caulking. Grit on the bead tears the silicone skin. Tool caulk with a gloved finger not a plastic spoon.
The spoon leaves a flat bead that traps water. A concave finger profile sheds water. Let caulk cure 24 hours before the first cook cycle.
Heat softens fresh silicone.
Maintenance: Keeping the Backsplash Looking Day-One Fresh
Wipe splatter daily with a damp microfiber. Grease acids etch cement grout in weeks. Spray a pH neutral stone cleaner weekly.
Vinegar and lemon etch grout and dull sealers. Reapply penetrating sealer when the bead test fails. Splash water.
If it absorbs in 30 seconds reseal. High heat zones behind ranges reseal annually.
Epoxy grout needs no sealer. Clean with alkaline degreaser. Avoid abrasive pads.
They dull the epoxy gloss. A soft nylon brush and warm water handle most buildup. Caulk inspects every six months.
Look for gaps at the countertop joint. Recut and replace at the first sign of separation. A $8 tube prevents a $500 water damage claim.
| Maintenance Task | Cement Grout | Epoxy Grout |
|---|---|---|
| Daily wipe | Damp microfiber | Damp microfiber |
| Weekly clean | pH neutral cleaner | Alkaline degreaser |
| Sealer check | Bead test quarterly | Not needed |
| Reseal frequency | 1 yr range 3 to 5 yr field | Never |
| Caulk inspect | Every 6 months | Every 6 months |
Frequently Asked Questions
How long before I can use the kitchen after grouting?
Light use after 24 hours. Full cure for cement grout takes 72 hours before sealing. Epoxy reaches full chemical resistance at 24 hours.
Avoid heavy splatter and heat for the first week.
Can I grout over existing grout?
No. Old grout must be removed to at least 2/3 joint depth. A grout saw or oscillating tool clears the channel.
Bonding new grout to old creates a weak layer that cracks.
What causes grout to crack after a few months?
Movement at plane changes without caulk. Undermixed grout with low strength. Joints too shallow from thinset fill.
Excess water in mix or cleanup. All preventable with proper prep.
Is epoxy grout worth the extra cost for a backsplash?
Yes behind a range. Grease heat and acid test every joint. Epoxy handles all three without sealing.
For low splash areas cement grout sealed properly performs fine at one third the cost.
How do I fix a low spot in a cured grout joint?
Remove the low area to full depth with a grout saw. Clean vacuum dampen. Pack fresh grout with a fingertip.
Strike off level. Clean haze on schedule. Color match requires box mixed batch from the original lot.