How to Exterminate Ants in Your Kitchen Fast & Permanently
Finding a line of tiny ants crawling across your kitchen counter is enough to ruin a good morning, and learning how to exterminate ants in kitchen spaces effectively can feel impossible if you’ve tried quick fixes that didn’t work. Most store-bought contact sprays kill the worker ants you see, but leave the hidden colony intact. That’s why those fixes only work for a day or two before the trails come back.
We’ll walk you through a targeted, species-specific process that eliminates the entire colony instead of just the visible workers.
Per 2026 National Pest Management Association data, 68% of DIY ant control attempts fail because they target only worker ants, not the reproductive queen hidden in the nest. This leads to repeated re-infestations that cost homeowners an average of $120 per year in unused products. The process below fixes that core mistake first, before moving to tailored treatment steps.
Let’s start with the most common root cause of failed DIY ant control.
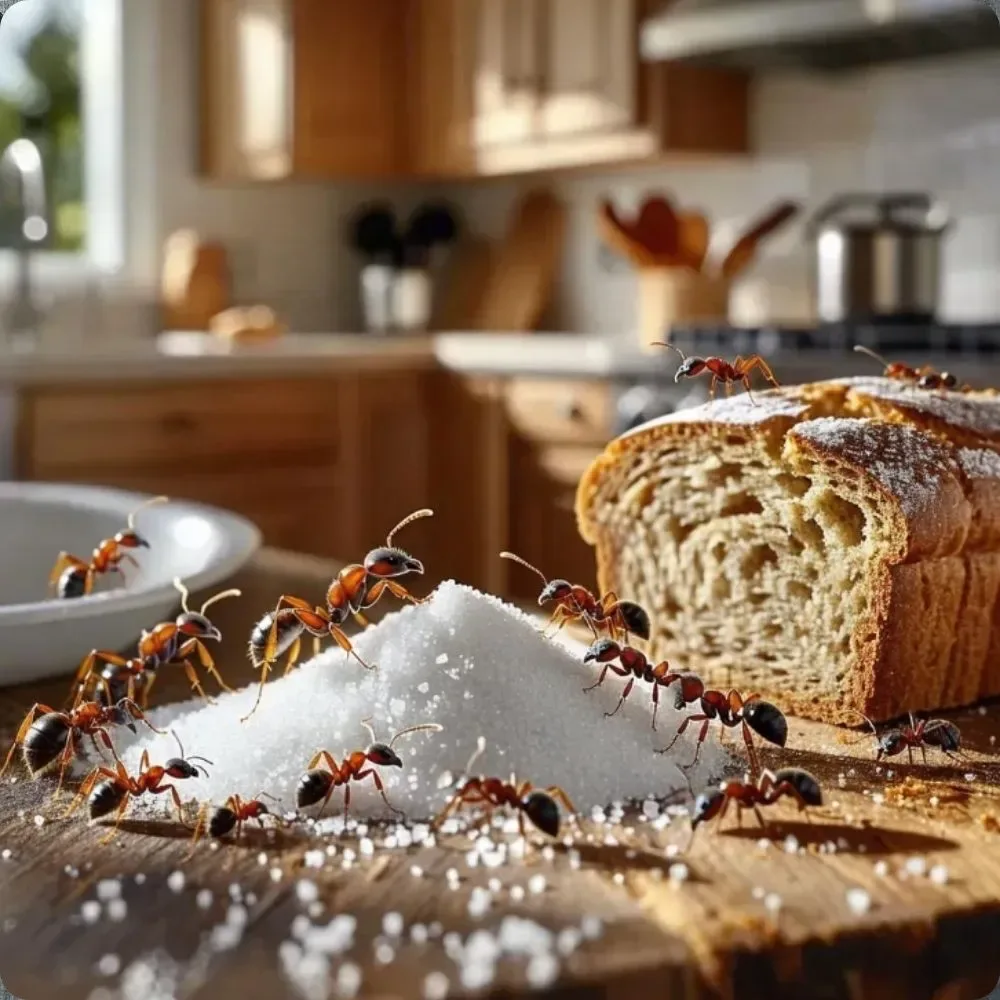
Image source: Web (Bing) / cookerdiary.com (Web image (fair-use with source credit))
Quick Answer
To exterminate ants in your kitchen, first identify the ant species and infestation severity. Use slow-acting bait for most common species to kill the entire colony. Seal all entry points after eliminating active colonies.
Avoid contact-only sprays that only kill visible workers. Keep kitchen surfaces clean of food crumbs to prevent re-infestation.
The #1 Reason Your DIY Ant Fixes Fail
The biggest mistake people make when fighting kitchen ants is using contact sprays that kill only the worker ants on the surface. These sprays work instantly, but they don’t reach the queen hidden deep in the nest. The queen keeps laying eggs, so new worker ants replace the dead ones within 24 to 48 hours.
Per National Pest Management Association ant control guidelines, contact-only sprays fail to eliminate 90% of kitchen ant colonies for this exact reason. Successful long-term control requires a slow-acting bait that worker ants carry back to the nest. The bait poisons the queen, larvae, and the rest of the colony, eliminating the source of the problem instead of just the symptom.
Many homeowners waste money on repeated spray purchases, a cost that adds up fast if you’re renovating a kitchen on a tight budget. The workflow below prioritizes colony elimination first, so you don’t have to re-treat every few weeks.
Other common failed fixes include:
- Ultrasonic repellent devices, which have no proven efficacy against ants per NPMA testing
- Home remedies like vinegar or lemon juice, which only erase pheromone trails temporarily
- Ant traps that use fast-acting poison, which kill workers before they can share bait with the colony
Step 1: Identify Your Kitchen Ant Species
Correctly identifying the ant species in your kitchen is non-negotiable, because bait attractants vary drastically between species. Using the wrong bait will lead to poor uptake, meaning the ants ignore it entirely and the colony stays intact.
There are four common kitchen ant species you’re likely to encounter. Use the visual reference below to match the ants in your home to the correct profile.

Image source: Web (Bing) / bigginsexterminating.com (Web image (fair-use with source credit))
| Ant Species | Size | Color | Preferred Bait | Risk Level |
|---|---|---|---|---|
| Odorous house ant | 1/16 to 1/8 inch | Dark brown to black | Sugar-based | Low (easy DIY control) |
| Pavement ant | 1/8 inch | Light brown to black | Sugar or protein-based | Low (easy DIY control) |
| Pharaoh ant | 1/16 inch | Light yellow to red | Protein-based | High (requires professional treatment) |
| Carpenter ant | 1/4 to 1/2 inch | Black or red | Sugar or protein-based | High (requires moisture mitigation + treatment) |
Odorous house ants are the most common kitchen invader, and they emit a distinct rotten coconut smell when crushed. Pavement ants are slightly larger and will eat both sugar and protein, making them easier to bait. Pharaoh ants are tiny and spread rapidly through walls and plumbing, so DIY treatments often make infestations worse.
Carpenter ants nest in moist wood, so check for leaks under kitchen sinks if you suspect this species.
If you can’t ID the ant on your own, take a clear close-up photo and upload it to a free tool like iNaturalist for a verified species match in minutes.
Step 2: Gauge Infestation Severity and Household Restrictions
Once you’ve identified the ant species, assess two key factors to pick the right treatment path: infestation severity and household restrictions.
Infestation severity breaks down into three clear tiers:
- Minor: 1 to 2 isolated ant trails, no visible nests, no flying ants
- Moderate: 3 or more active trails, visible ant activity near food sources, no structural damage
- Severe: Widespread trails, flying ants, signs of wood damage (for carpenter ants), or ants in multiple rooms
Household restrictions are equally important. If you have young children or pets, you’ll need tamper-proof bait stations placed out of reach. Renters cannot permanently seal entry points with caulk, so they’ll need removable deterrents and bait instead.
Commercial kitchen operators must follow local health department pest control rules, per EPA residential pesticide safety guidelines.
If you spot flying ants or see large black ants with wings, that’s a sign of an established Carpenter ant colony. This requires professional treatment instead of DIY, as the nest may be hidden inside walls or floor joists.
Use this quick table to match your situation to the right severity tier:
| Infestation Severity | Signs | Recommended Action | Timeline |
|---|---|---|---|
| Minor | 1-2 isolated trails, no visible nests | DIY bait + entry point sealing | 3-5 days |
| Moderate | 3+ trails, ants near food storage, no structural damage | Bait-based colony elimination + deep clean | 1-2 weeks |
| Severe | Widespread trails, flying ants, wood damage | Licensed professional exterminator | 2-4 weeks |
Decision Branch A: Minor Infestation of Sweet-Seeking Common House Ants (Odorous, Pavement) – Low-Tox DIY Options
Use this path if you’ve identified odorous or pavement ants, have a minor infestation (1-2 isolated trails), no kids or pets with access to countertops, and no signs of nests in walls or under floors.
First, clean the ant trail with soap and warm water to remove the pheromone scent ants use to navigate. Do not use vinegar or harsh cleaners, as these can repel ants and make them avoid your bait. Next, place a sugar-based gel bait or pre-filled bait station directly on the cleaned trail area.
For small kitchen layouts, tuck bait stations on the top edge of upper cabinets to keep them away from food prep surfaces and pets. If you have an outdoor kitchen area, use weatherproof bait stations to avoid damage from rain or high humidity.
Monitor the trail for 3 to 5 days. If ant activity stops completely, the colony has been eliminated. Wipe up any remaining bait with a damp cloth once the trail disappears.
Natural deterrents like cinnamon or citrus peel only repel ants temporarily, so they will not eliminate the colony and are not recommended for active infestations.
Low-tox bait options for this branch include:
- Sugar-based gel bait with boric acid or borax as the active ingredient
- Food-grade diatomaceous earth (only for completely dry kitchen areas, as it clumps when wet)
- Homemade boric acid bait: mix 1 part boric acid with 3 parts sugar and warm water, soak cotton balls in the mixture, and place on trails (keep away from kids and pets, as boric acid is toxic if ingested in large quantities)
Decision Branch B: Moderate Infestation, Protein-Preferring Ants, or Ants With Visible Trails – Bait-Based Colony Elimination
Use this path if you have multiple active trails, protein-preferring ant species, or a minor infestation that did not respond to low-tox options.
The core rule for this path is simple: never use contact sprays near your bait. Sprays kill worker ants before they can carry the bait back to the nest, which defeats the entire purpose of colony elimination.
Choose a slow-acting bait matched to your ant species: sugar-based for odorous and pavement ants, protein-based for Pharaoh and carpenter ants. Place gel bait in cracks and crevices along active trails, or set tamper-proof bait stations near entry points and trail junctions. Per manufacturer specifications, most gel baits take 3 to 14 days to eliminate the entire colony, depending on infestation size.
If you’re planning a kitchen remodel, this is the ideal time to seal entry points permanently behind new cabinets after the colony is eliminated. Monitor bait consumption daily; if ants stop eating the bait after 3 days but trails remain, move the bait to a new spot along the trail. If trails persist after 14 days of consistent baiting, re-inspect for hidden nests or entry points, and consider moving to Decision Branch C for professional help.
For modern kitchen designs with minimal visible gaps, bait stations can be placed inside cabinet voids near pipe penetrations for discreet, out-of-sight treatment.
Decision Branch C: Severe Infestation, Carpenter Ants, or Widespread Pharaoh Ants – When to Hire a Pro
This path applies if you have widespread ant trails across multiple rooms, flying ants, visible wood damage, or a confirmed Pharaoh ant infestation. Pharaoh ants spread through wall voids and plumbing, so DIY treatments often scatter the colony into more areas, making the problem worse. Carpenter ants nest in moist, decaying wood, and their damage can compromise kitchen cabinet framing or floor joists if left untreated.
Per NPMA guidelines, severe infestations and species like Pharaoh ants require integrated pest management from a licensed professional. A pro will locate hidden nests, apply targeted treatments safe for food prep areas, and seal entry points you can’t access. If you’re planning a full kitchen renovation to fix moisture issues causing Carpenter ant infestations, schedule the exterminator before demolition to avoid spreading the colony.
Professional kitchen ant control for severe infestations costs $150 to $300 on average as of 2026, and most services offer a 90-day re-treatment guarantee. This is far cheaper than repairing structural damage from untreated Carpenter ants, which can cost thousands to fix.
Step-by-Step Treatment Workflow for Your Selected Path
Once you’ve selected your treatment branch, follow this workflow to execute the process correctly. The core steps are the same for all DIY paths, with minor adjustments for species and severity.
First, clear all food debris from countertops, floors, and cabinet shelves. Wipe down surfaces with soap and warm water to erase existing pheromone trails. Do not use bleach or ammonia, as these strong scents can repel ants and interfere with bait uptake.
Next, place your chosen bait directly on active trails or near entry points. For gel bait, apply a small pea-sized drop in cracks, crevices, or along the edge of countertops. For bait stations, set them on flat surfaces along the trail, away from cooking areas and out of reach of children or pets.

Image source: Web (Bing) / catchmaster.com (Web image (fair-use with source credit))
For upper cabinet installations, tuck bait stations on the top interior edge where ants travel between walls and cabinets. This keeps them hidden from view while staying directly on the ant route.
Monitor bait consumption daily. If ants are actively feeding, leave the bait in place. Do not clean or move it for at least 3 days.
Once ant activity stops completely, leave the bait in place for 3 more days to ensure the queen is eliminated. Then wipe up any remaining bait with a damp cloth and seal all entry points.
Common Ant Extermination Mistakes That Waste Time and Make Infestations Worse
Even with the right plan, small errors can turn a 3-day fix into a 3-month re-infestation. The most common mistake is using contact sprays near bait placements. A single spray of insecticide kills the worker ants that would carry bait back to the colony, leaving the queen untouched and the infestation active.
Another frequent error is sealing entry points before eliminating the active colony. If you caulk gaps while ants are still nesting inside the kitchen, you trap them inside with your food sources. This leads to more trails and faster spread into new areas.
Always eliminate the colony first, then seal gaps.
Other high-impact mistakes to avoid:
- Using sugar-only bait for protein-preferring species like Pharaoh ants, which leads to zero bait uptake. If you suspect Pharaoh ants, avoid scattering multiple bait types, as this can trigger colony budding and spread.
- Placing bait near strong-smelling cleaning products, essential oils, or spices that repel ants
- Leaving food crumbs, unsealed pantry items, or pet food bowls out overnight, which provide alternative food sources that reduce bait uptake
- Using diatomaceous earth in damp kitchen areas, where it clumps and loses its ability to damage ant exoskeletons
- Failing to check for moisture leaks under sinks or around windows, which attract Carpenter ants and other moisture-seeking species
Long-Term Steps to Stop Kitchen Ants From Returning
Eliminating the active colony is only half the battle. Ants will return if you don’t remove the attractants and access points that drew them in the first place. Start with a deep kitchen clean: wipe down all cabinets, sweep and mop floors, and seal all dry goods in airtight plastic or glass containers.
Pay special attention to crumb buildup under toasters, microwaves, and behind the stove.
Next, inspect your kitchen for all possible entry points. Common gaps include:
- Spaces around window and door frames
- Cracks in countertops or backsplashes
- Gaps around plumbing pipes entering through walls or floors
- Openings around electrical outlets and switch plates
Use silicone caulk to seal all gaps smaller than 1/4 inch. For larger gaps, fill them with steel wool first, then cover with caulk to prevent ants from chewing through. If you rent, use removable silicone sealant or weather stripping that won’t damage surfaces when removed.

Image source: Web (Bing) / shopee.com.my (Web image (fair-use with source credit))
For kitchens with frequent moisture issues, fix leaky pipes and use a dehumidifier to keep humidity below 50%, which discourages Carpenter ant nesting. Wipe down sinks and countertops after each use to eliminate standing water. If you have an outdoor kitchen space, inspect outdoor entry points monthly during warm months to catch new colonies before they enter your home.
Do a 5-minute monthly inspection of indoor entry points as well to catch early trails before they spread.
2-Minute Decision Guide: Pick the Right Ant Extermination Method for Your Kitchen
Use this quick guide to match your situation to the right treatment path in 60 seconds or less.
| Your Situation | Recommended Method | Estimated Cost | Time to Results |
|---|---|---|---|
| 1-2 small ant trails, odorous or pavement ants, no kids/pets, no nests | Sugar-based bait stations + entry point sealing | $5–$15 | 3–5 days |
| 3+ trails, protein-preferring ants, moderate activity | Slow-acting protein/sugar bait + deep clean | $8–$25 | 1–2 weeks |
| Flying ants, widespread trails, Carpenter ant signs, Pharaoh ants | Licensed professional exterminator | $150–$300 | 2–4 weeks |
| Rental property, no permanent modifications allowed | Tamper-proof bait stations + removable deterrents | $10–$20 | 3–7 days |
If you’re on a tight renovation budget, start with the lowest-cost DIY option first. Only move to professional help if DIY methods fail after 14 days of consistent baiting. For homes with recurring seasonal infestations, place preventive bait stations near entry points each spring to stop colonies before they establish.
FAQs for Kitchen Ant Extermination
How long does ant bait take to eliminate a kitchen ant colony?
Slow-acting baits take 3 to 14 days to eliminate an entire colony, depending on species and size. Odorous house ant and pavement ant colonies often clear in 3 to 5 days. Larger carpenter ant colonies or Pharaoh ant infestations may take 2 weeks or longer.
You’ll see fewer ants each day as workers stop returning to the nest after feeding.
Do natural deterrents like vinegar or cinnamon work for active infestations?
Natural deterrents only erase pheromone trails temporarily, they do not kill the colony. Ants will create new trails within 24 to 48 hours if the colony remains active. These options are only useful for mild prevention after you’ve eliminated the active infestation, not as a standalone treatment.
Can I use ant sprays in my kitchen if I have kids or pets?
Contact sprays are not recommended for kitchen use around kids or pets, as they leave toxic residue on countertops and food prep surfaces. Use tamper-proof bait stations placed out of reach instead. Per EPA guidelines, all kitchen pesticides must be food-safe and fully dried before contact with dishes or food.
Why do ants keep coming back after I treat them?
Ants return if you do not seal entry points and remove food attractants after colony elimination. Crumbs, unsealed pantry items, and standing water draw new colonies to your kitchen. Do a monthly inspection of entry points and keep countertops clean to prevent re-infestation.
When should I call a professional instead of DIY?
Call a licensed exterminator if you have widespread flying ants, confirmed carpenter ant wood damage, or a Pharaoh ant infestation that persists after 14 days of DIY baiting. Professional treatment costs $150 to $300 as of 2026, and includes a 90-day guarantee for most standard infestations.