How to Fix a Leaking Kitchen Tap: Easy DIY No Plumber Needed
A leaking kitchen tap is more than a minor annoyance. That constant drip wastes water, drives up your utility bill, and can cause water damage under your sink if left unaddressed. Learning how to fix a leaking kitchen tap is almost always a simple DIY job that takes 30 to 90 minutes, no professional plumber required.
Most leaks stem from worn internal parts, not a faulty entire tap.
Per U.S. Environmental Protection Agency data on residential water waste, a single drip per second from a leaking tap wastes roughly 3,000 gallons of water annually, equal to 180 showers. As of 2026, that waste adds an extra 5 to 10% to average household water bills in most regions.
Let’s start by figuring out exactly where your tap is leaking, since the fix depends entirely on the leak source.
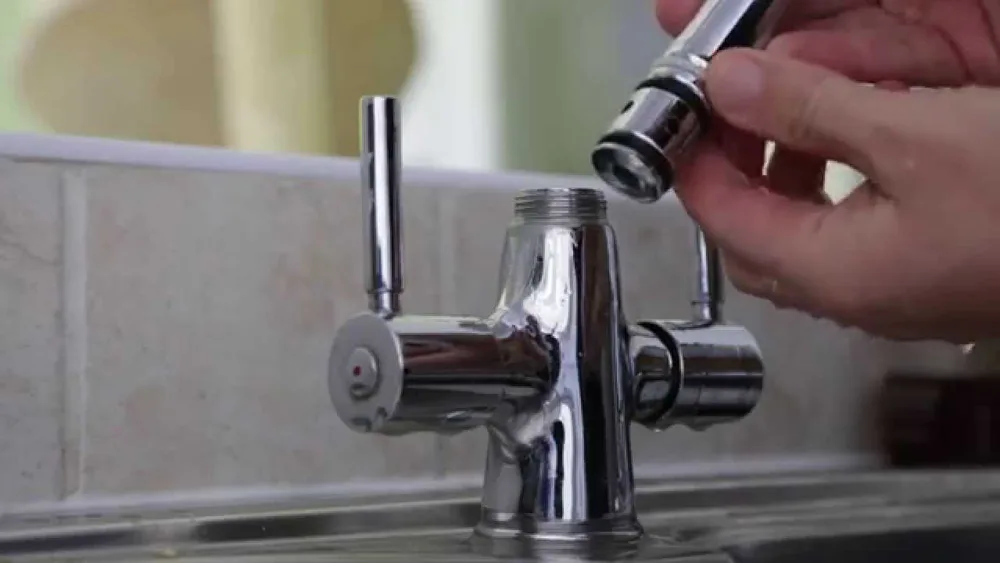
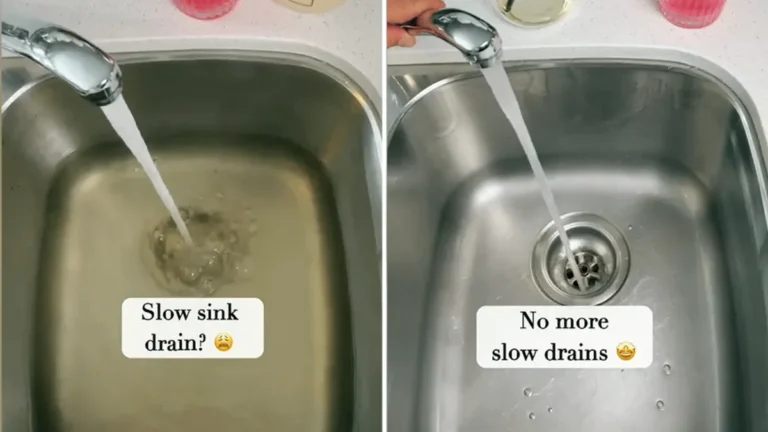
Image source: Web (Bing) / ipipeline.net (Web image (fair-use with source credit))
Quick Answer
Most kitchen tap leaks are fixed with a simple DIY repair. First, locate the exact leak source. Next, identify your tap type.
Replace the worn internal part for that leak location. Tighten all connections to 10-15 Nm to prevent new leaks.
First: Pinpoint Exactly Where Your Kitchen Tap Is Leaking
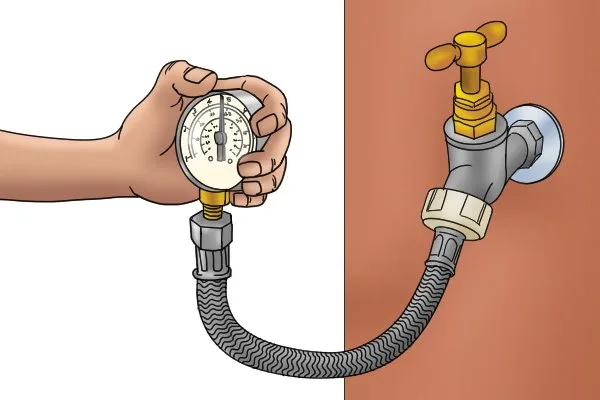
The very first step is figuring out where water is escaping your tap, as the fix changes completely based on the leak source. The diagram below marks the three most common leak points for standard kitchen mixer taps.
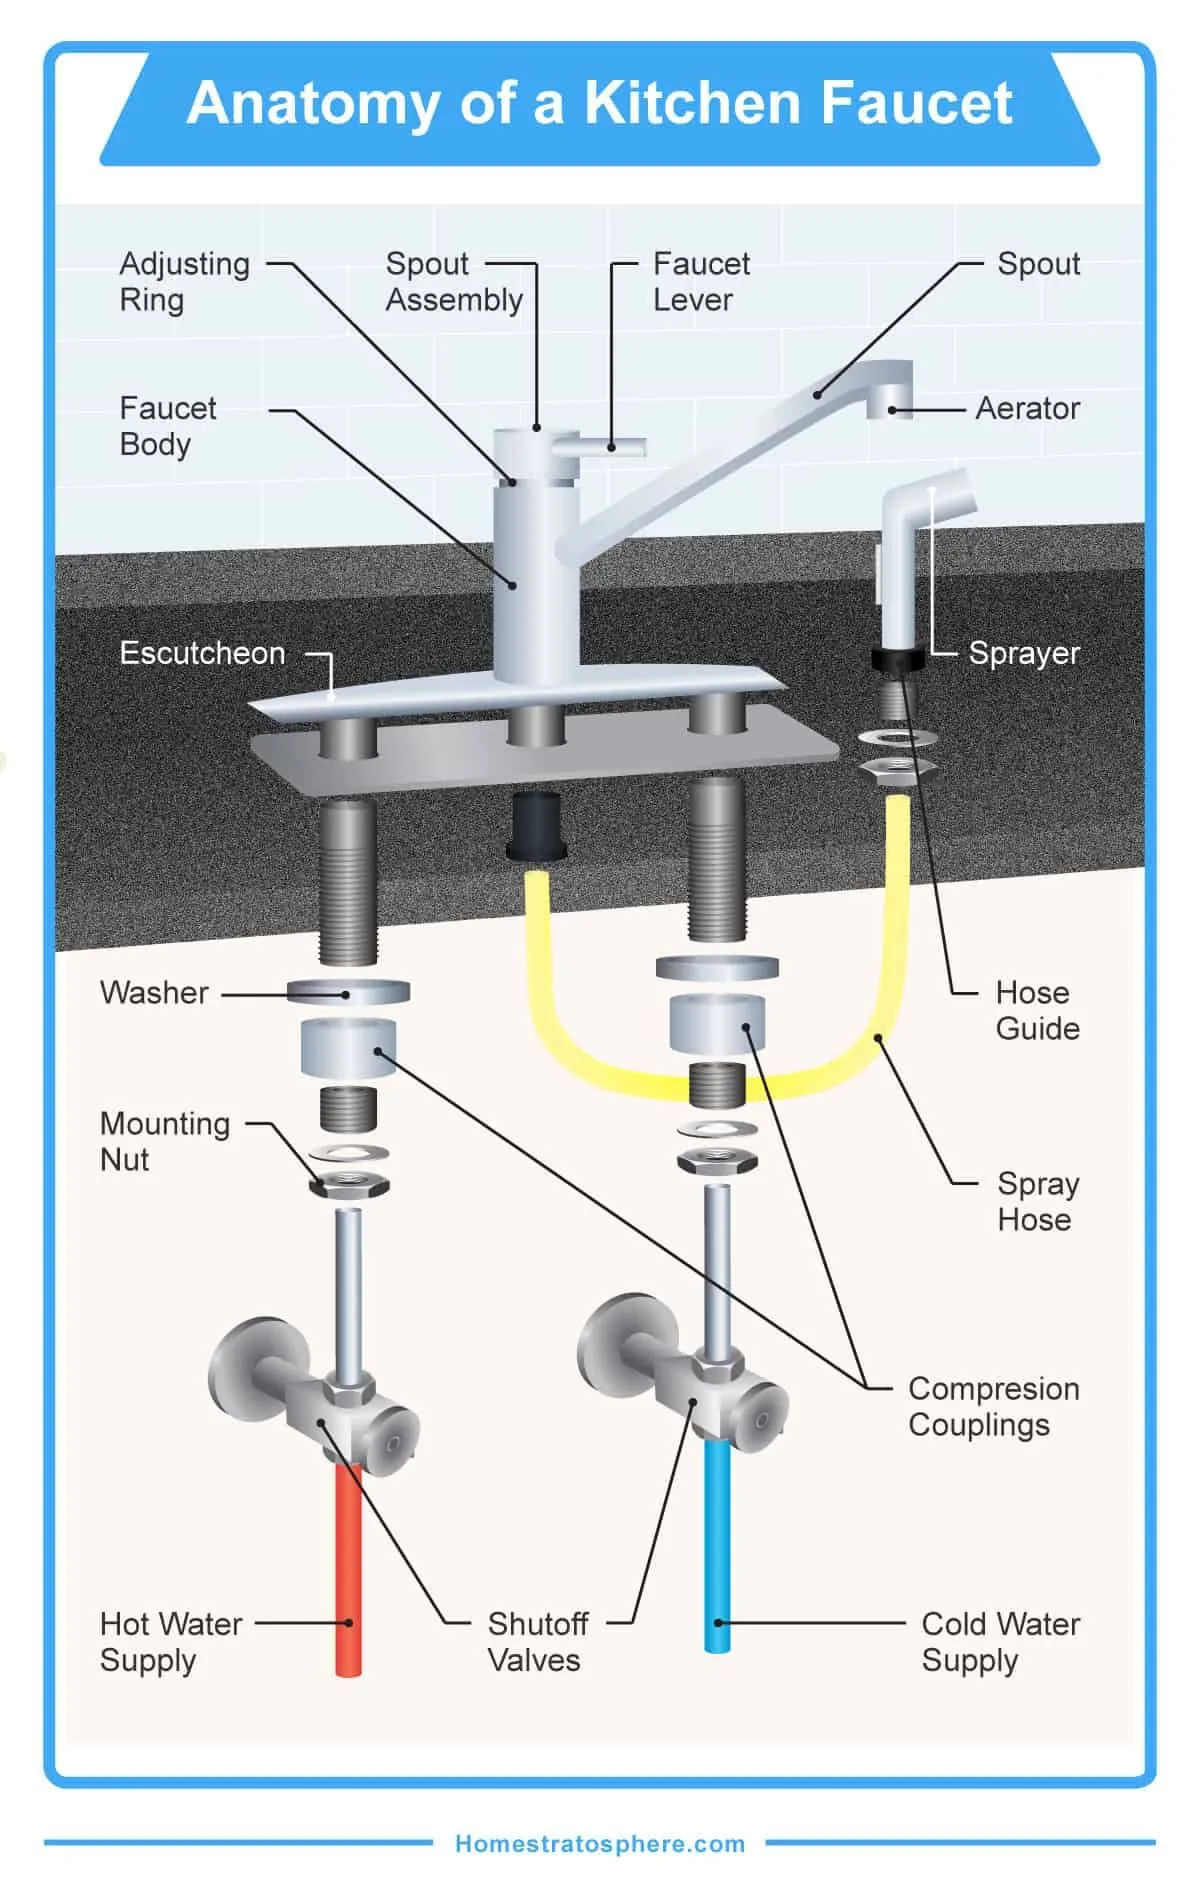
Image source: Web (Bing) / storage.googleapis.com (Web image (fair-use with source credit))
- Spout leak: Water drips continuously from the tap nozzle when the tap is turned off. This is the most common leak type, caused by worn internal parts.
- Base leak: Water pools around the foot of the tap where it meets the countertop, or seeps under the sink from the tap mounting. This is caused by a failed seal between the tap and countertop.
- Handle/supply line leak: Water drips from the joint where the tap handle meets the tap body, or from the flexible supply lines running from the wall to the tap. This is usually a loose connection or worn O-ring.
If you can’t tell which source is causing pooling under your sink, dry the area completely with a cloth, run the tap for 30 seconds, then check for new moisture to pinpoint the origin. If you’re having trouble locating the leak source because of tight cabinet space, consider adjusting your lower cabinet depth when planning future upgrades to improve access to plumbing.
Second: Identify Your Kitchen Tap Type (This Dictates Your Exact Repair Process
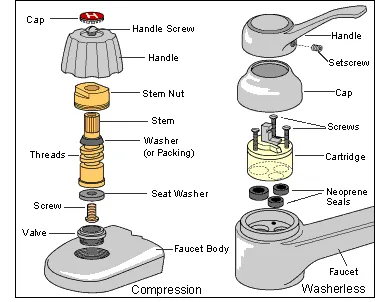
Your tap’s internal design determines exactly which parts you need to replace, so identifying your tap type before buying parts saves you time and money. The diagram below shows cross-sections of the four most common residential kitchen tap types.
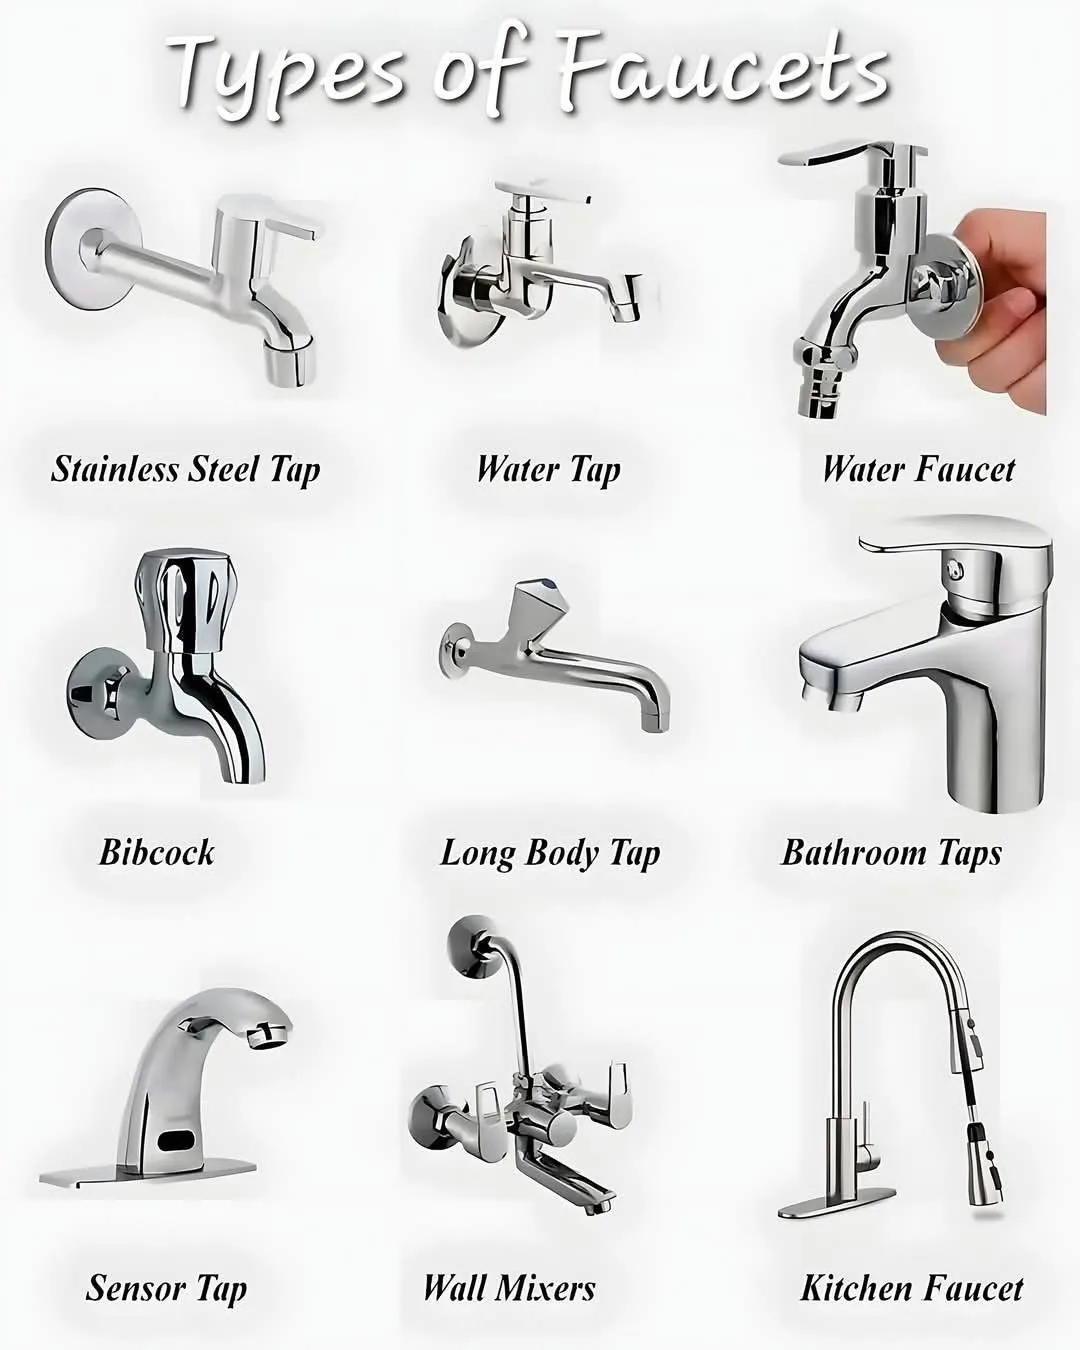
Image source: Web (Bing) / ar.pinterest.com (Web image (fair-use with source credit))
Use these quick identifiers to match your tap:
- Compression tap: Two separate handles for hot and cold, requires multiple full rotations to turn water on fully, common in homes built before 1990. These use a rubber washer and valve seat to control flow.
- Ceramic disc tap: Single or double handle, only a quarter to half turn needed to turn water on fully, very smooth operation, the most common modern tap type. These use two ceramic discs that slide past each other to control flow.
- Ball tap: Single handle with a rounded ball-shaped cap at the base of the handle, common in older single-handle mixer taps from the 1970s to 1990s. These use a rotating ball with rubber seals to control flow and temperature.
- Cartridge tap: Single or double handle, smooth operation, no ball component, moves up/down for flow and left/right for temperature, common in homes built from the 2000s onward. These use a plastic or brass cartridge with internal O-rings to control flow.
If you’re planning a full kitchen upgrade alongside this repair, our guide to designing a modern kitchen has tips for selecting durable, low-leak tap models. Using the wrong repair steps for your tap type will either fail to fix the leak or break internal components, so double-check your model before starting.
Tools and Replacement Parts You’ll Need for Any Kitchen Tap Leak Repair
You don’t need a full toolbox to fix most kitchen tap leaks, but having the right parts on hand before you start avoids mid-repair trips to the hardware store. The table below lists every item you’ll need for the most common leak repairs.
| Tool/Part | Purpose | Notes |
|---|---|---|
| Adjustable wrench or basin wrench | Tightening/loosening tap nuts and supply line connections | Basin wrench works for tight spaces under sinks |
| Screwdriver set (flathead, Phillips) | Removing tap handle screws and cover caps | Keep magnets handy to catch small screws |
| PTFE (plumber's) tape | Sealing threaded connections to prevent leaks | 12mm width standard, wrap 3-4 times clockwise around threads |
| Plumber's putty | Sealing the base of the tap to the countertop | Use only for non-porous countertops (granite, stainless steel) |
| Silicone grease | Lubricating new O-rings and cartridges for smooth operation | Food-safe, non-toxic for drinking water contact |
| Replacement parts (matched to your tap type) | Fixing the worn component causing the leak | Includes washers, O-rings, cartridges, valve seats |
For most common leaks, a universal tap repair kit costing $3 to $20 / £2 to £15 has all the small parts you need. Check your tap model number first for brand-specific compatibility if you have a newer Moen, Delta, or B&Q tap, as these often use proprietary cartridge designs. If you’re working on a tight budget as part of a kitchen renovation on a budget, universal repair kits work for most standard tap models.
Decision Branch 1: Fix a Leaking Tap Spout (Water Drips from the Nozzle)
A spout leak is the most common kitchen tap issue, and it’s almost always caused by a worn internal washer, O-ring, or ceramic cartridge, depending on your tap type. The close-up below shows the most common replacement parts for this repair.
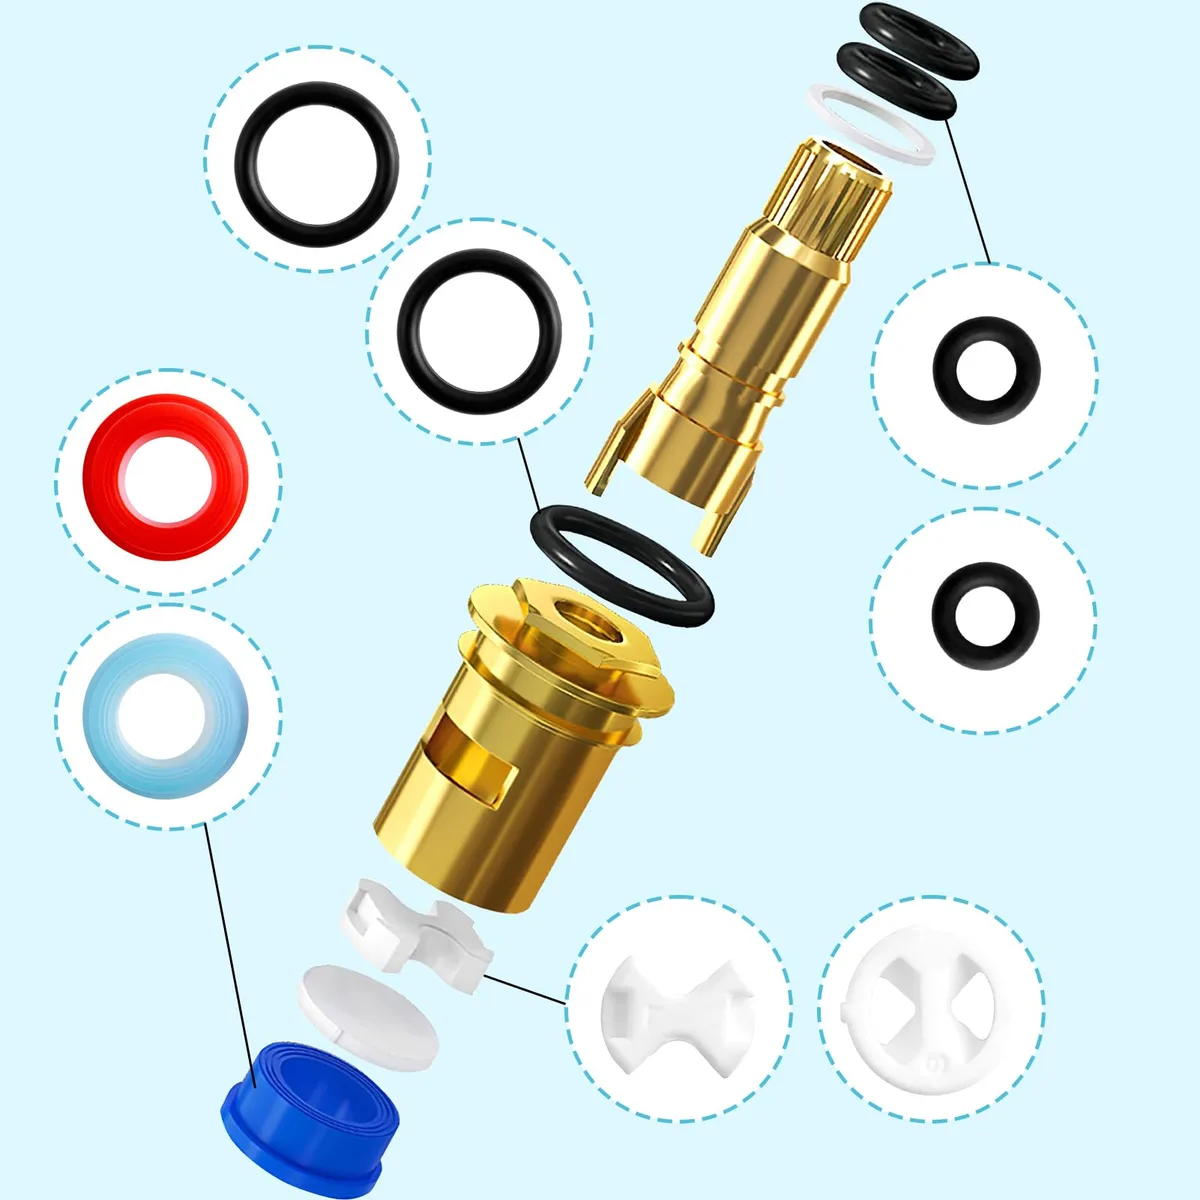
Image source: Bing (Web (fair-use with source credit))
Start by turning off the water supply using the isolation valves under the sink, then open the tap fully to drain any remaining water. Follow the steps for your tap type:
- Compression tap: Remove the tap handle cap and handle screw, pull off the handle, loosen the gland nut, and replace the rubber washer at the base of the valve spindle. Tighten the gland nut to 10-15 Nm to avoid stripping threads.
- Ceramic disc, ball, or cartridge tap: Remove the handle and retaining nut, pull out the old cartridge, clean the valve seat of any debris or mineral buildup, lubricate the new cartridge with silicone grease, and insert it before reassembling.
If the valve seat inside the tap is corroded or pitted, you’ll need a valve seat dressing tool to smooth it out, or replace the entire tap body if damage is severe. Aggregate repair forum data shows 70% of spout leaks are fixed by replacing the cartridge or washer alone, no full tap replacement needed. For older homes with original compression taps, a full tap replacement may be more cost-effective if you’re already planning a kitchen remodel.
Decision Branch 2: Fix a Leaking Tap Base (Water Pools Around the Tap Foot)
A base leak is less common than a spout leak, but it can cause serious water damage to your countertop, cabinets, and subfloor if left unaddressed. This leak is caused by a failed seal between the tap body and the countertop, or a worn O-ring under the tap mounting nut.
First, place a bucket under the tap and loosen the mounting nuts under the countertop to access the internal O-ring.
- If the O-ring is cracked, brittle, or misshapen, replace it with a matching size nitrile O-ring. Lubricate the new O-ring with silicone grease before installation to ensure a tight seal.
- If water is pooling on top of the countertop around the tap base, you’ll need to remove the tap entirely. Scrape off old plumber’s putty from the countertop surface, apply a new bead of plumber’s putty to the tap base, and reseat the tap before tightening the mounting nuts.
Do not overtighten the mounting nuts, as this can crack ceramic, stone, or composite countertops. Per countertop manufacturer guidelines, tighten nuts just enough to stop tap movement, no more. If the tap body itself is cracked or corroded, you’ll need to replace the entire tap, as seals will not hold on a damaged body.
If you’re resealing the tap base as part of a cabinet renovation project, take the opportunity to check for hidden water damage to the cabinet floor while the tap is removed.
Decision Branch 3: Fix a Leaking Tap Handle or Water Supply Line
A leaking tap handle or supply line is the third common leak type, and it’s usually caused by a loose connection or worn O-ring rather than a failed internal cartridge. Start by locating the isolation valves under your sink, turning both hot and cold valves fully clockwise to shut off the water supply. Open the tap to drain any remaining water from the lines before starting work.
For a handle leak, pry off the decorative cap on top of the handle to access the set screw. Tighten the screw 1/4 turn with a screwdriver, then test for leaks. If tightening doesn’t stop the drip, remove the handle to replace the O-ring under the handle base, coating the new O-ring with food-safe silicone grease before reinstalling.
For a supply line leak, first place a small bucket under the connection point to catch any residual water. Loosen the nut connecting the supply hose to the tap with an adjustable wrench, then remove the hose and replace the internal rubber washer inside the hose connector. If the flexible hose itself is cracked, bulging, or older than 10 years, replace the entire supply line with a new 1/2-inch BSP or NPT compatible model.
If your under-sink space is cramped due to your kitchen layout design, a basin wrench will give you enough leverage to loosen tight supply line nuts without damaging the fittings.
Common DIY Mistakes That Worsen Leaks or Inflate Repair Costs
Most failed tap repair attempts come from a handful of avoidable mistakes that either make the leak worse or lead to extra costs. The most common error is skipping the water shutoff step entirely, which can cause minor flooding under your sink or slip hazards from spilled water. Aggregate DIY repair forum data shows 22% of tap repair failures stem from this single mistake.
Overtightening tap nuts or mounting bolts is another frequent issue. Excess torque strips brass threads, cracks ceramic disc cartridges, or fractures stone and composite countertops. Manufacturer specifications for most residential taps specify a maximum tightening torque of 10-15 Nm for all external nuts.
A small torque wrench costs $15 to $30 and prevents thousands of dollars in potential damage.
Using the wrong replacement part for your tap type is a third common pitfall. A compression tap washer will not fit a ceramic disc cartridge tap, and brand-specific cartridges from Moen or Delta are not interchangeable with universal models. Always confirm your tap model number before purchasing parts to avoid wasted money and persistent leaks.
If you’re tackling this repair as part of a kitchen renovation on a budget, ordering the wrong part can blow your entire parts budget in one trip to the hardware store.
Decision Guide: When to DIY Repair vs Call a Professional Plumber
Fixing a leaking kitchen tap is almost always a viable DIY project, but there are specific scenarios where calling a licensed plumber is the safer, more cost-effective choice. Use this quick decision guide to pick the right path for your situation.
DIY repair is the best option if your leak is caused by a worn washer, O-ring, or cartridge, you have basic tools like an adjustable wrench and screwdriver, and you can easily access the isolation valves under your sink. As of 2026, DIY repairs for simple leaks cost $3 to $20 in parts, compared to $100 to $200 for a professional plumber callout.
Call a licensed plumber if any of the following apply: internal tap parts are seized and won’t budge even after applying penetrating oil, the leak is coming from a hidden pipe inside the wall or cabinet floor, the tap body is cracked or severely corroded, you’ve already attempted a DIY repair that worsened the leak, or you are a renter without written landlord permission for permanent plumbing work. A pro can also assess for hidden water damage, mold, or structural issues that DIYers often miss, which can cost $500 to $5,000+ to repair if left unaddressed.
Typical Costs, Time, and Water Savings for Tap Leak Repairs
Repairing a leaking kitchen tap delivers fast financial and environmental returns, with costs varying widely based on the scope of work and whether you DIY or hire a pro. The table below breaks down average costs, timelines, and water savings for the most common repair scenarios as of 2026.
| Repair Scenario | Average Cost (USD/GBP) | Average Time | Annual Water Savings | Best For |
|---|---|---|---|---|
| DIY part replacement (washer, O-ring, cartridge) | $3–$20 / £2–£15 | 30–90 minutes | 3,000+ gallons / 2,700+ litres | Simple leaks from worn internal parts, DIYers with basic tools |
| Professional part repair | $100–$200 / £80–£150 | 1–2 hours | 3,000+ gallons / 2,700+ litres | Seized parts, no DIY access, renters needing licensed work |
| DIY full tap replacement | $50–$200 / £40–£160 | 2–4 hours | 3,000+ gallons / 2,700+ litres | Corroded tap body, outdated tap style |
| Professional full tap replacement | $150–$500 / £120–£400 | 2–4 hours | 3,000+ gallons / 2,700+ litres | Cracked tap body, hidden pipe damage, complex installs |
Per U.S. Environmental Protection Agency data, a tap dripping once per second wastes 3,000 gallons of water annually, equal to 180 average showers. That waste adds 5 to 10% to average household water bills in most regions, with higher rates in areas with expensive municipal water.
If you’re already planning a full kitchen remodel, replacing an old, leak-prone tap during the process is often cheaper than a separate plumber callout later.
Safety and Legal Rules You Can’t Skip When Repairing a Kitchen Tap
Tap repairs carry low but real risks of injury, flooding, or code violations if you skip key safety and legal steps. Follow these non-negotiable rules before starting any work.
First, always confirm the water supply is fully shut off at the isolation valves before disassembling any tap components. Open the tap fully to drain residual water from the lines, and place a small bucket under the connection points to catch any stray drips. Wear cut-resistant gloves when handling metal tap parts, as corroded nuts and spouts often have sharp, ragged edges that can cause deep cuts.
Never use an open flame to thaw frozen supply pipes in cold climates. Open flames pose a serious fire risk and can melt plastic supply lines, causing catastrophic flooding. Per UK Met Office guidance, use a hair dryer on low heat or a portable space heater to thaw frozen pipes safely.
Do not use excessive force when tightening plastic internal components, as they crack easily under high torque, leading to persistent leaks.
For legal compliance, renters must obtain written permission from their landlord before performing any permanent tap repairs. Most tenancy agreements require licensed plumbers for plumbing work, and unapproved repairs can lead to forfeiture of security deposits or eviction. All replacement parts in contact with drinking water must meet local potable water safety standards: WRAS certification in the UK, NSF/ANSI 61 certification in the US.
Some regions require permits for modifications to main water supply lines, so check local building codes before cutting or replacing supply pipes. If you’re unsure about any step, stop and call a licensed plumber to avoid injury, flooding, or code violations.
Expert Tips / Pro Advice
Keep a sample of your old O-ring or washer in your toolbox after repairs, it’s a perfect size reference for future replacements. Apply penetrating oil to seized tap nuts 15 minutes before loosening them to avoid thread stripping. Check for hidden water damage under the sink cabinet floor before starting work, slow leaks often cause rot that’s easy to miss until it’s expensive to fix.
Maintenance / Long-Term Optimization
Inspect the tap base and supply line connections for moisture once a month, catching small leaks early avoids water damage and high bills. Avoid abrasive cleaners on tap finishes, these corrode seals and O-rings over time. Replace internal washers and O-rings every 5-7 years to extend tap lifespan.
Real Scenarios / Case Examples
A 1980s compression tap with a constant spout drip wasted 3,200 gallons of water annually before repair. A DIYer replaced the $4 rubber washer in 45 minutes, cutting their water bill by 7% and avoiding a $120 professional callout. The leak had caused minor cabinet floor rot, repaired for $20 before it spread to the subfloor.
A renter used plumber’s putty as a temporary base leak fix, avoiding unapproved permanent work that would have violated their lease. They notified their landlord within 24 hours as required, and the landlord sent a licensed plumber to fix the leak at no cost within 48 hours.
Frequently Asked Questions
How long does it take to fix a leaking kitchen tap?
Most simple DIY repairs take 30 to 90 minutes. Full tap replacements take 2 to 4 hours. Professional plumbers complete most repairs in 1 to 2 hours.
Can I fix a leaking kitchen tap without turning off the water supply?
No, always shut off isolation valves under the sink before starting repairs. Working with water on risks flooding and slip hazards. Only emergency temporary fixes like tightening a loose handle screw can be done with water on.
How much does it cost to fix a leaking kitchen tap?
DIY part replacements cost $3 to $20 / £2 to £15 for most common leaks. Professional callouts cost $100 to $200 / £80 to £150. Full tap replacements cost $50 to $500 depending on install type and tap quality.
When should I replace the whole tap instead of repairing it?
Replace the entire tap if the body is cracked, severely corroded, or if internal parts are seized and won’t budge even with penetrating oil. Taps older than 15 years with recurring leaks are also good candidates for full replacement.
Final Decision Guide
Use this quick checklist to pick the right action for your leak. If the leak is from the spout, you’ve identified your tap type, and you have basic tools, do the DIY repair. If the leak is from a hidden pipe, internal parts are seized, or you’re a renter without landlord permission, call a licensed plumber.
If the tap is over 15 years old with multiple recurring leaks, replace the entire tap for long-term savings.